ramblz
 progrz
 thangz
 fotoz
fotozLet's paint - Cthulhu
- Printing
- Paints
- Base coats
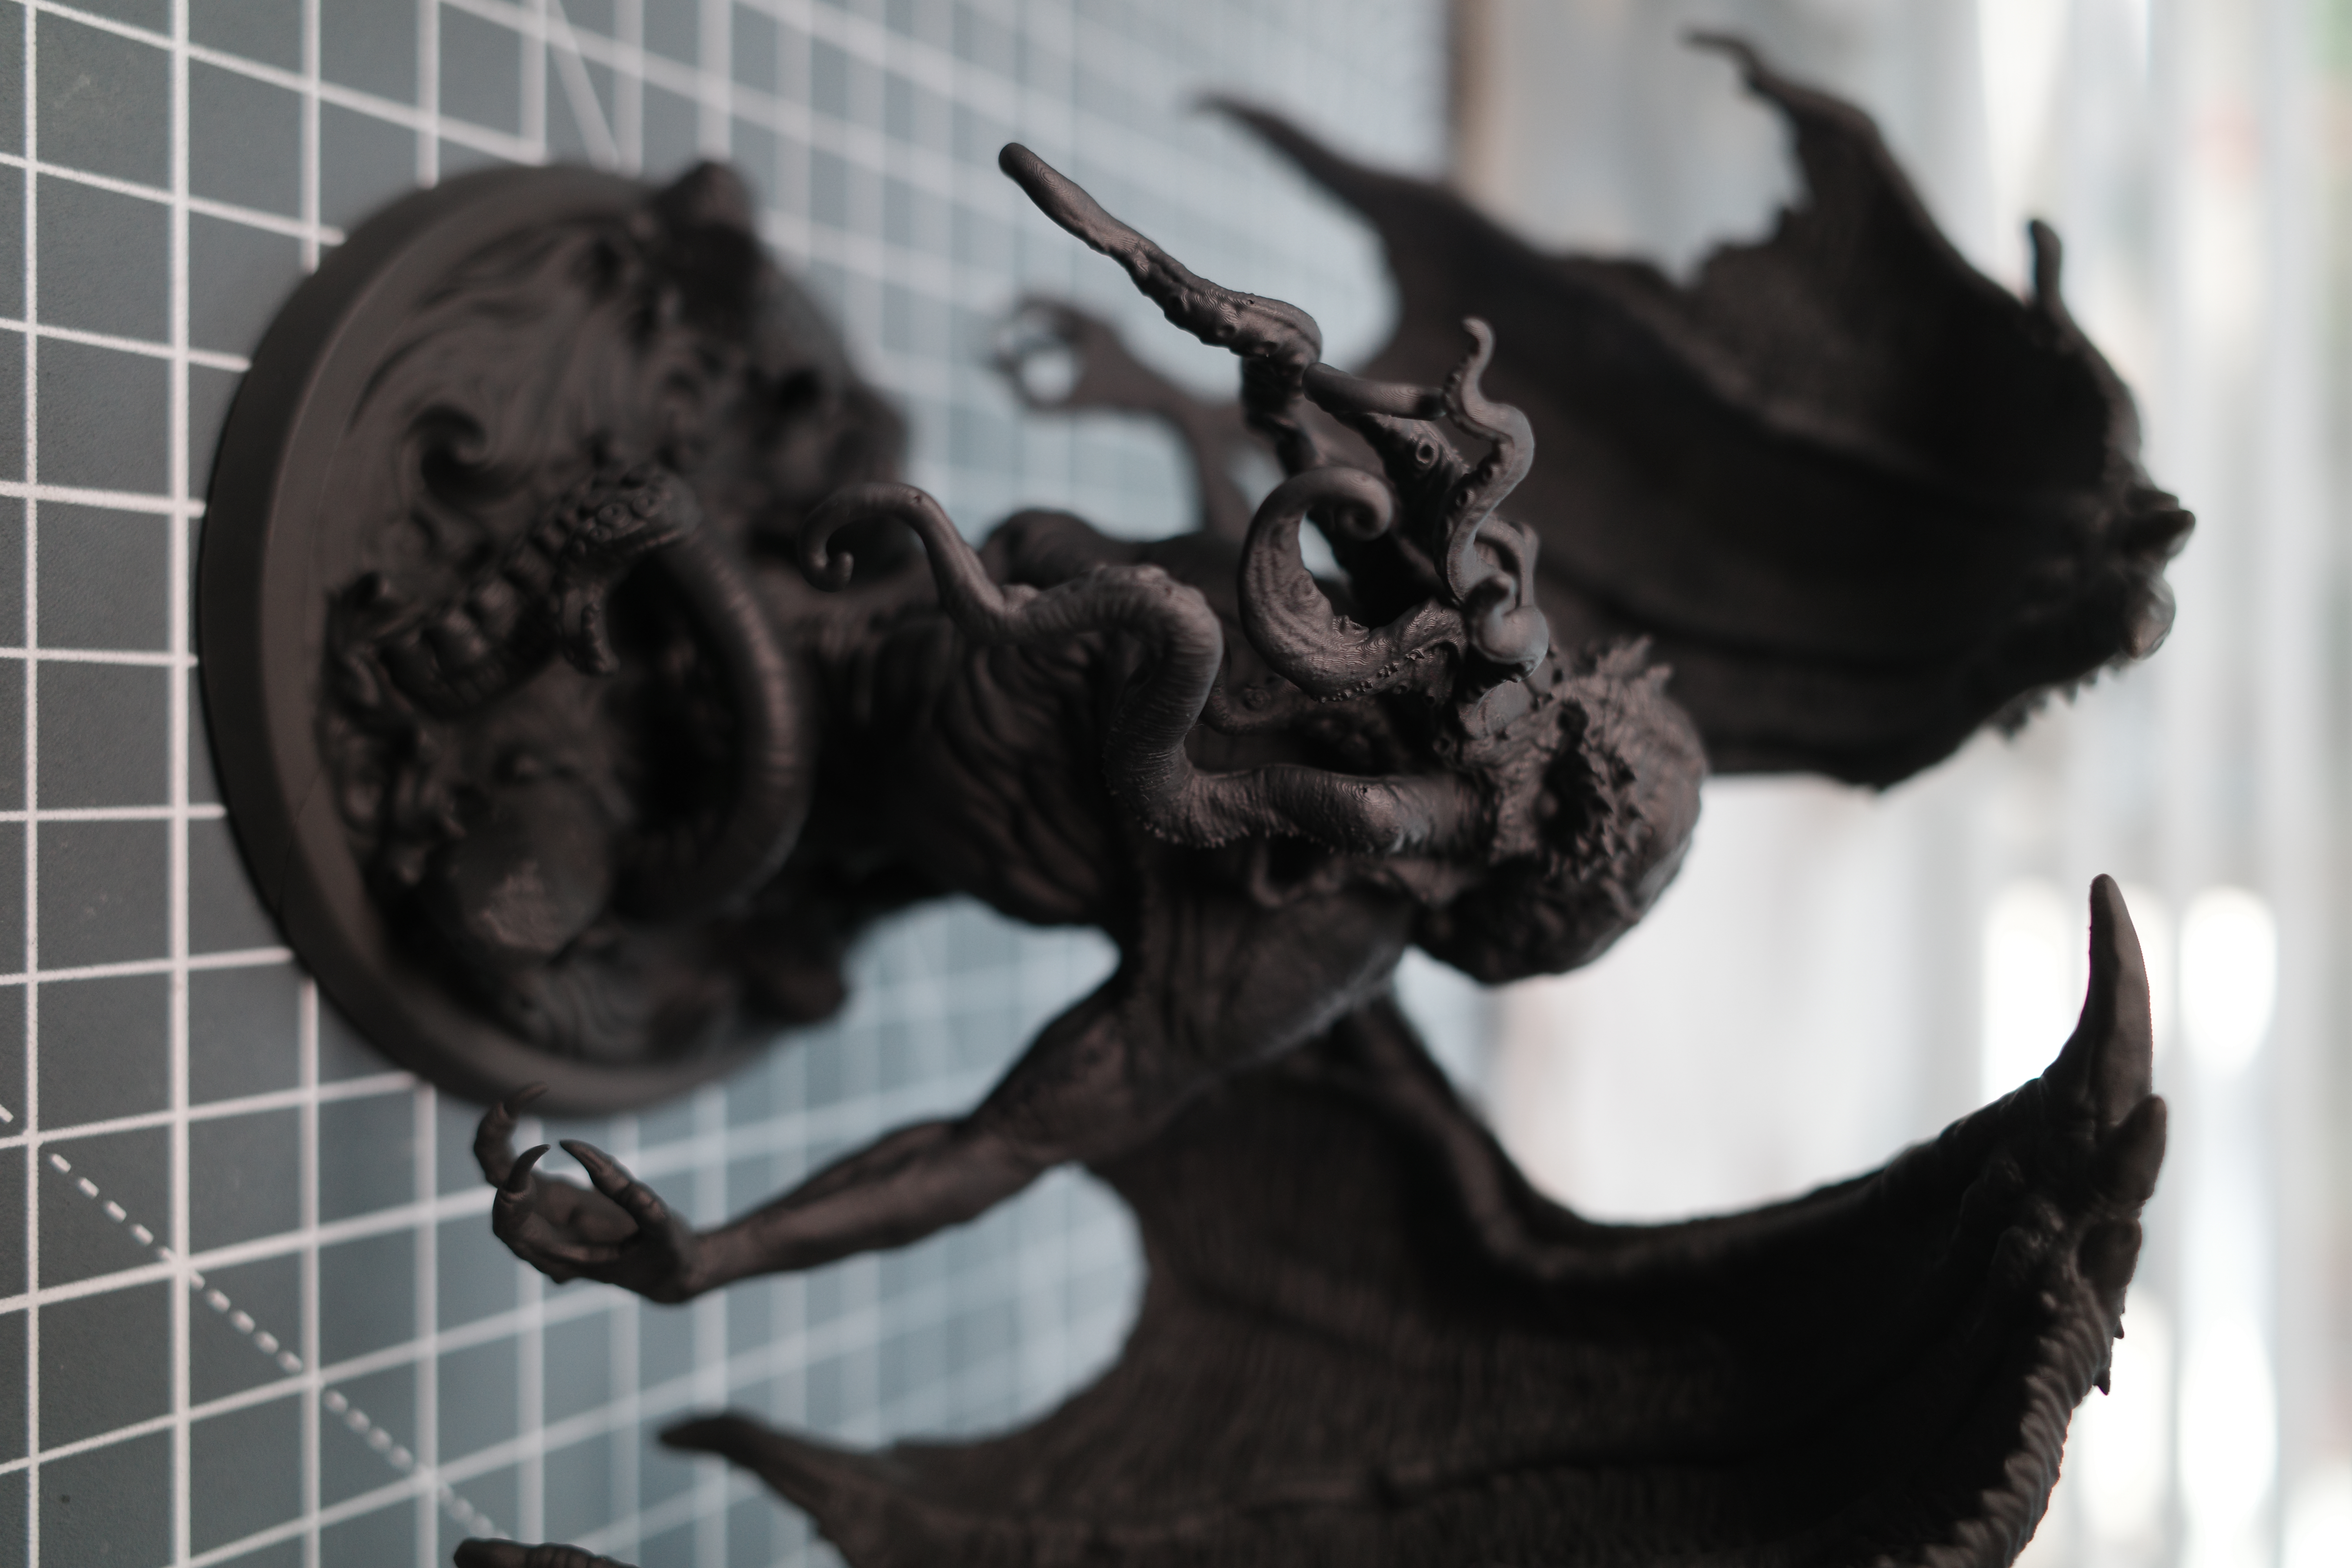
- 1. Airbrush dark/black primer
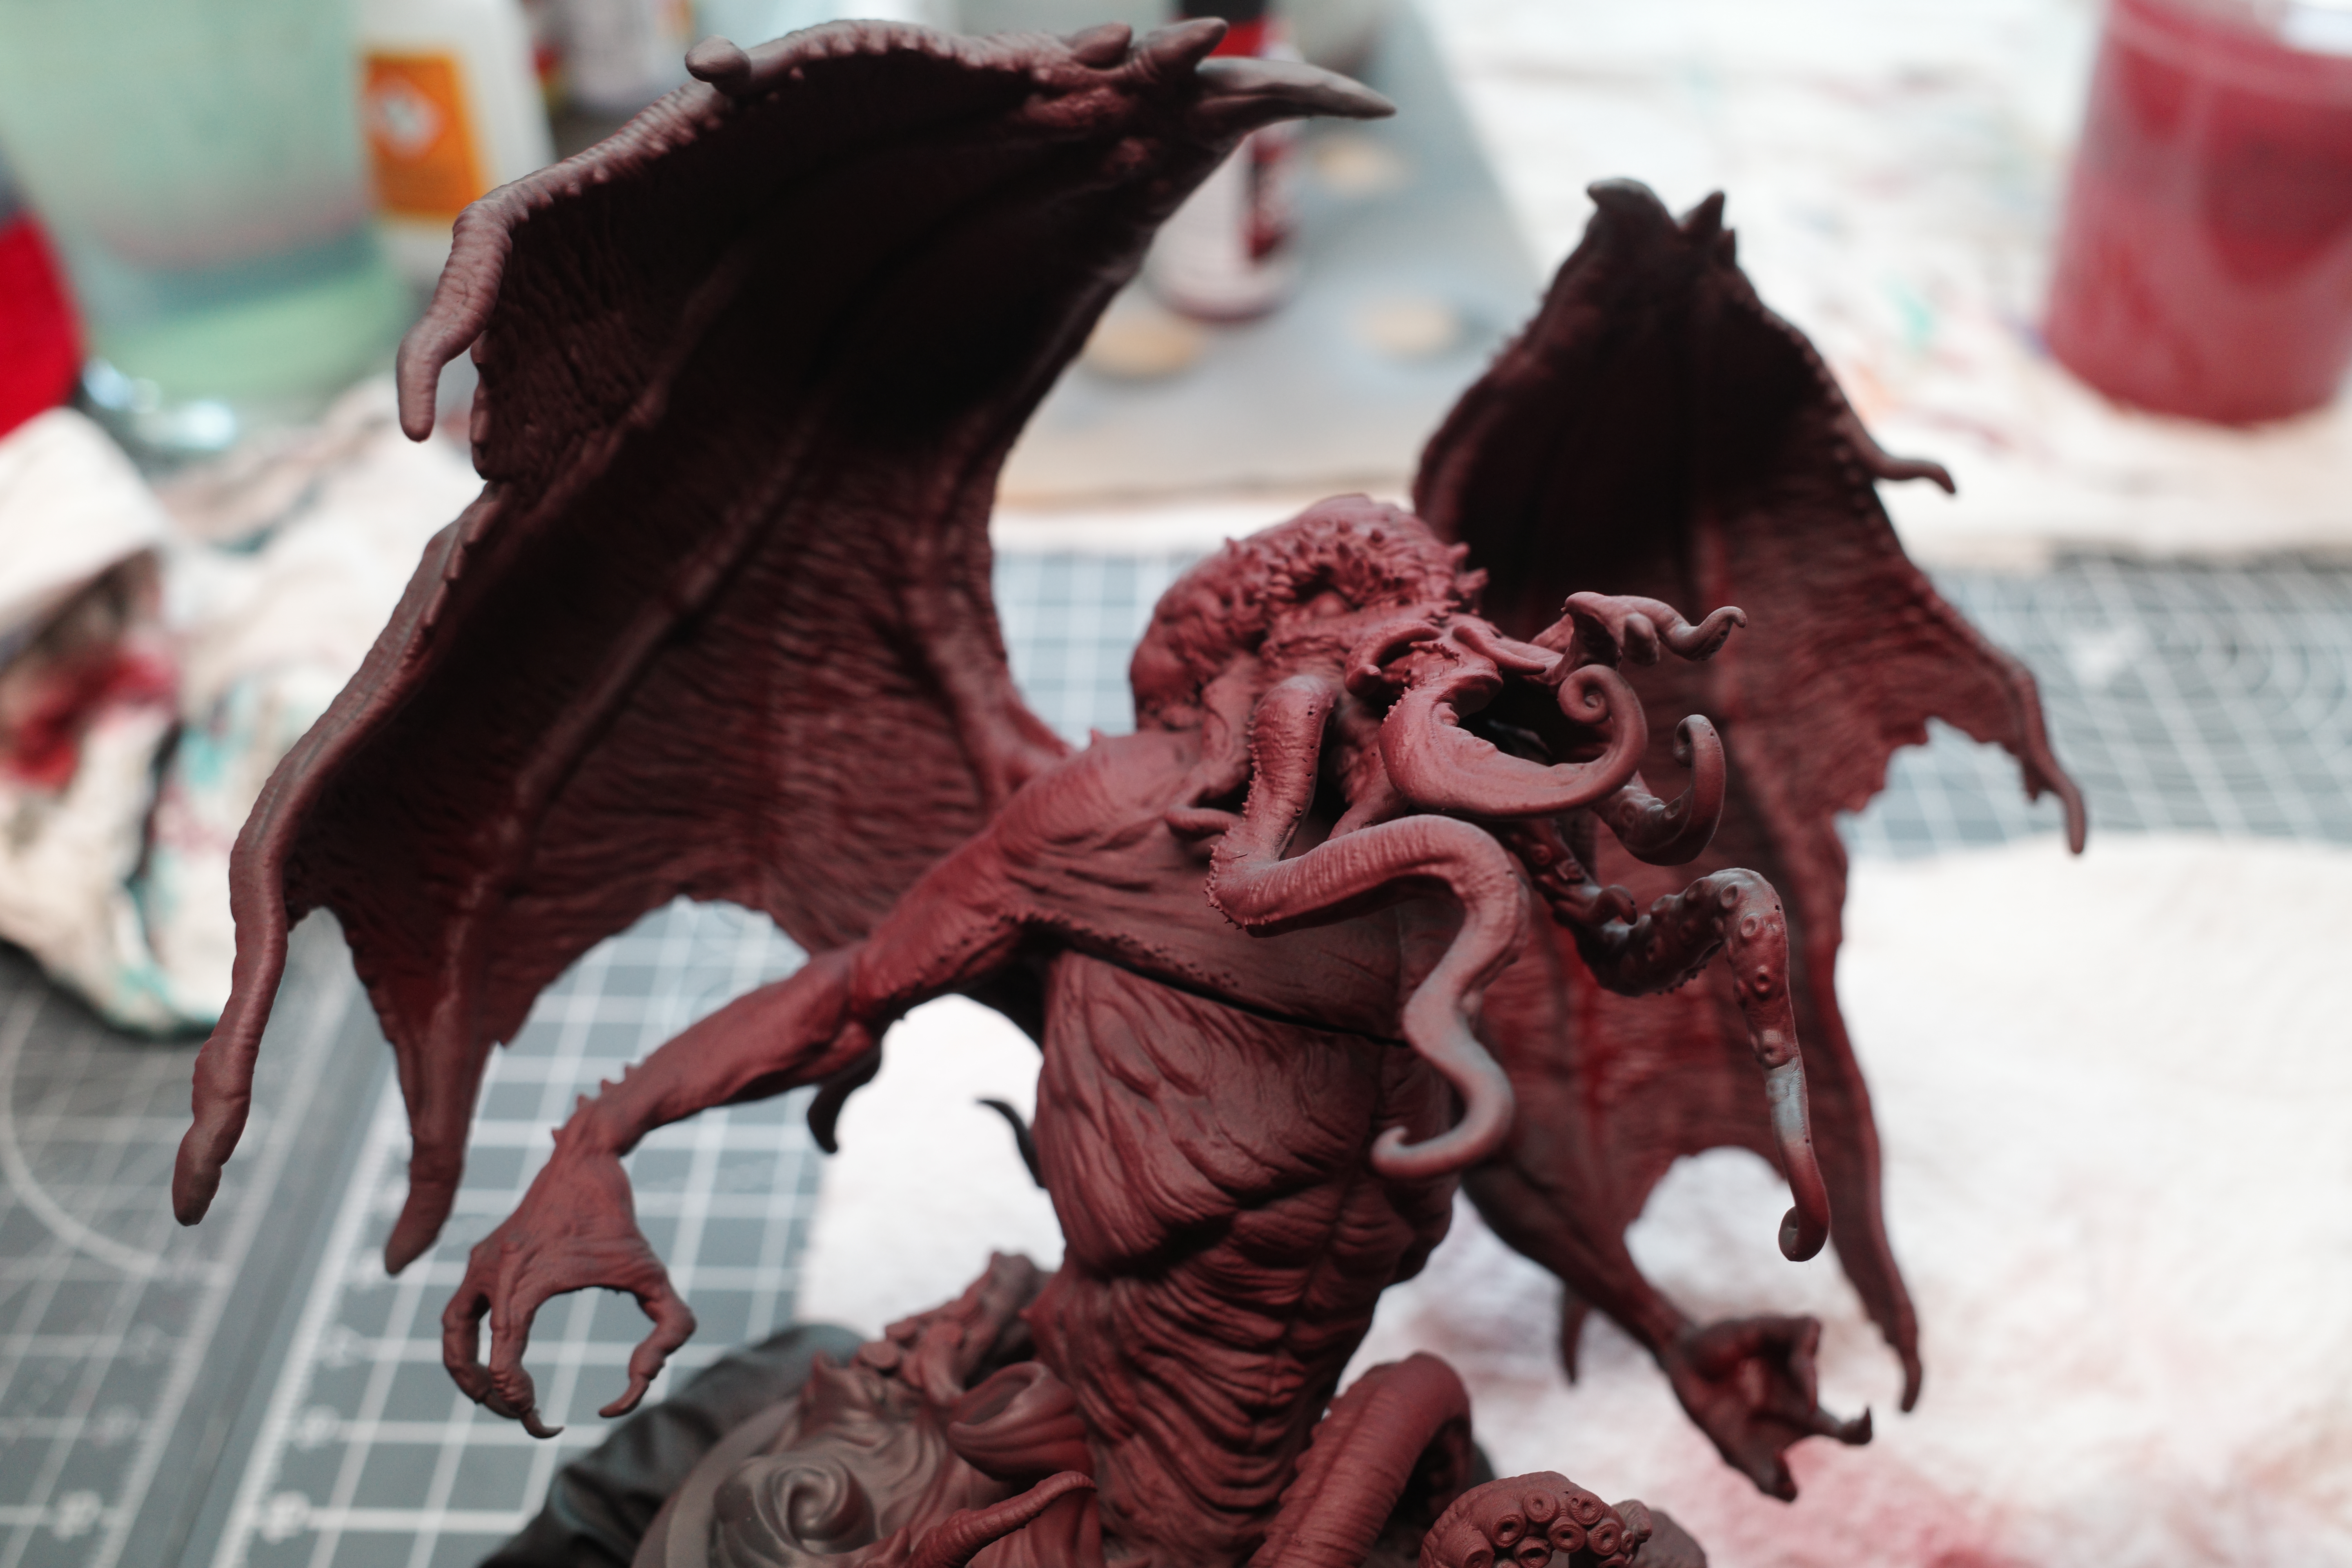
- 2. Airbrush Nocturnal Red on all the fleshy parts
- 3. Airbrush Cayman Green from above/sides
- 4. Airbrush Dead Flesh from above
- 5. Airbrush Toxic Yellow (or anything pale/yellow-greenish) on wing membrane
- 6. Paint water with blend of blues
- 7. Basecoat rocks with Vallejo Cold Grey
- 8. Glaze turquoise up bottom of the flesh emerging from water
- Shading
- Highlighting
- Finishing
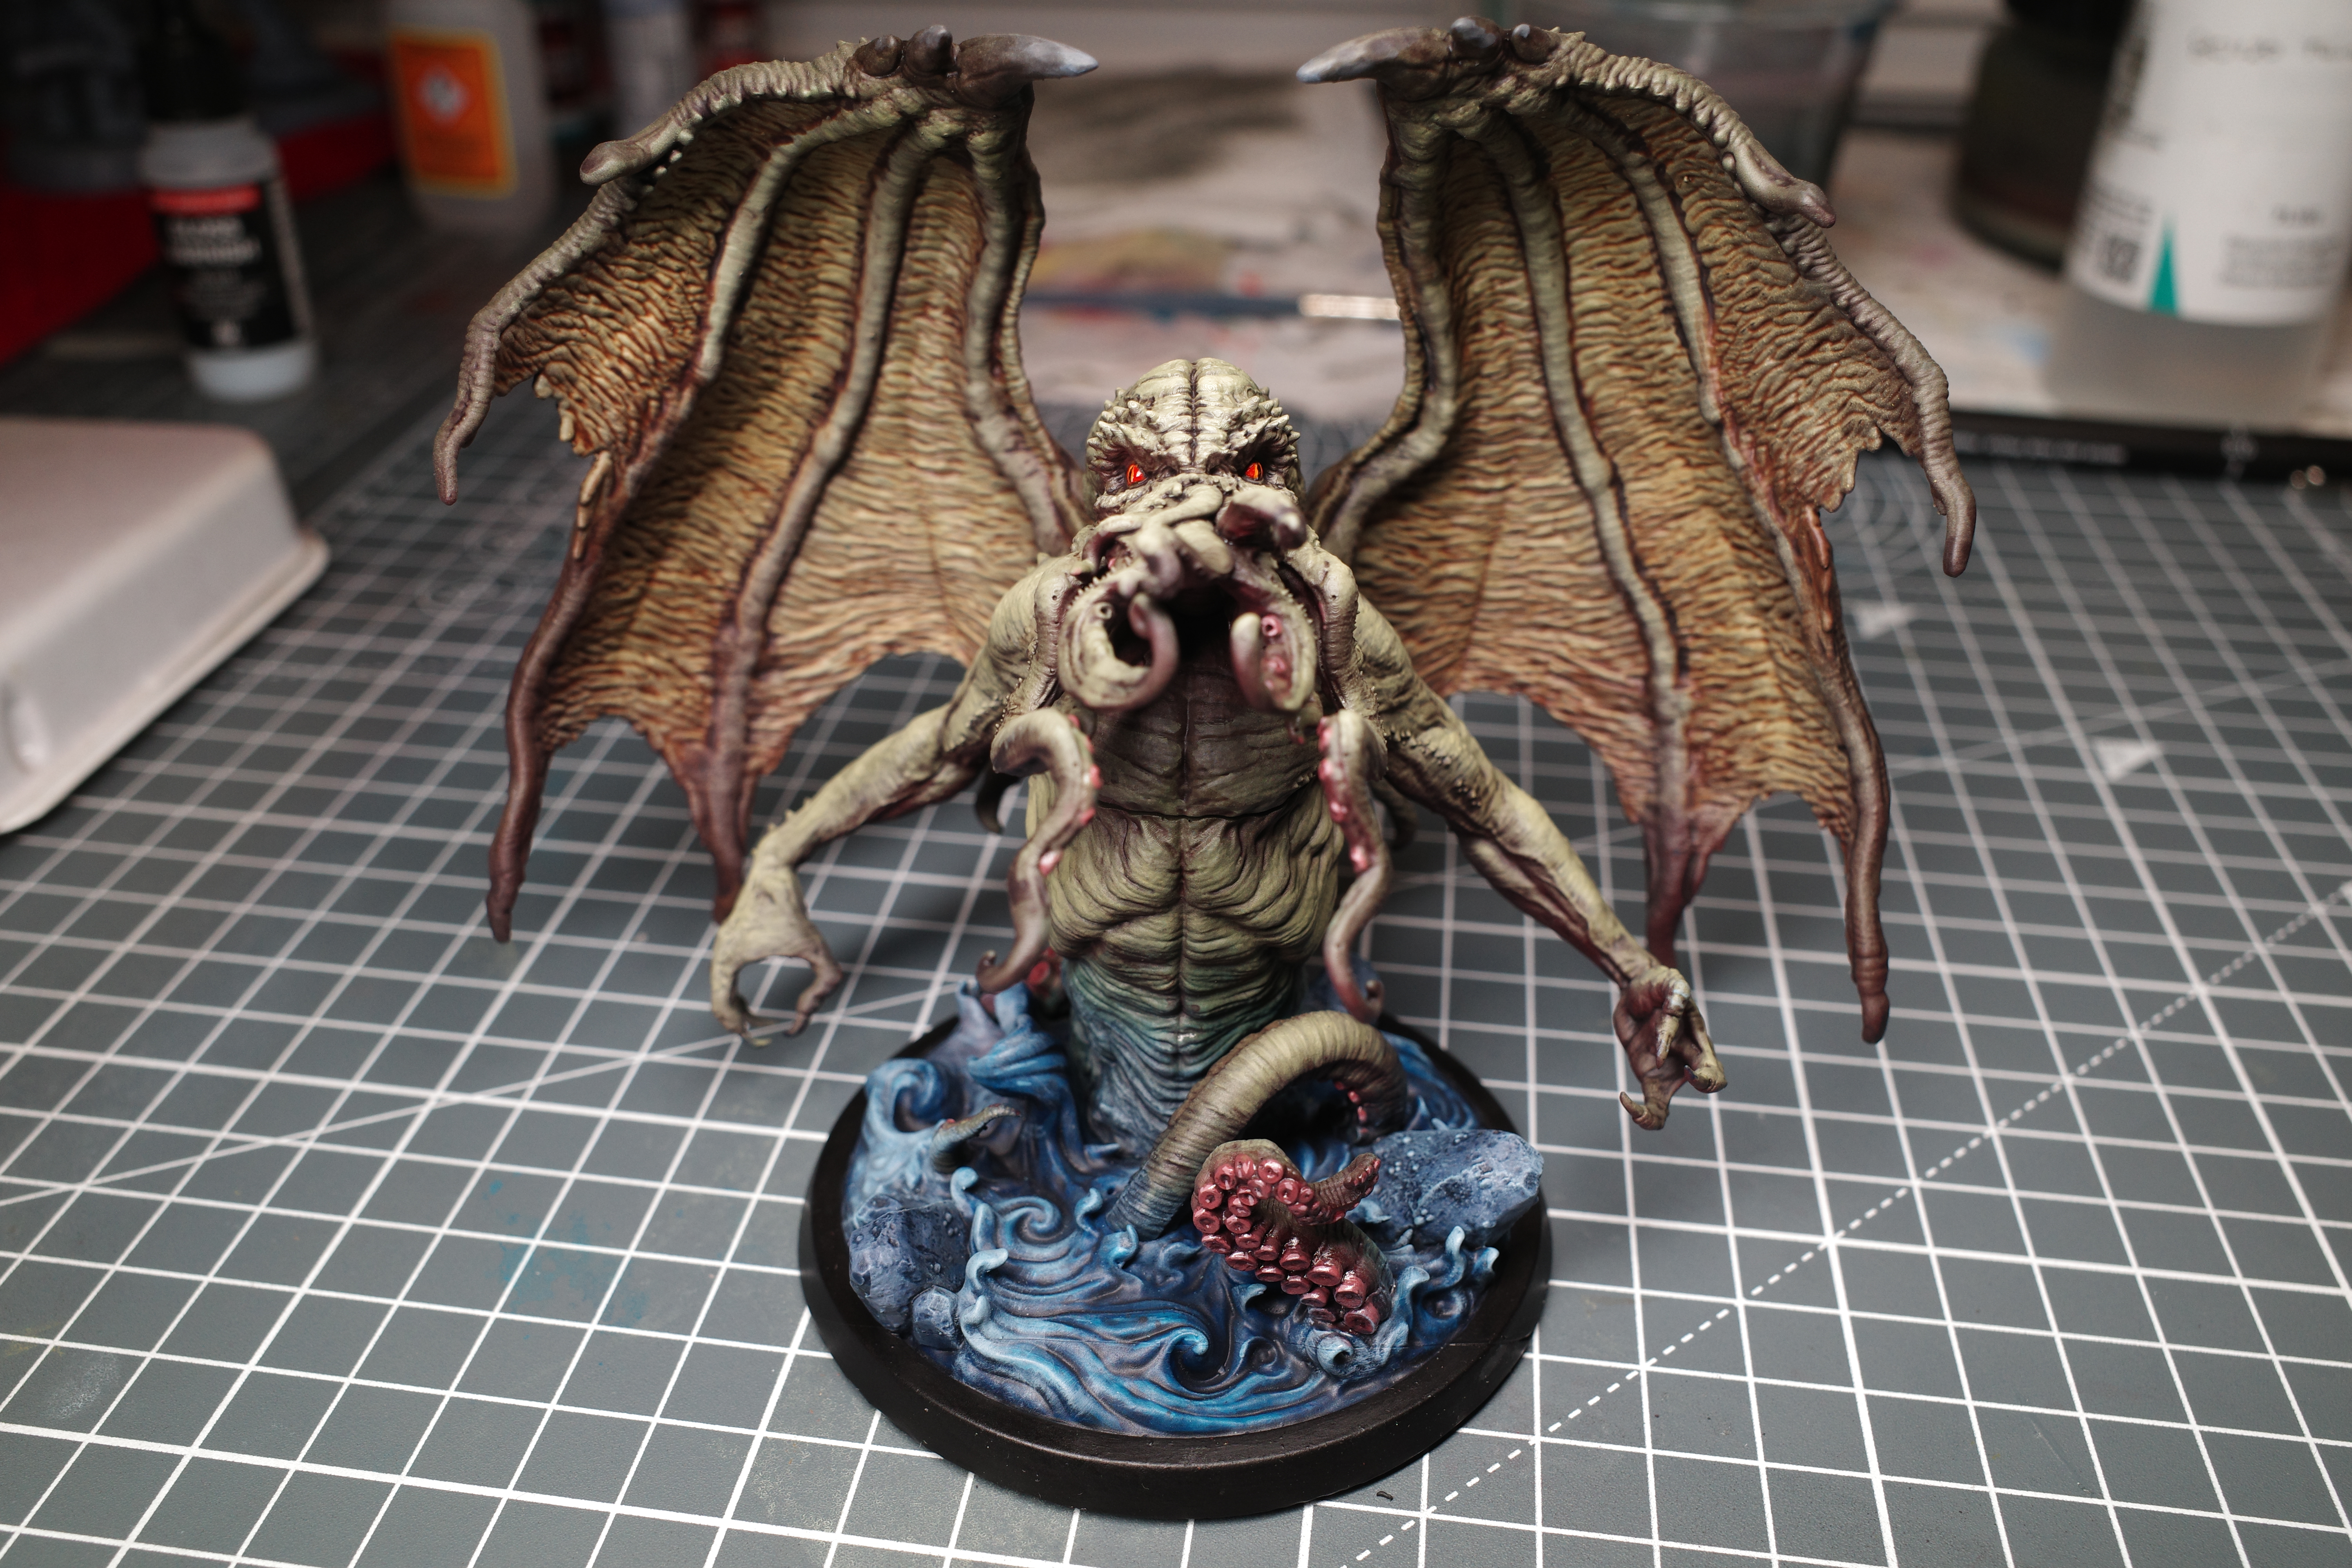
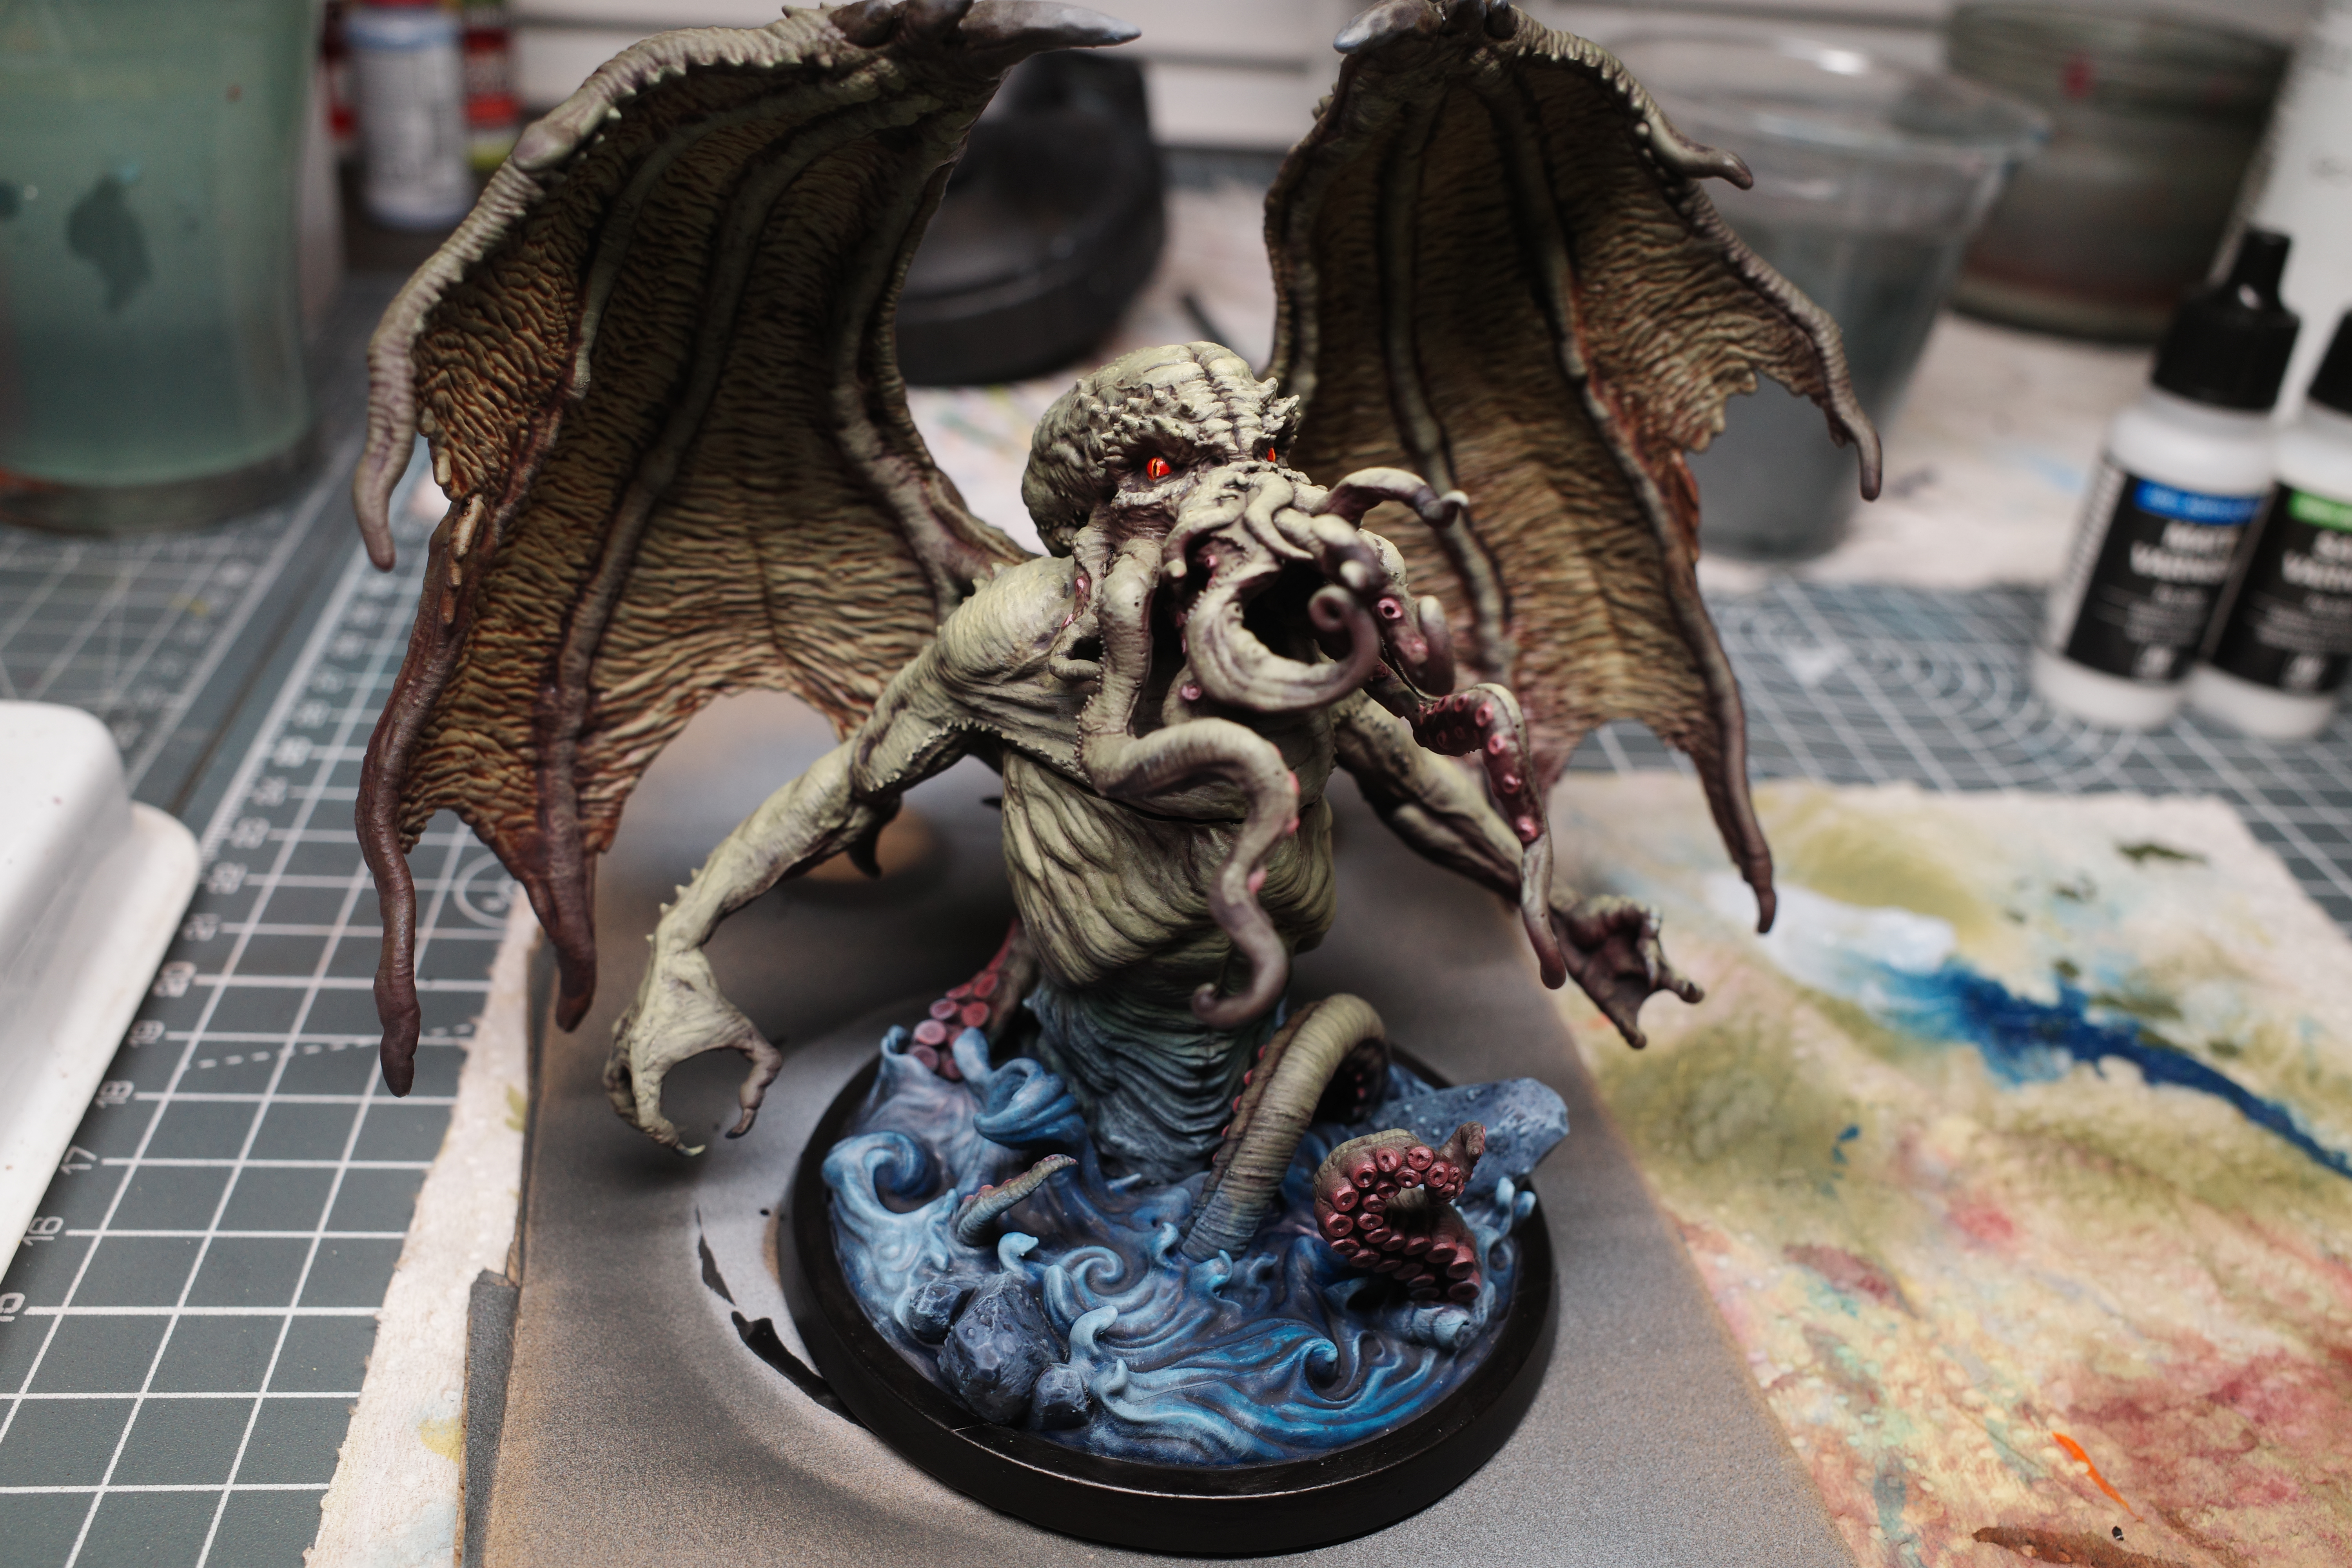
- Cthulhu has emerged from your dreams into reality!
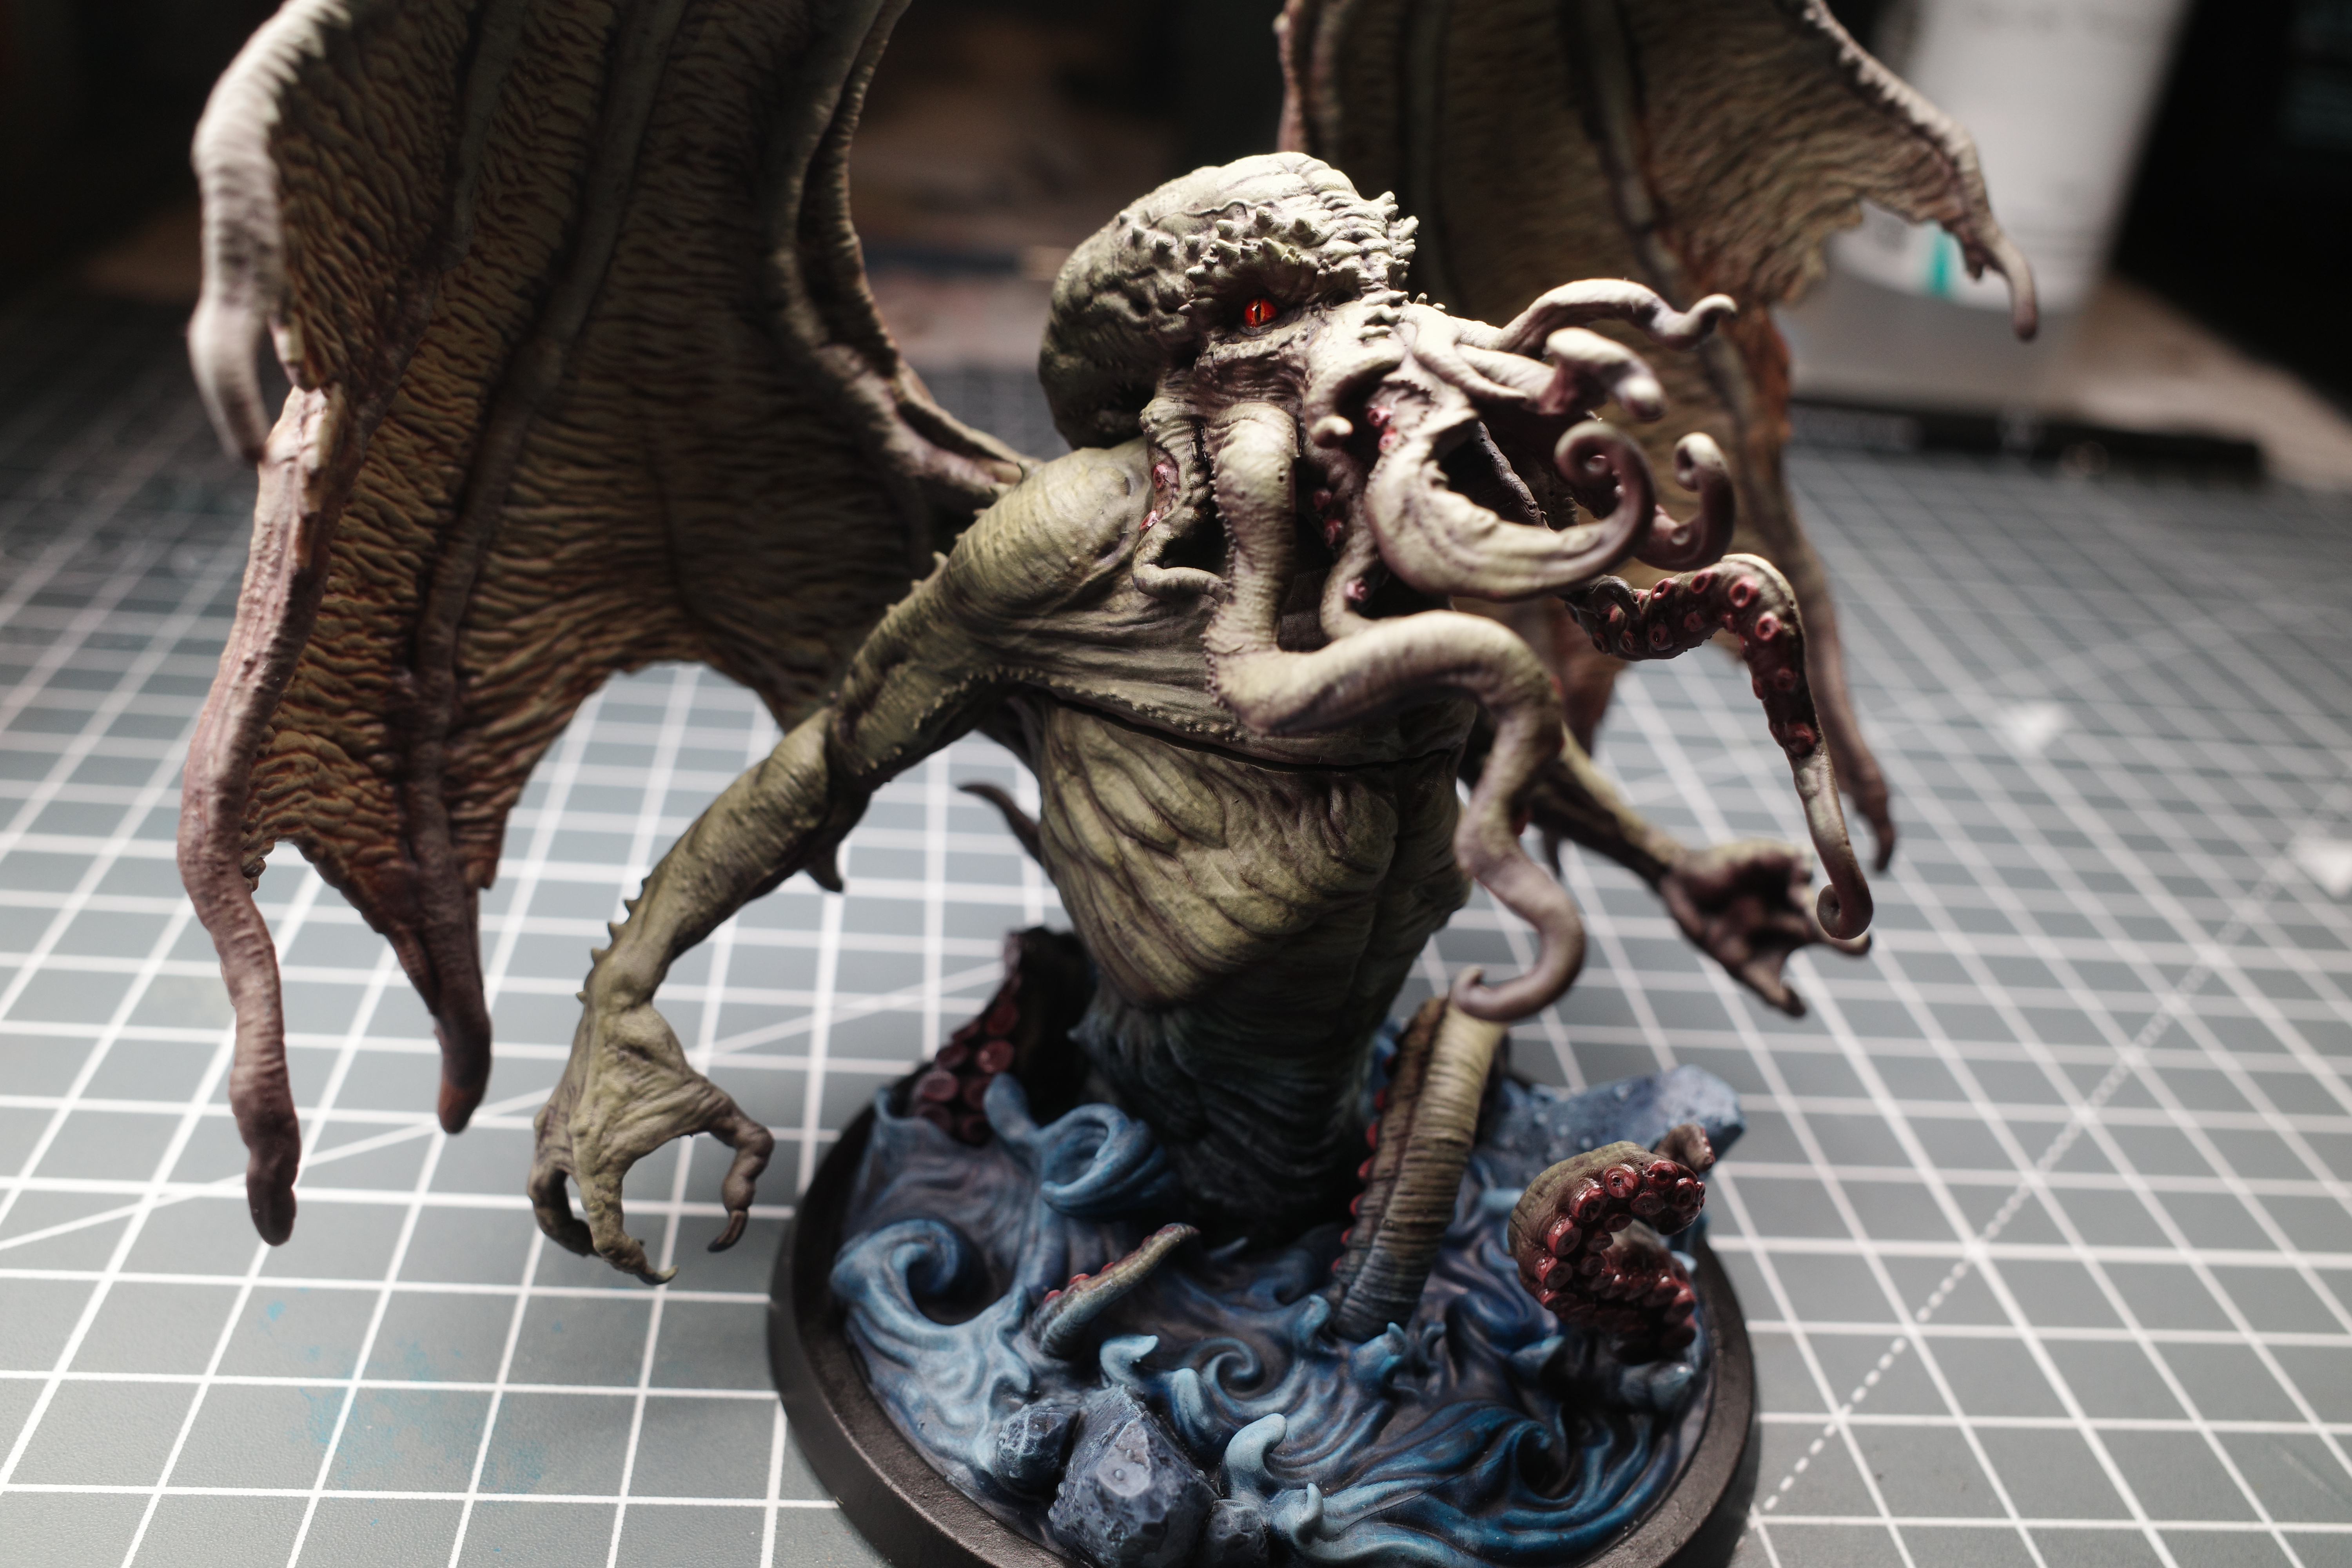
My Arkham Horror LCG group is about to play the finale of The Drowned City and I wanted to surprise them with this monstrous rendition of the biggest baddest sleepy boi.
I’m by no means a great miniature painter but I thought it would be fun to give a brief step-by-step of how I went about it.
Printing
The sculpt was an easy print on my Elegoo Saturn 2. I usually distrust pre-supported models but NS Miniatures did a great job with this one and they worked great. Everything fit together snugly though the tentacles attached to the base have a somewhat ambiguous rotation.
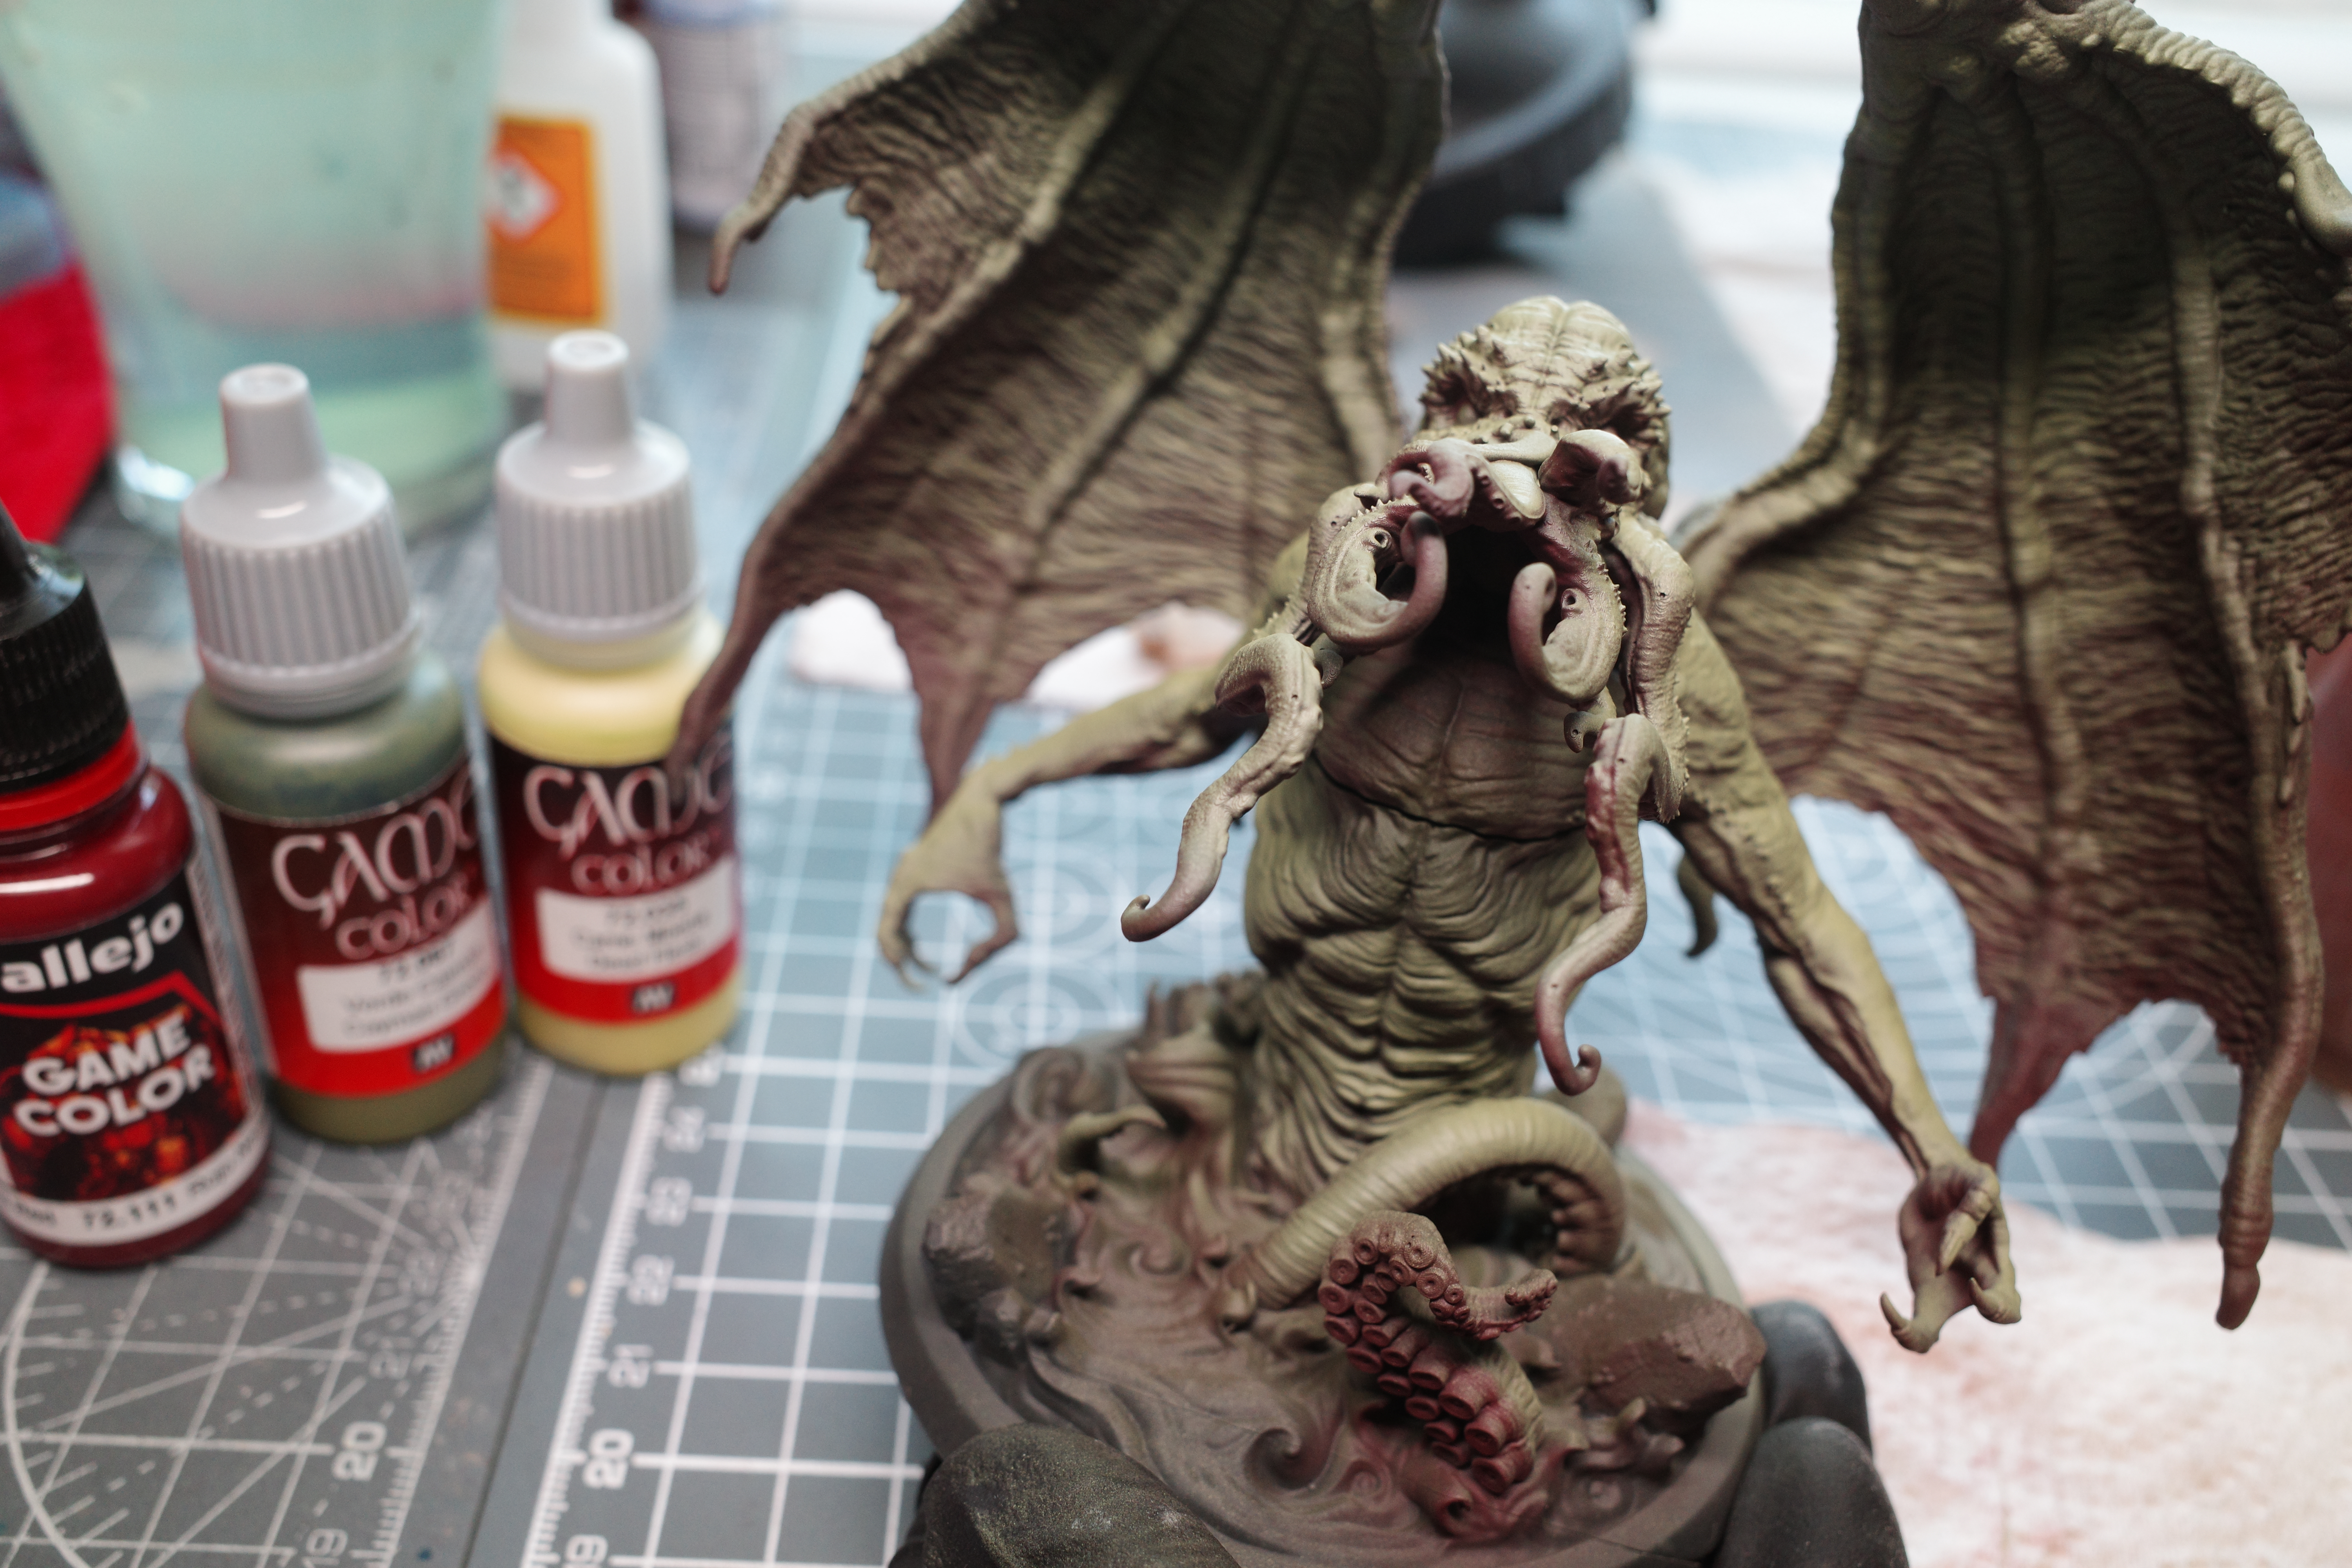
Paints
This are the paints I used. Obviously these can be swapped out for similar tones from other brands. A useful app for paint matching is paintRack.
- Vallejo Nocturnal Red
- Vallejo Cayman Green
- Vallejo Dead Flesh
- Vallejo Toxic Yellow
- Citadel Reikland Fleshtone
- Citadel Nuln Oil
- Vallejo Night Blue
- Vallejo Turquoise
- Vallejo Wolf Grey
- Vallejo Succubus Skin
- Vallejo Dead White
- Vallejo Bloody Red
- Vallejo Orange Fire
- Vallejo Black
- Matt Varnish
- Satin Varnish (optional)
- Gloss Varnish
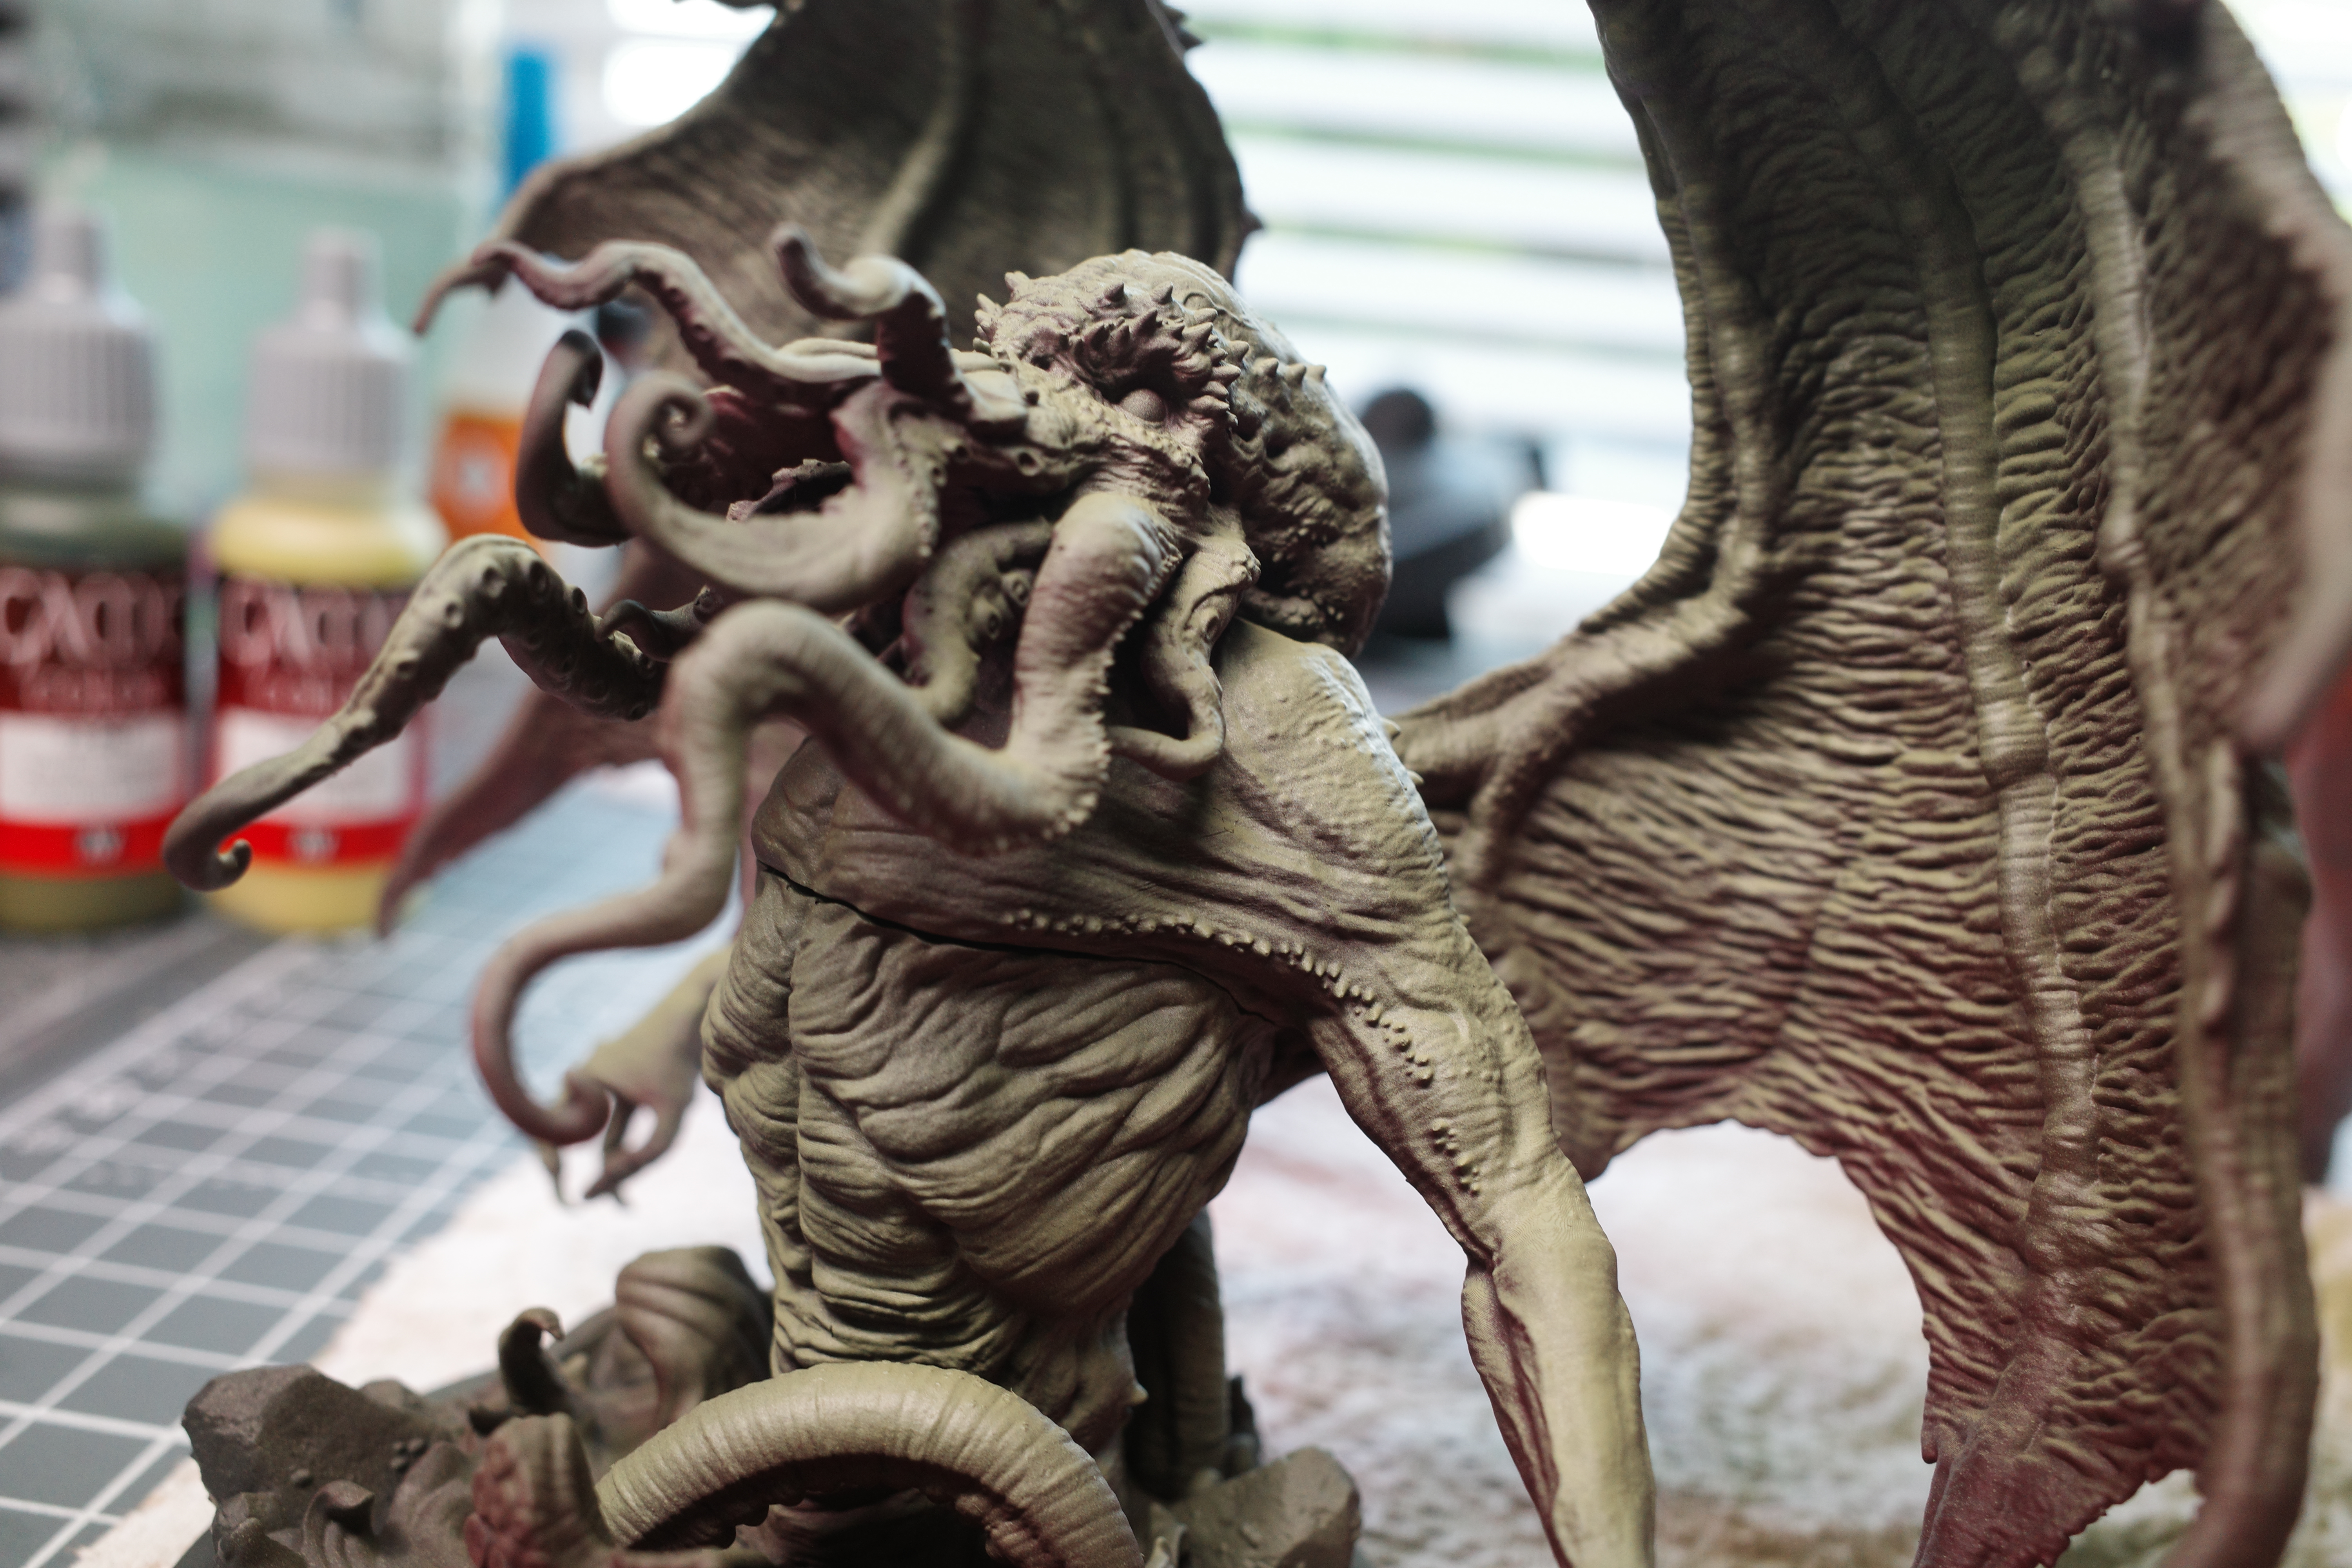
Base coats
1. Airbrush dark/black primer
2. Airbrush Nocturnal Red on all the fleshy parts
This will give a lovely red hue to the shadows that will compliment the green of the flesh.
3. Airbrush Cayman Green from above/sides
This is the primary skin tone. I applied from above going down to just above horizontal to leave the red in the shadowed regions.
4. Airbrush Dead Flesh from above
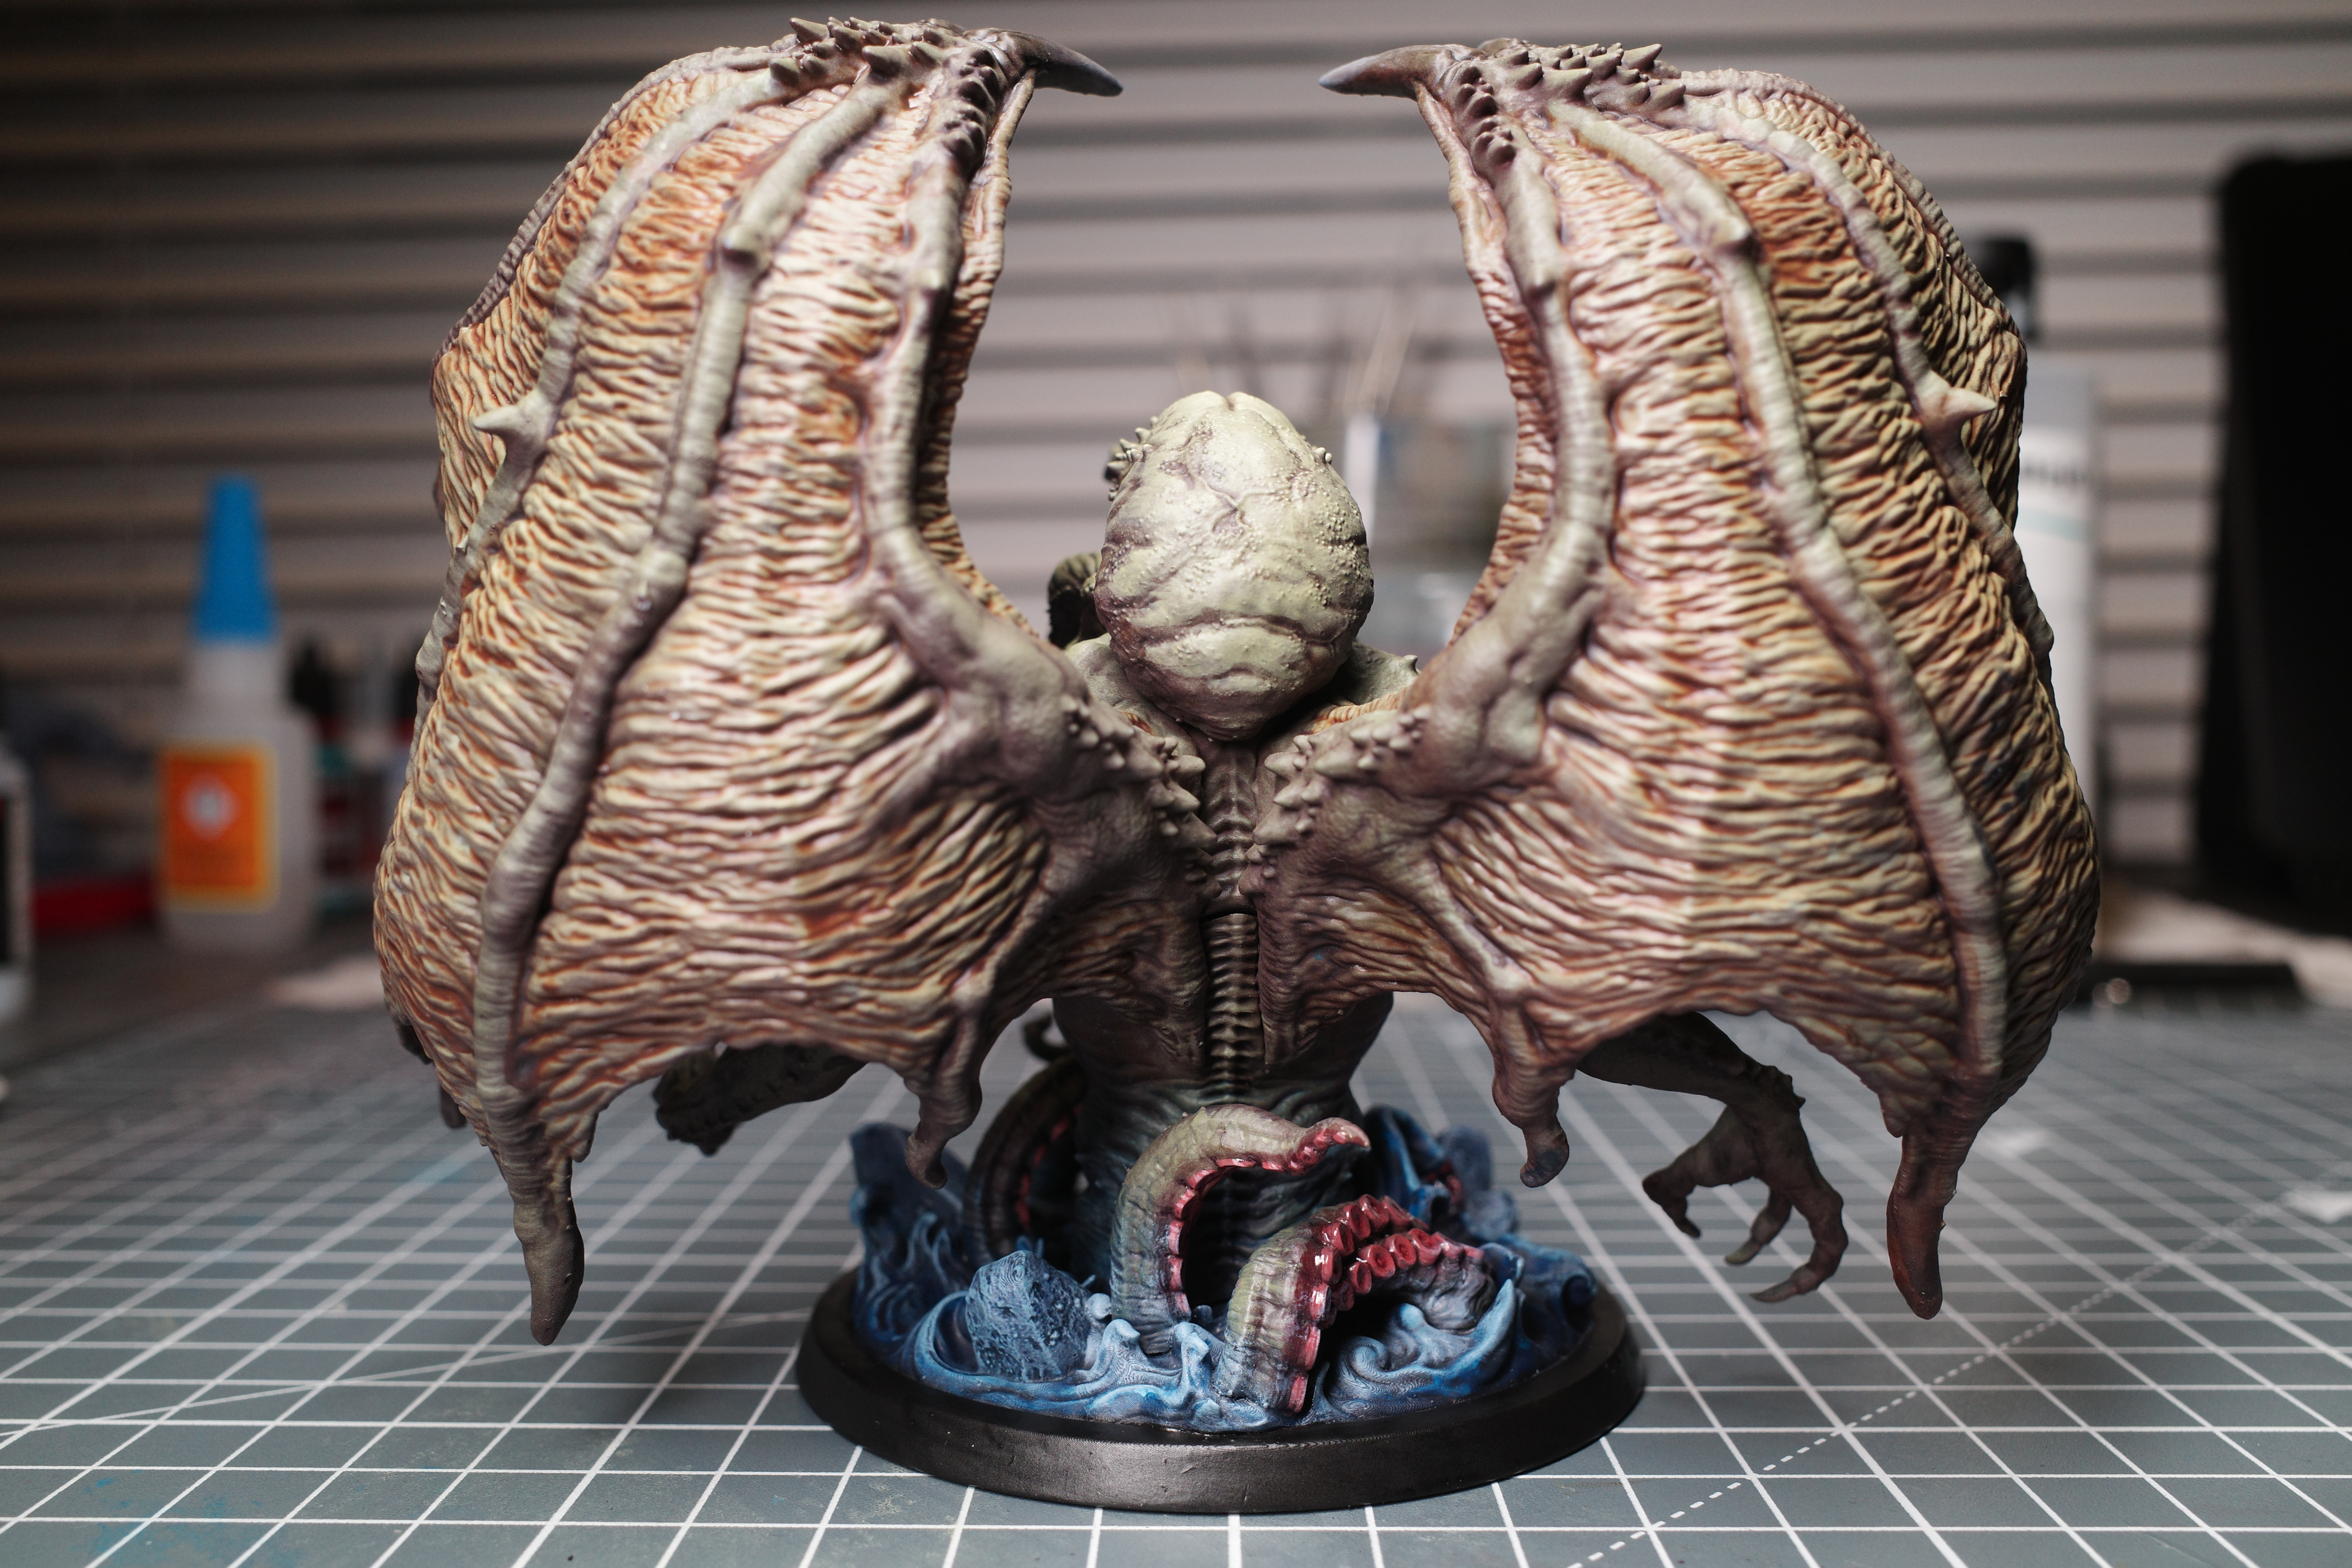
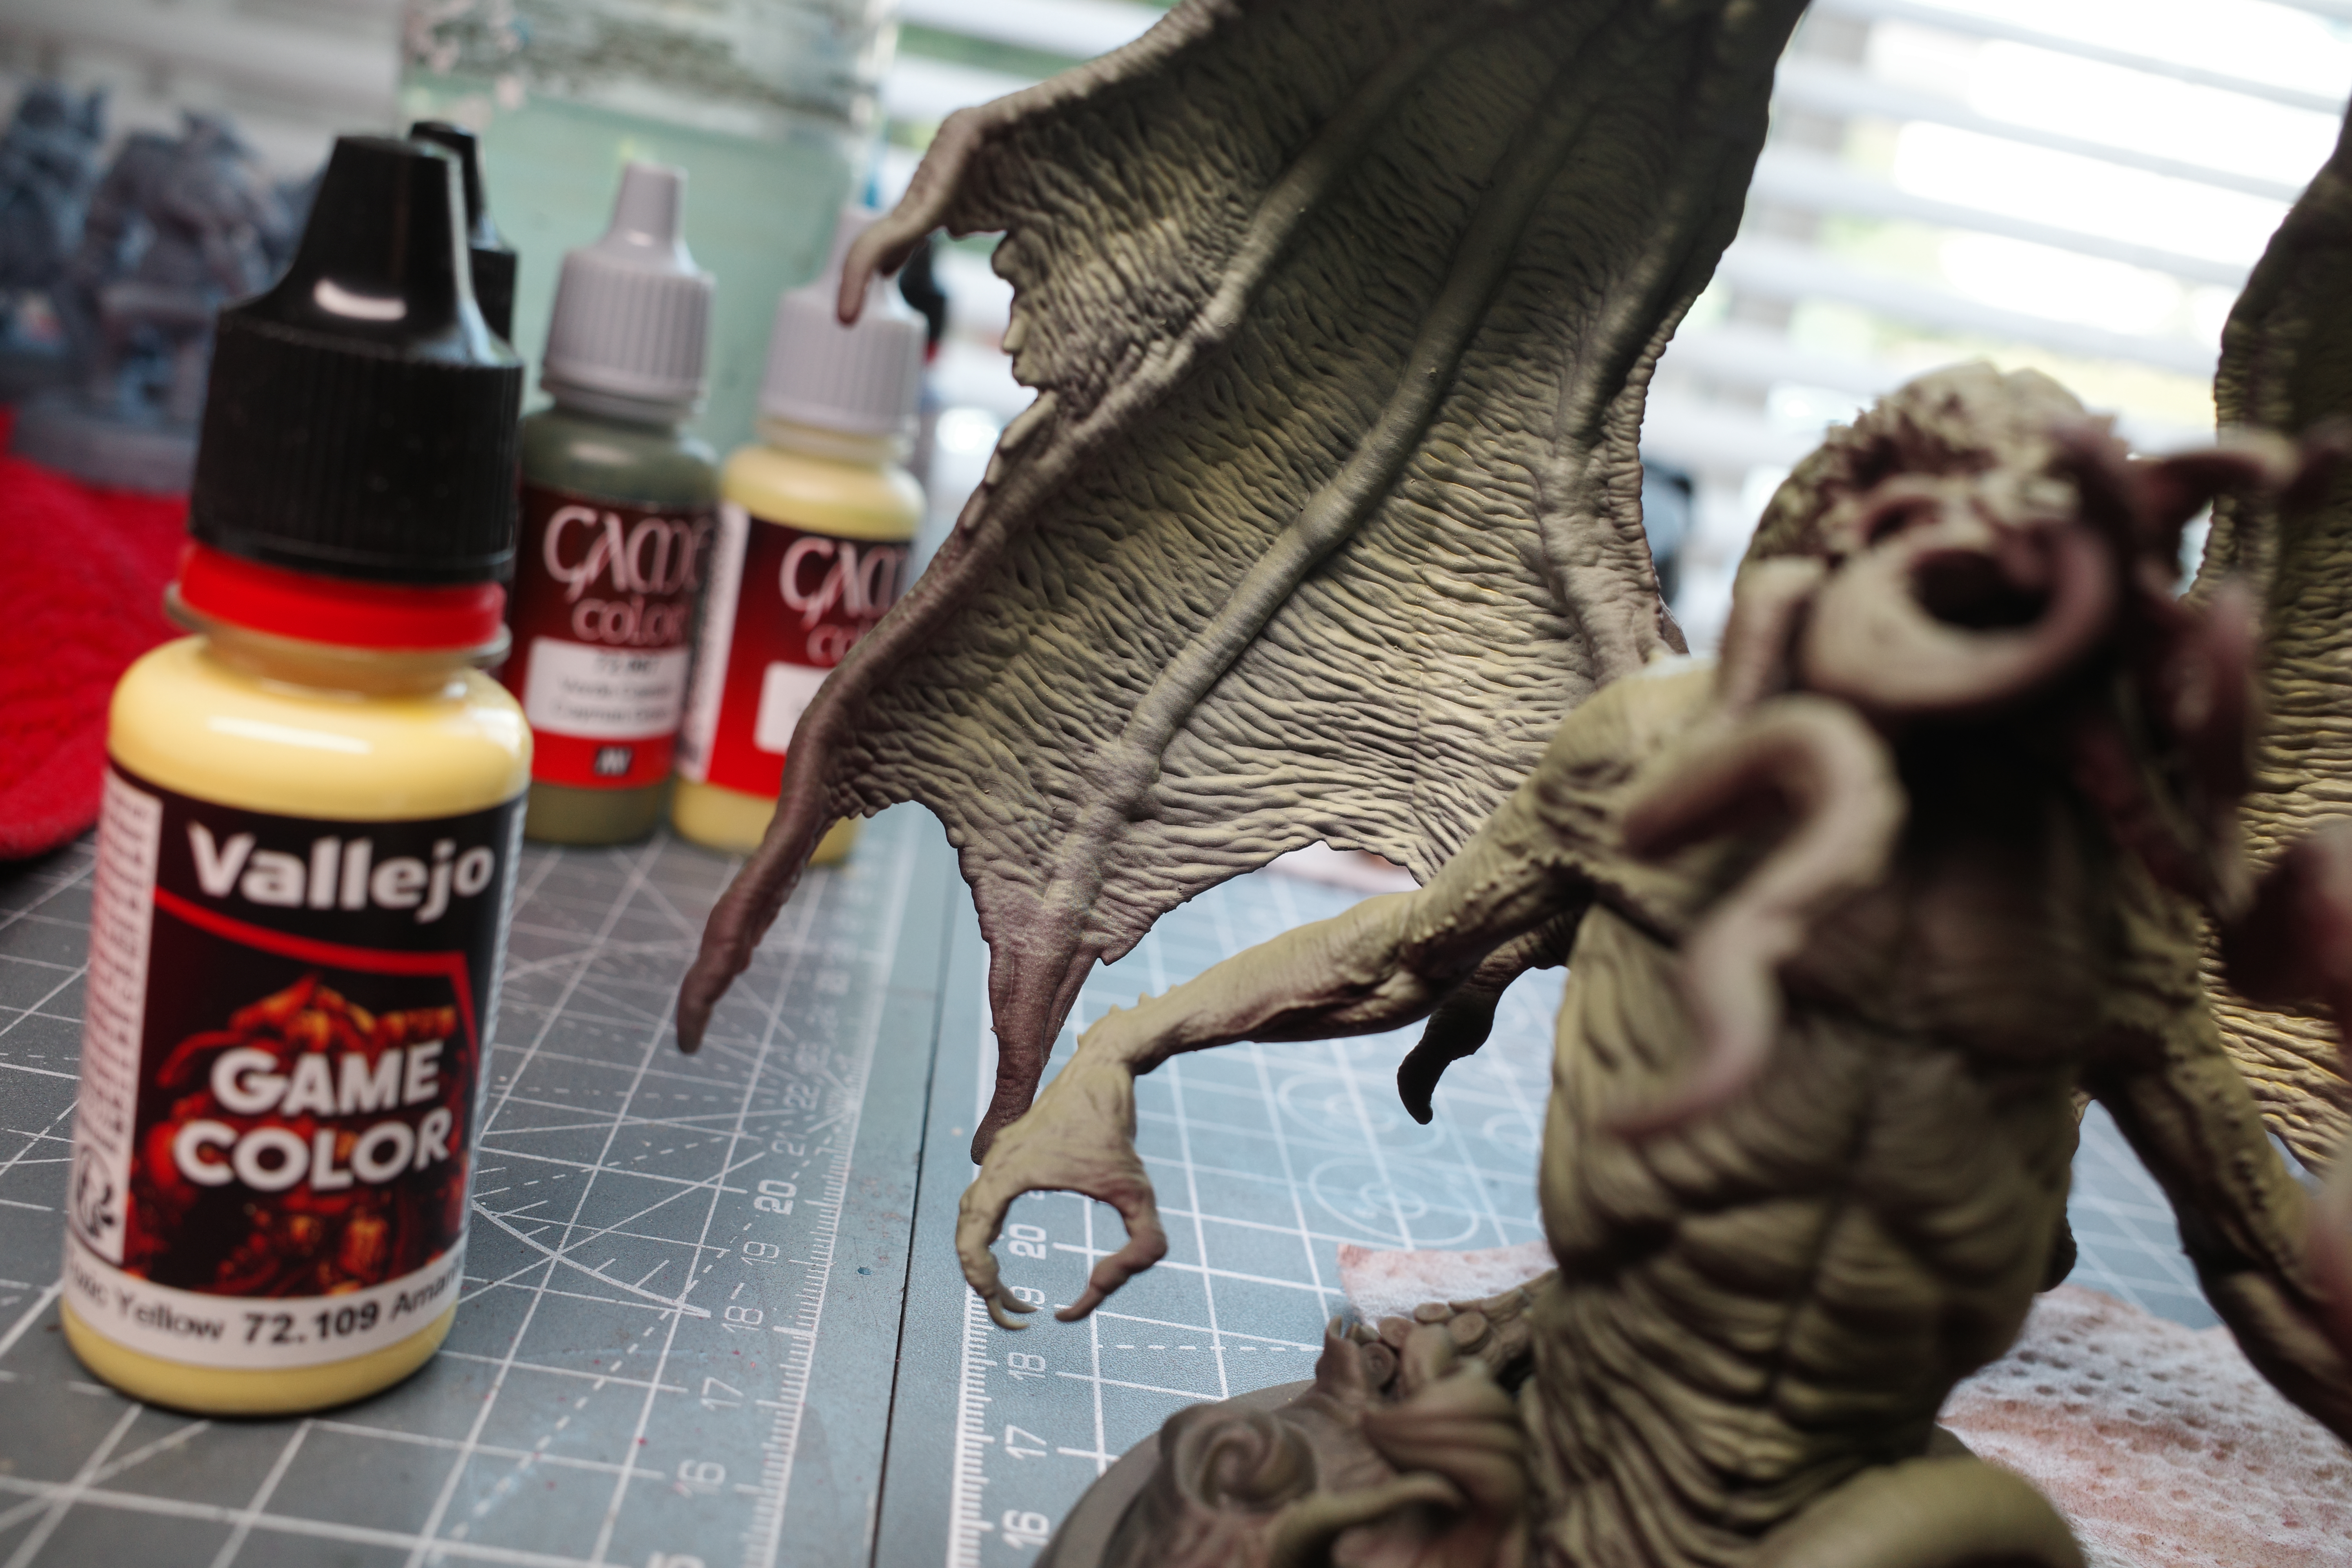
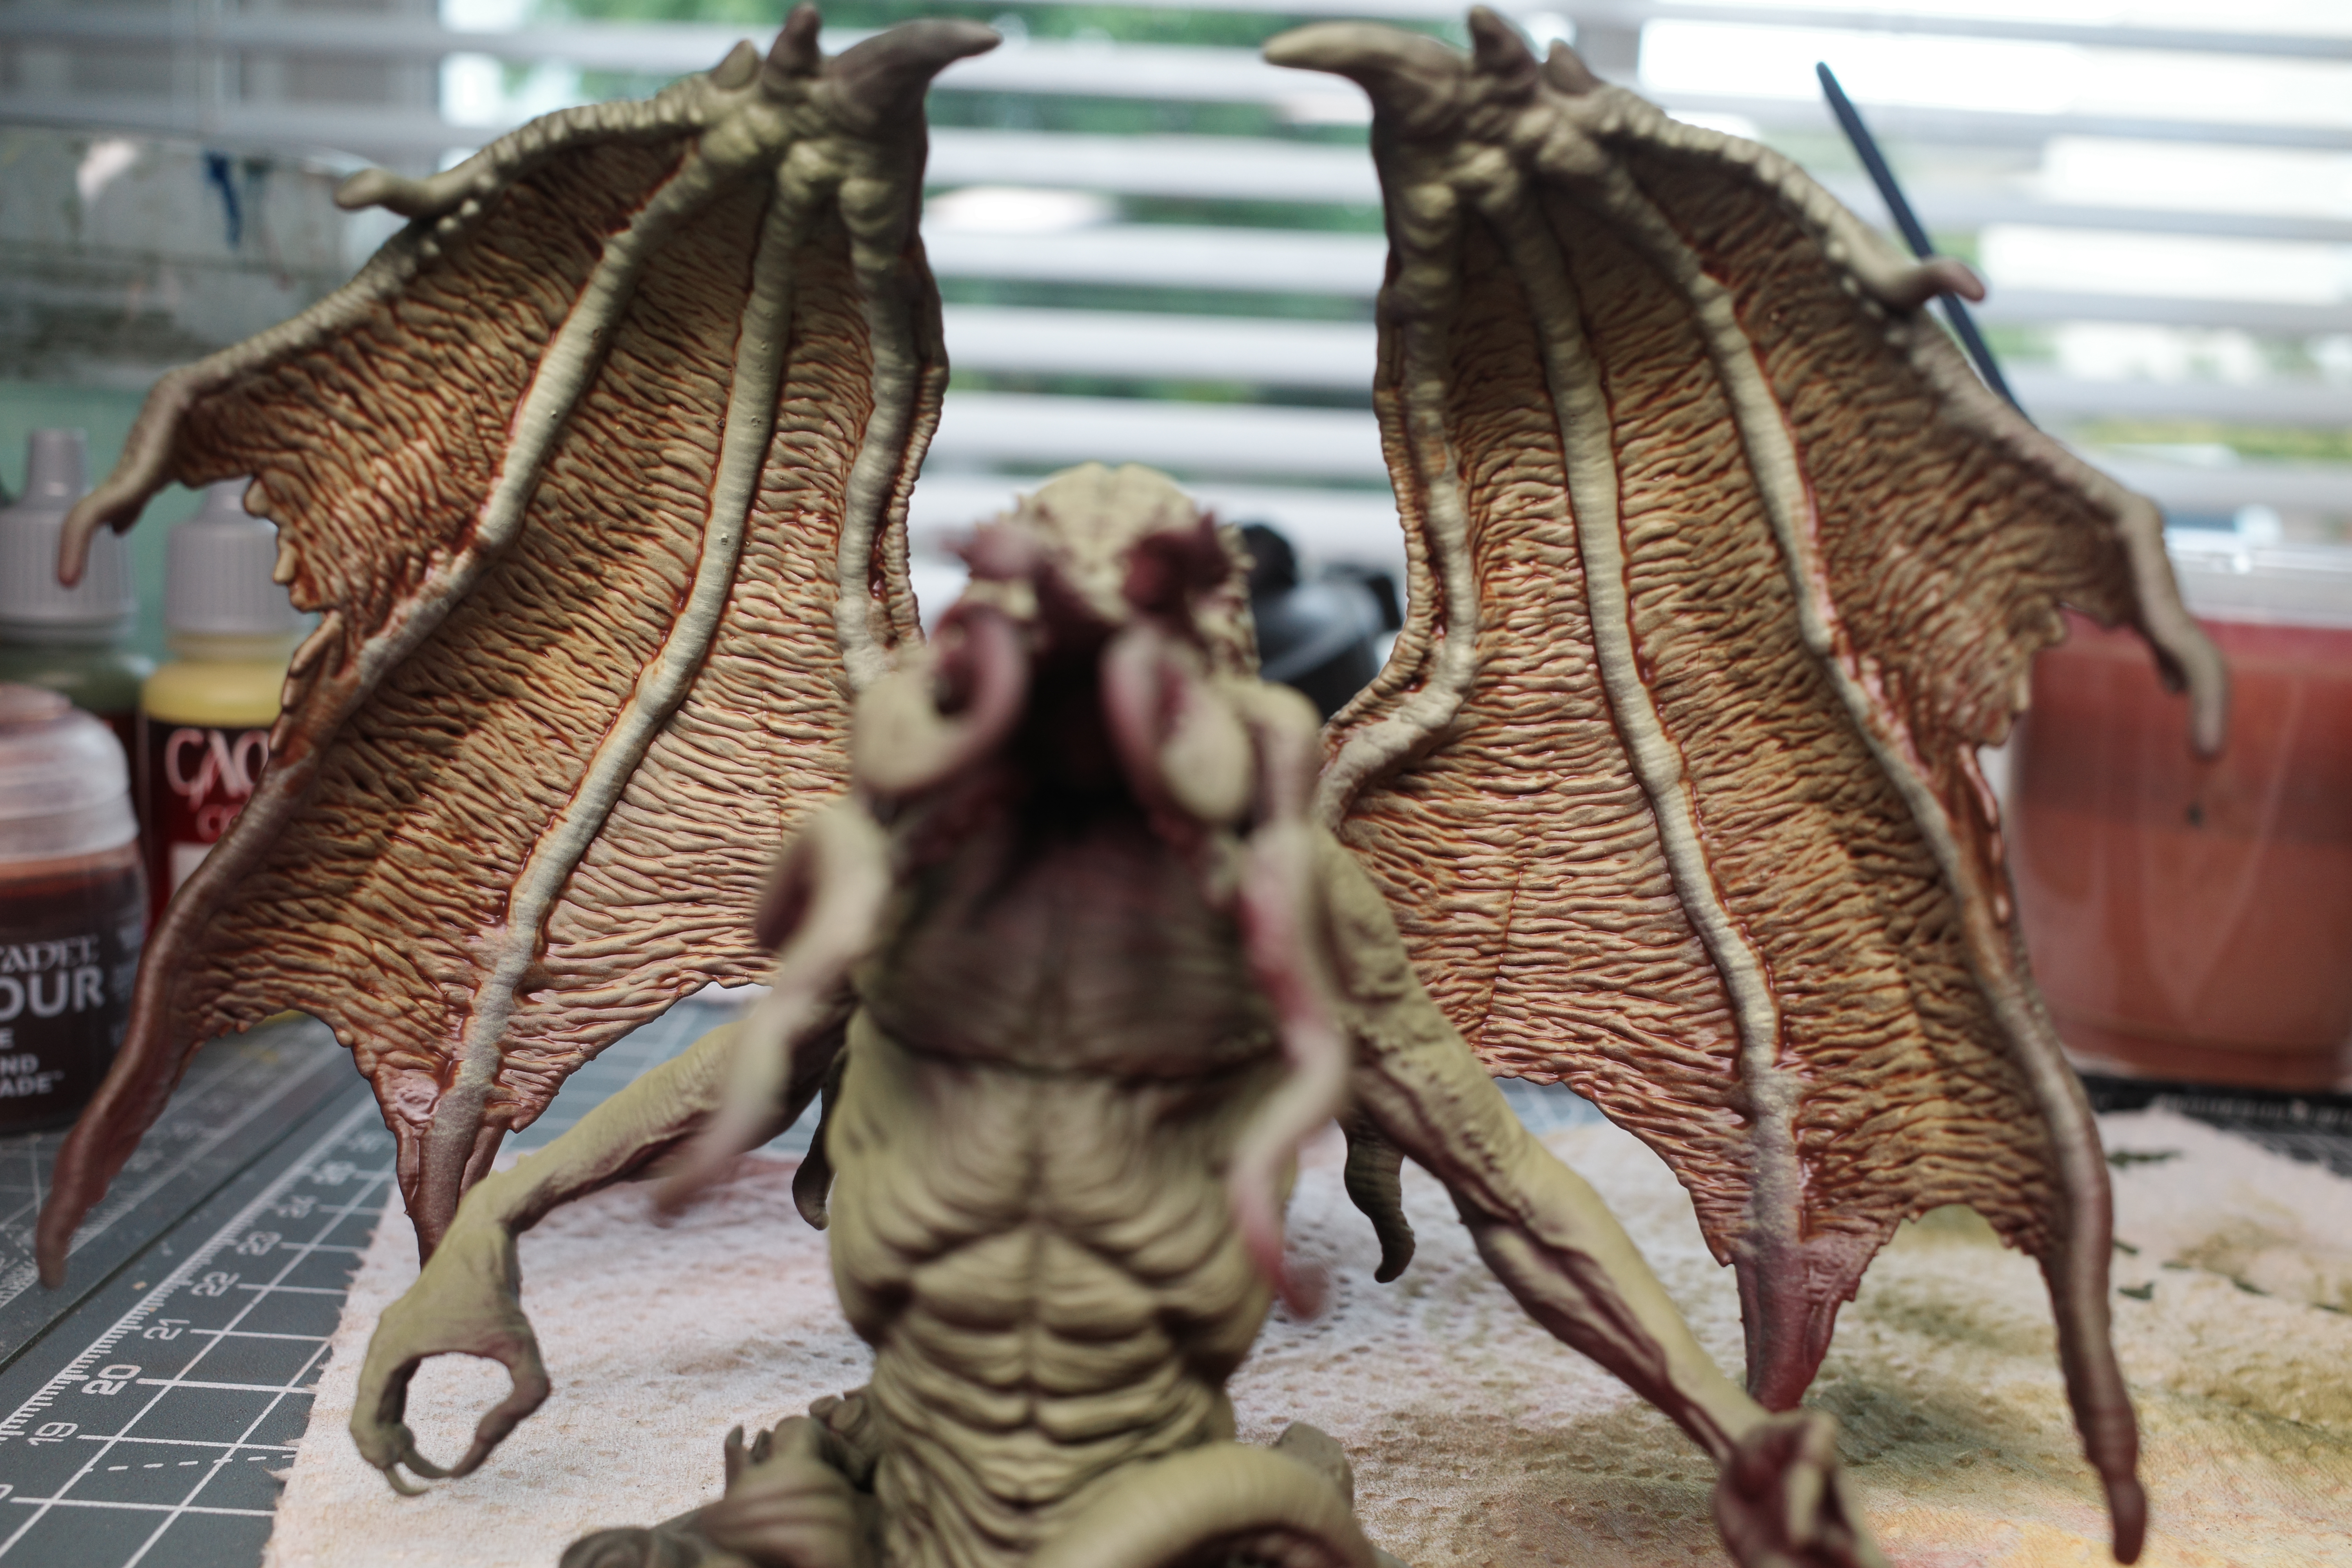
5. Airbrush Toxic Yellow (or anything pale/yellow-greenish) on wing membrane
This was intended to represent more light shining through the membranous wings, not sure if it really worked.
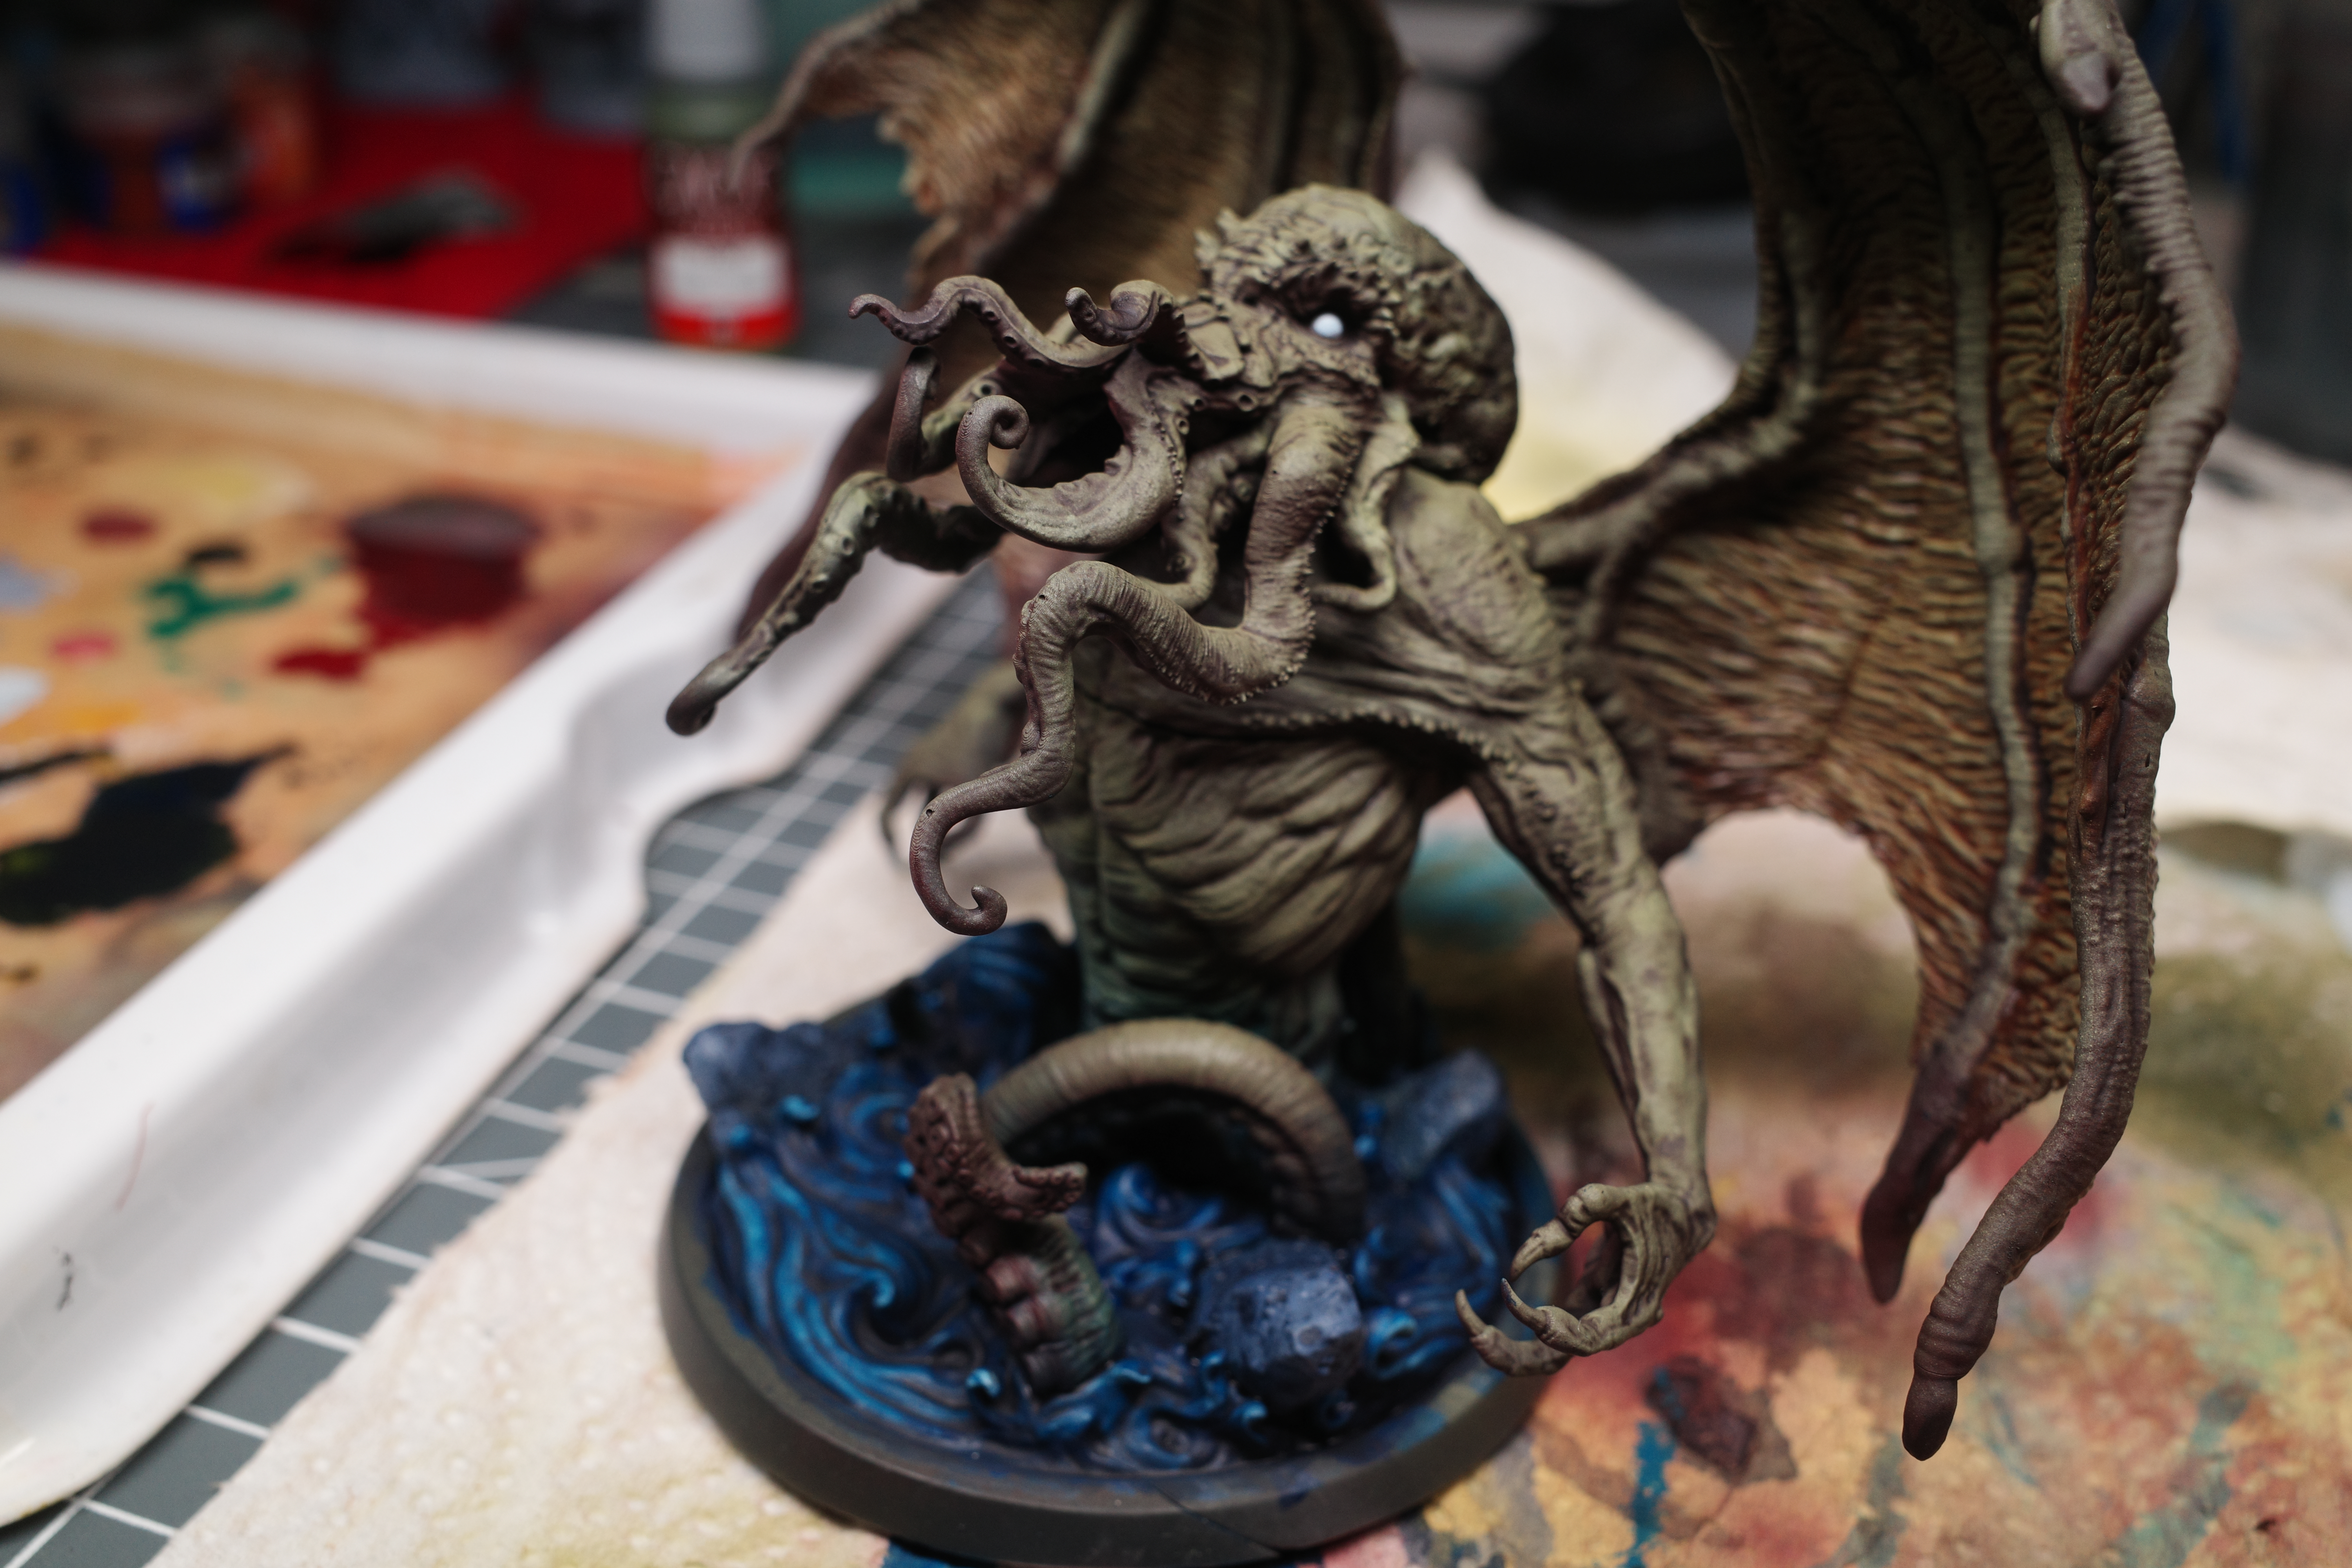
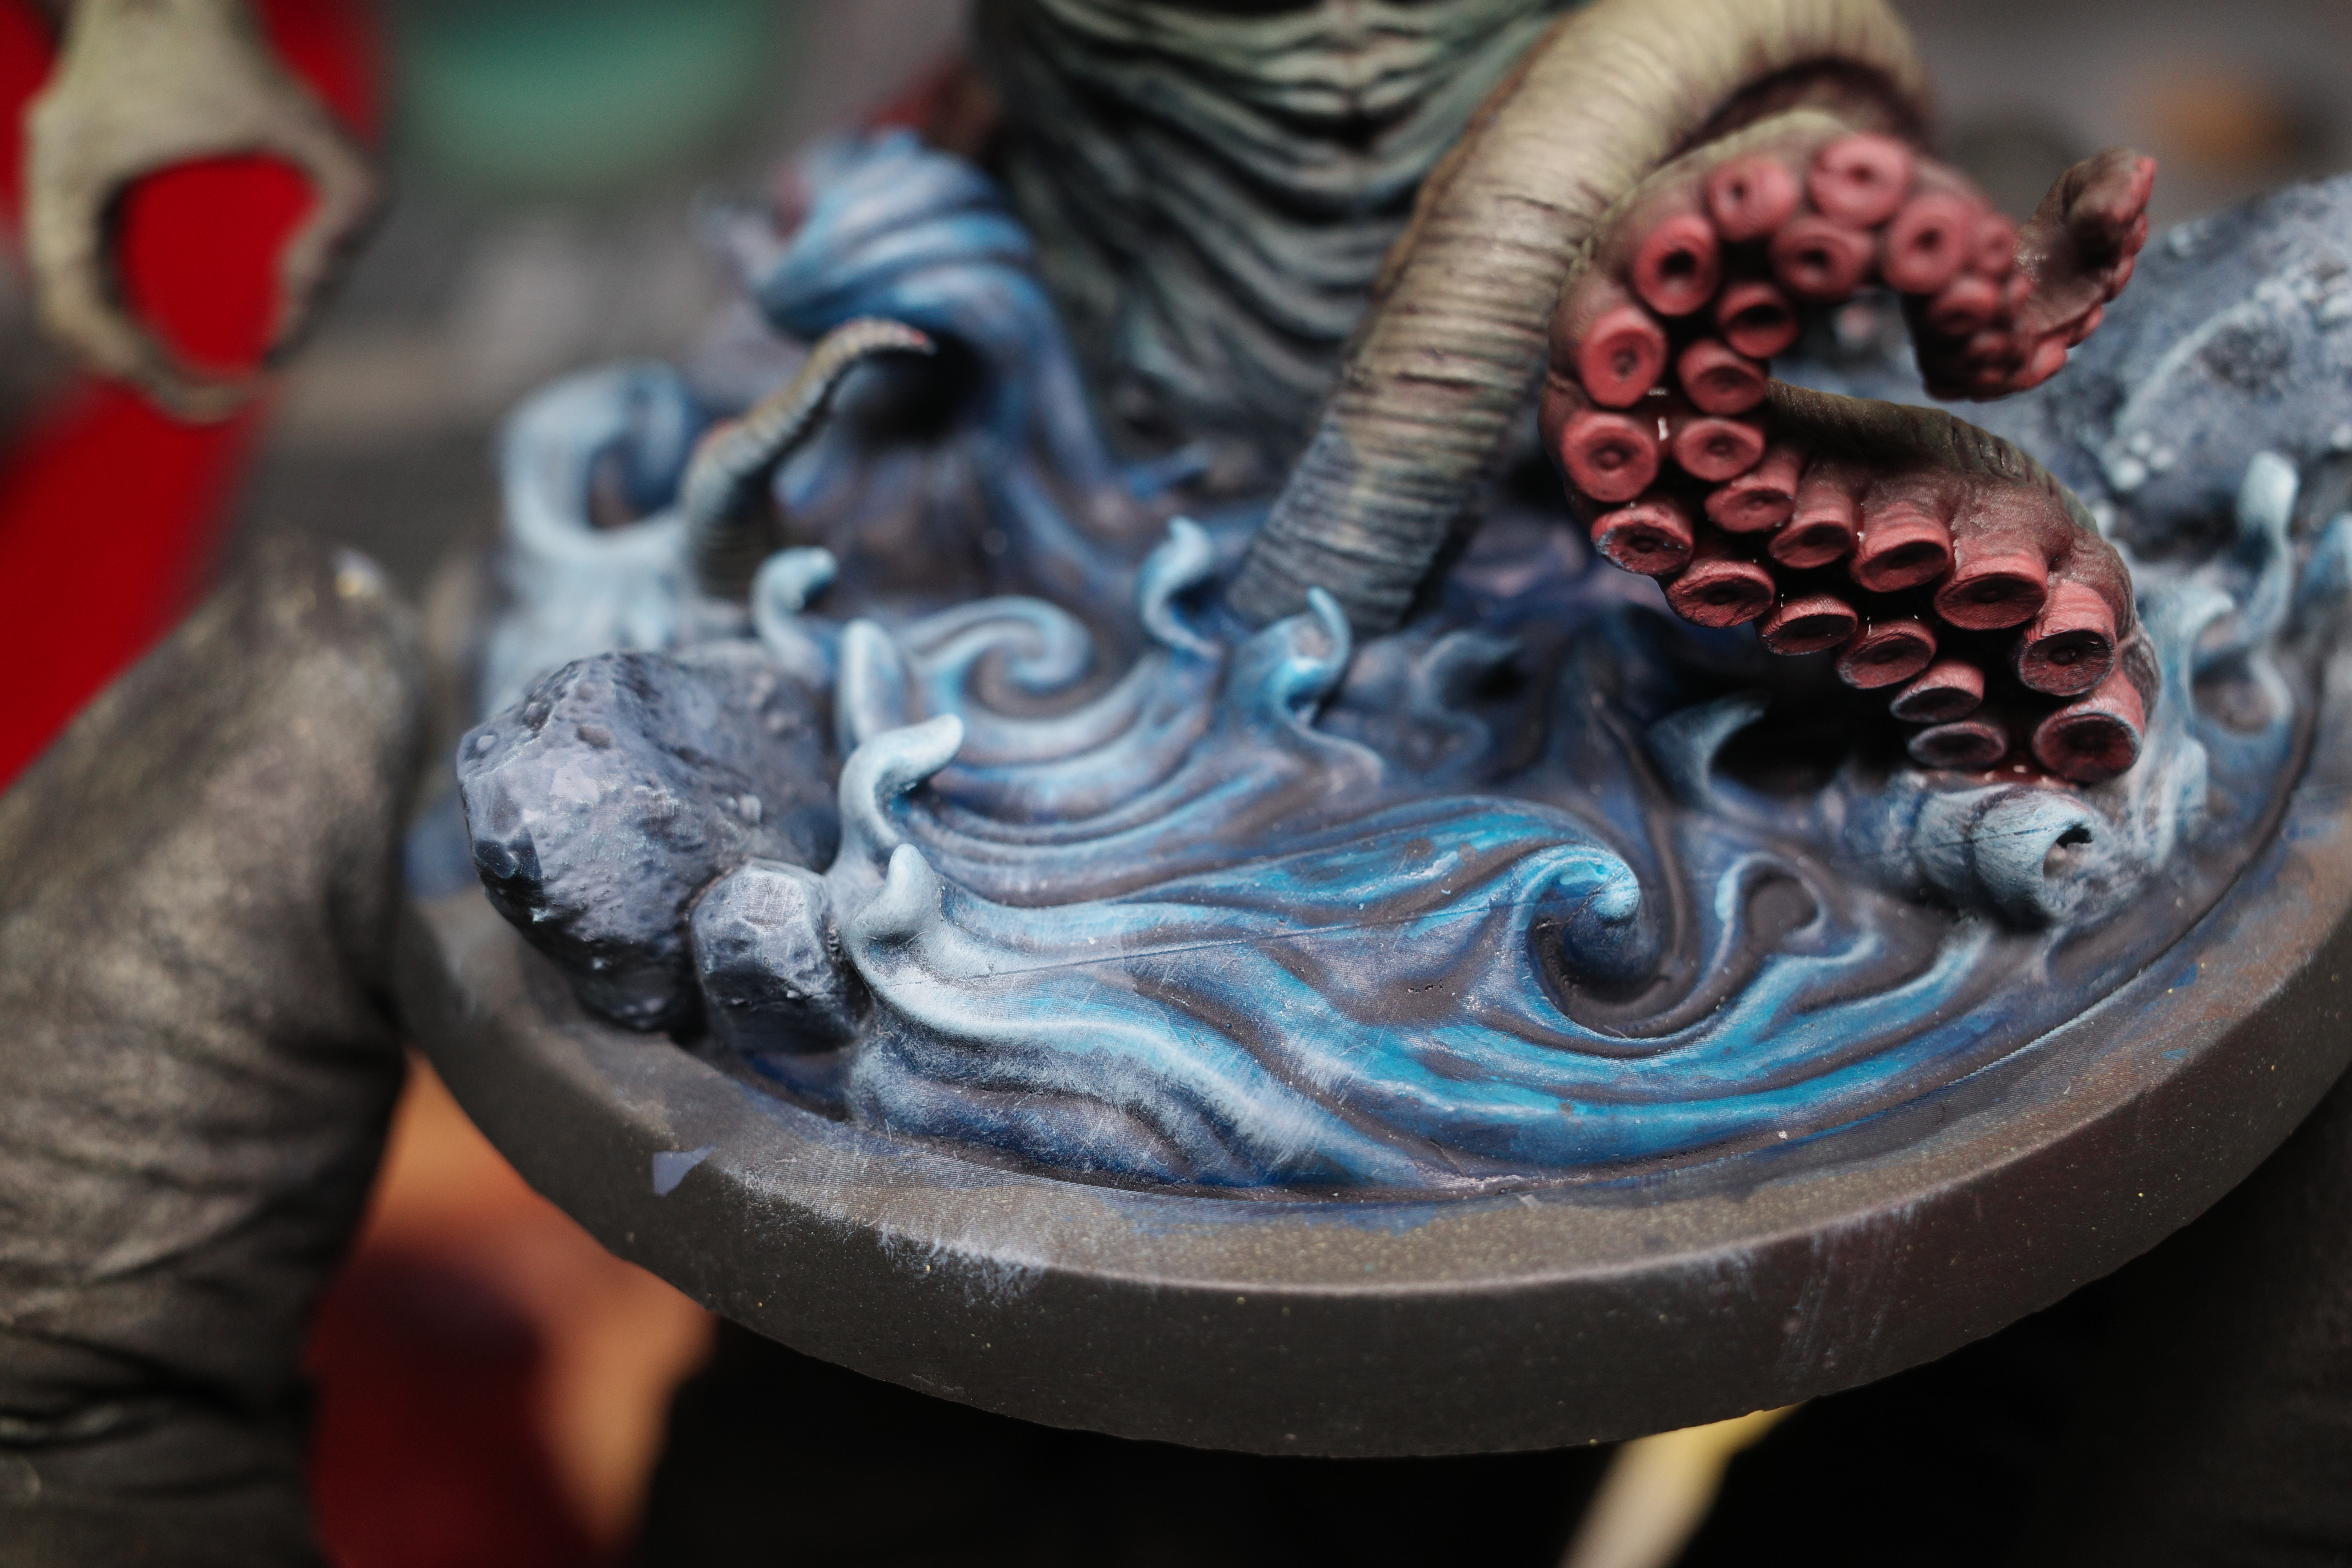
6. Paint water with blend of blues
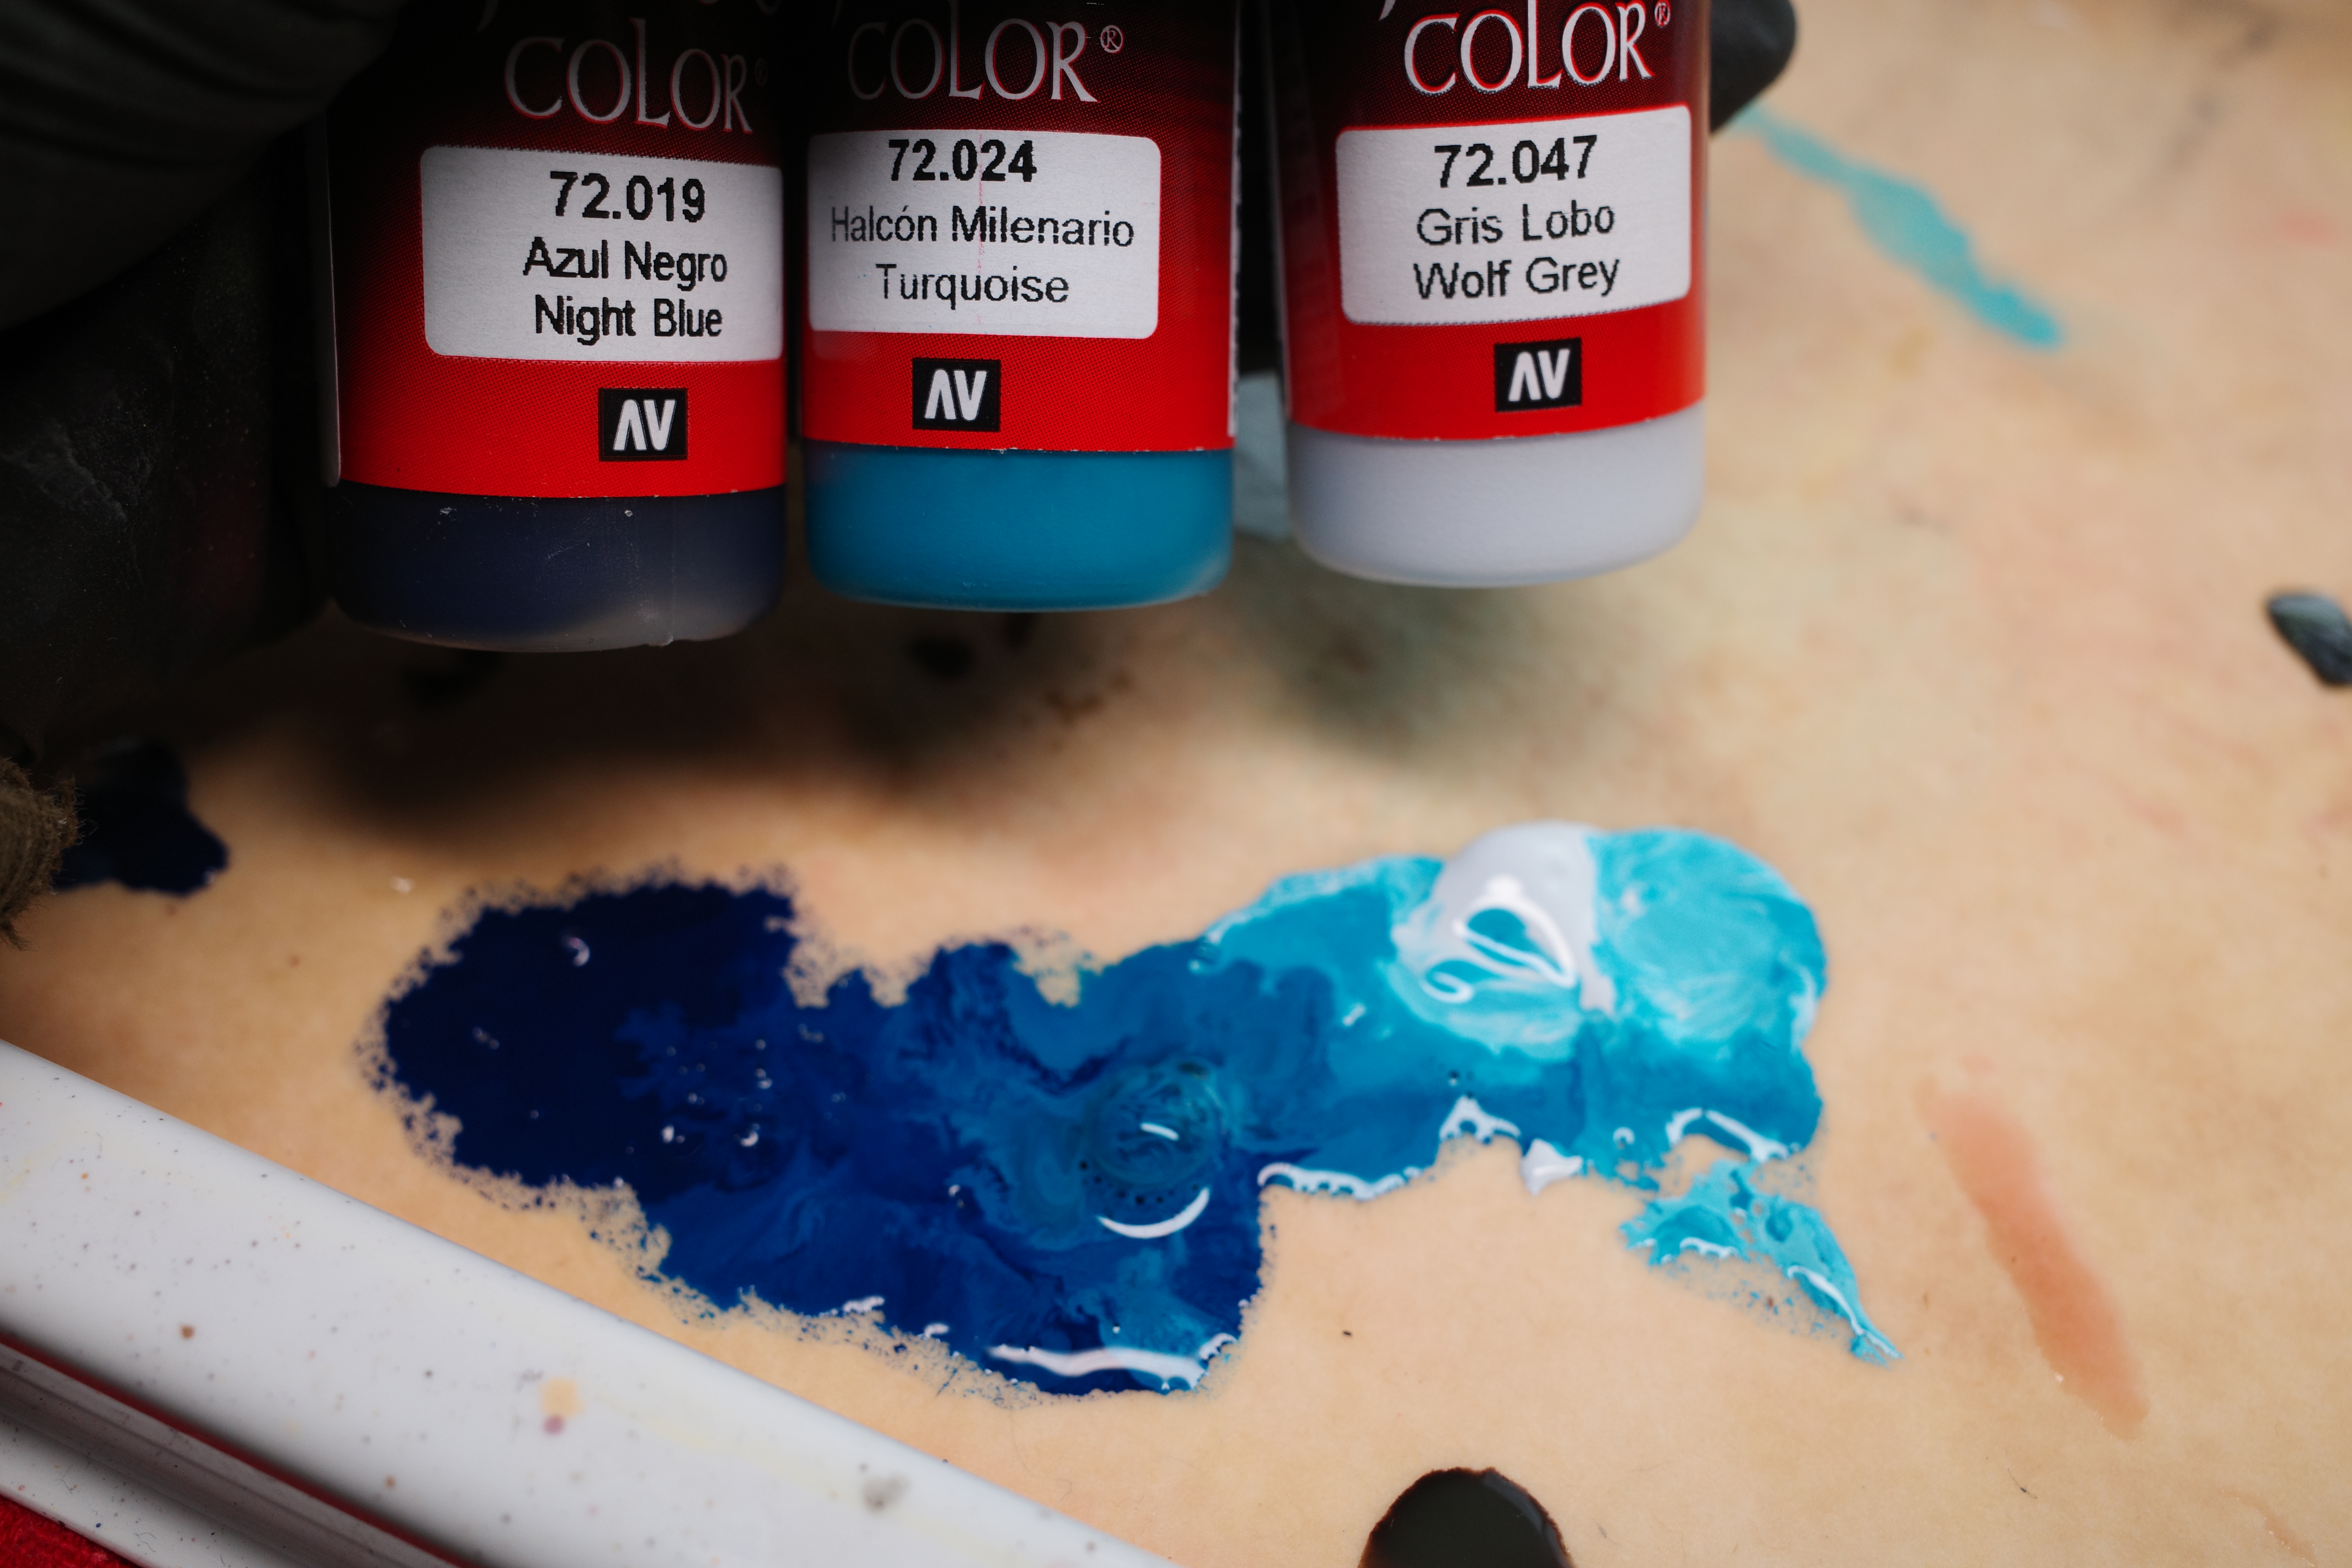
I started by painting all water with pure Night Blue.
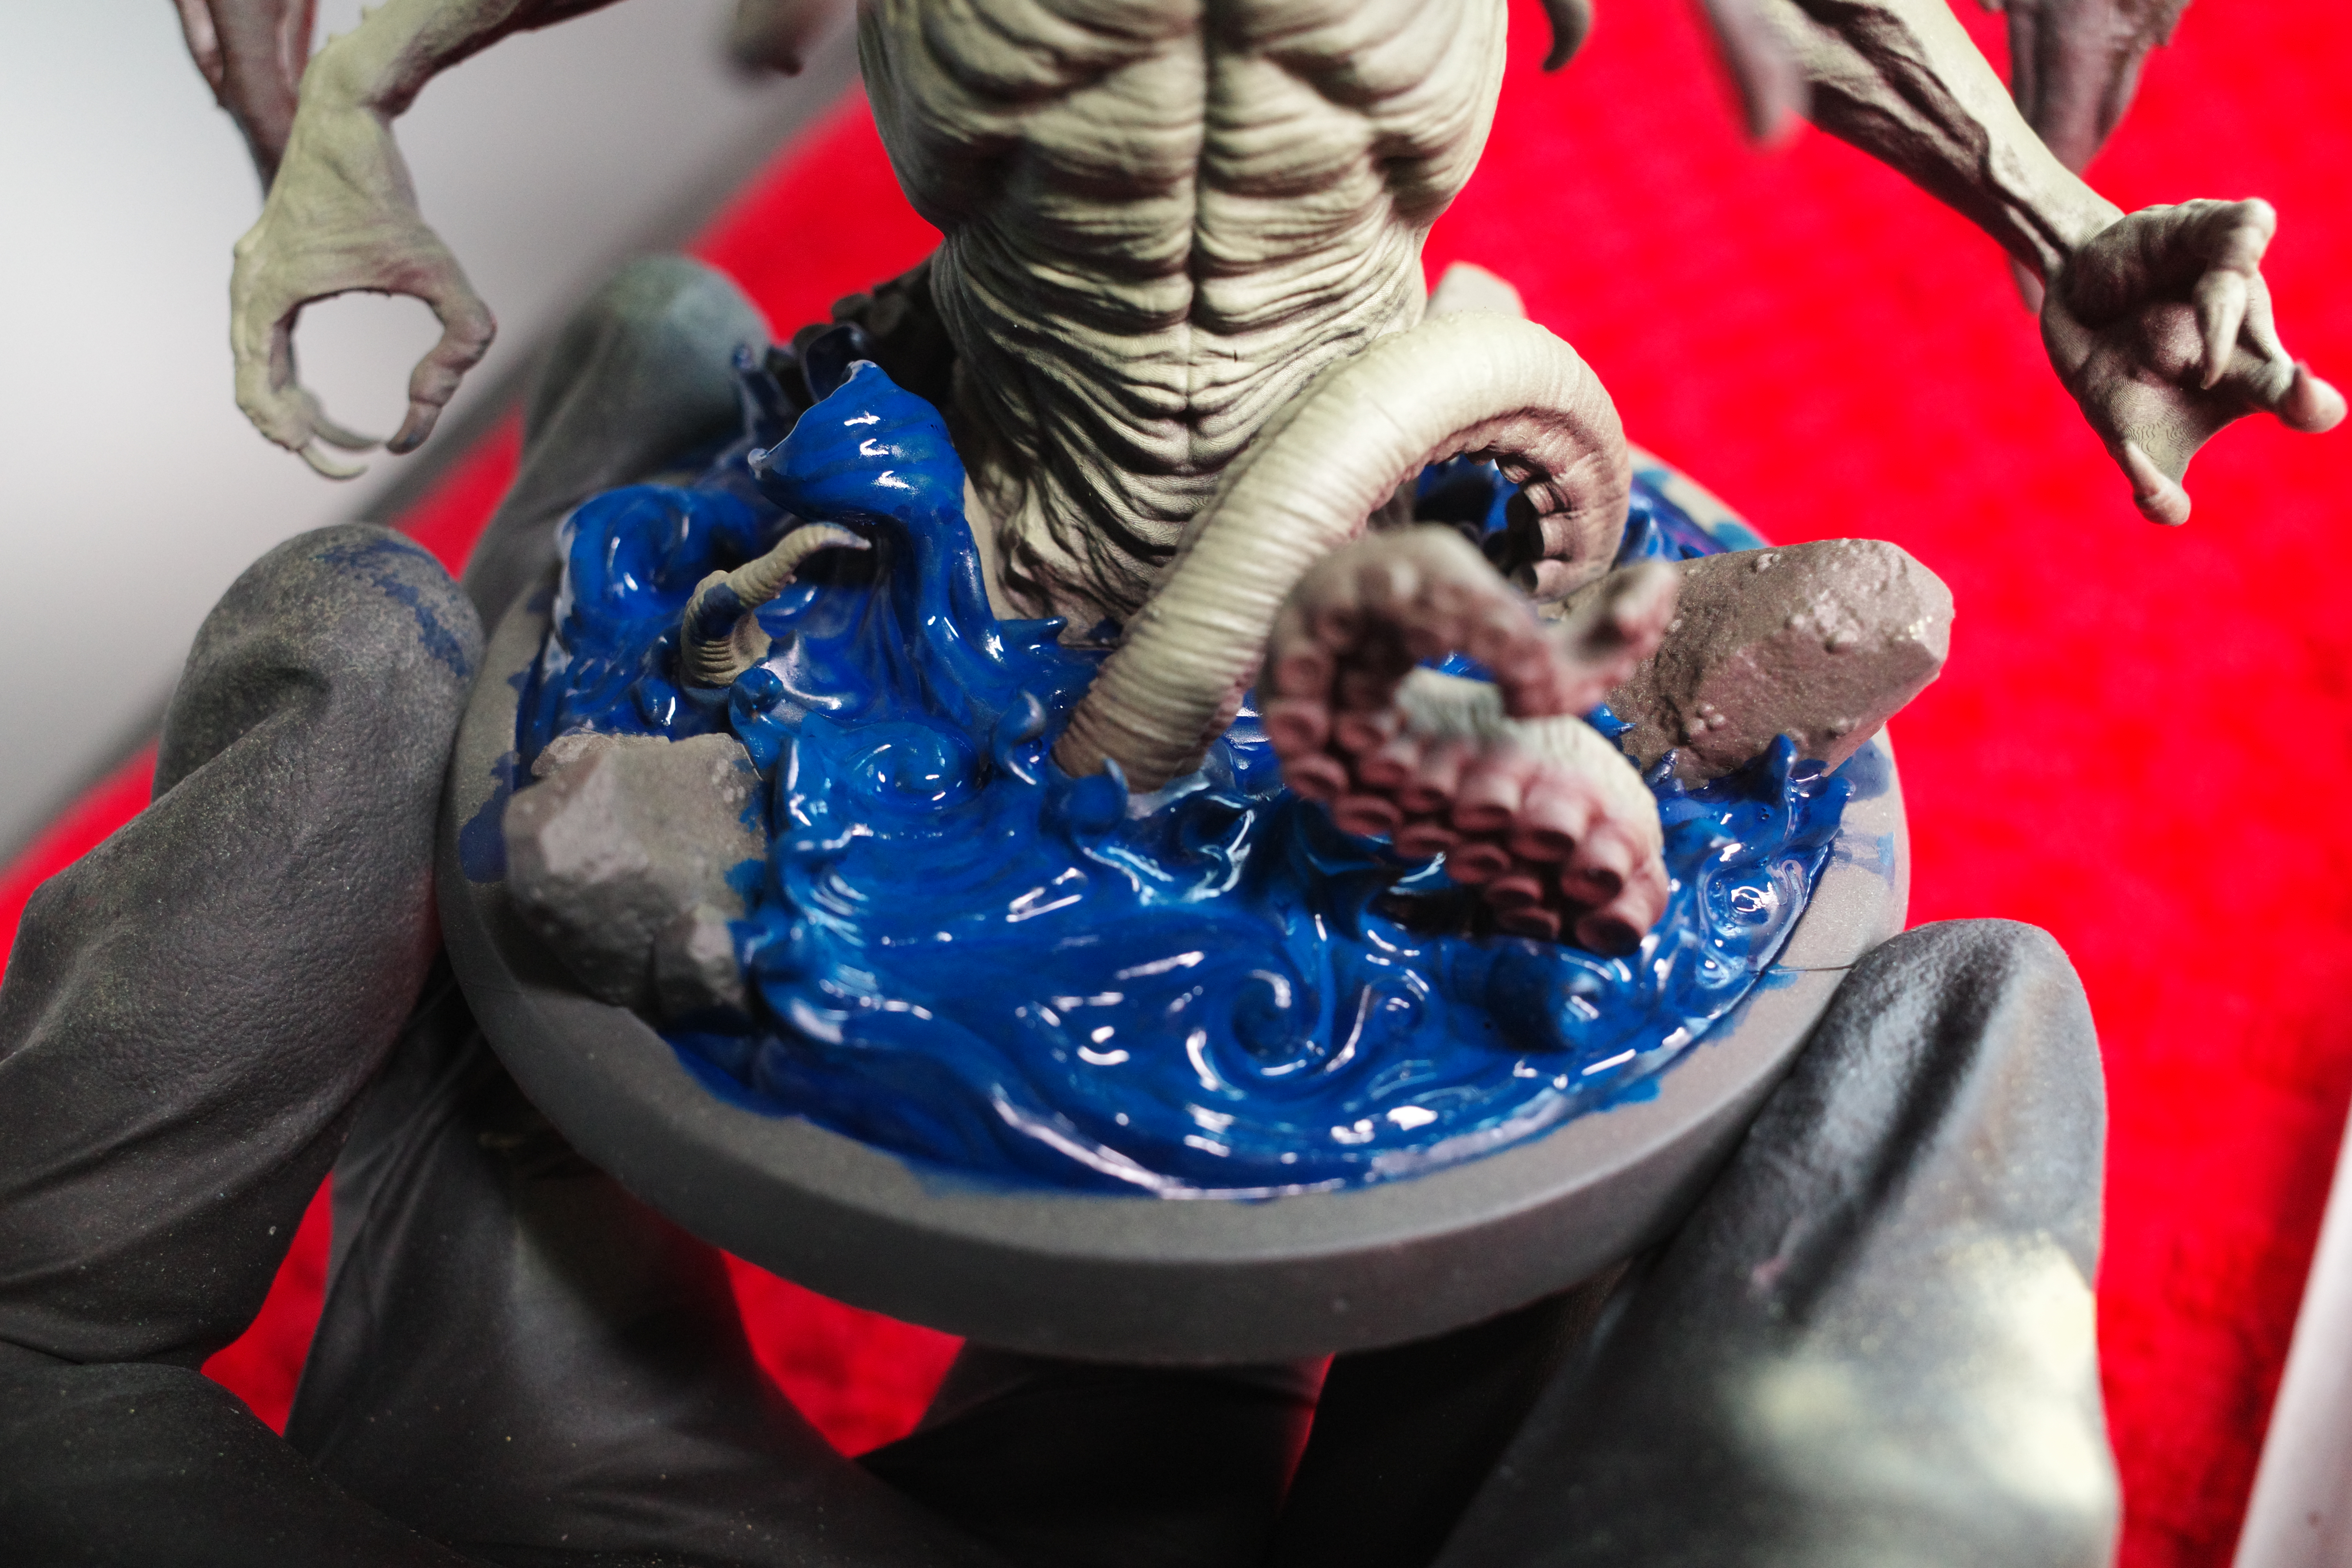
Progressively wet blended in lighter colours on waves and tips of waves.
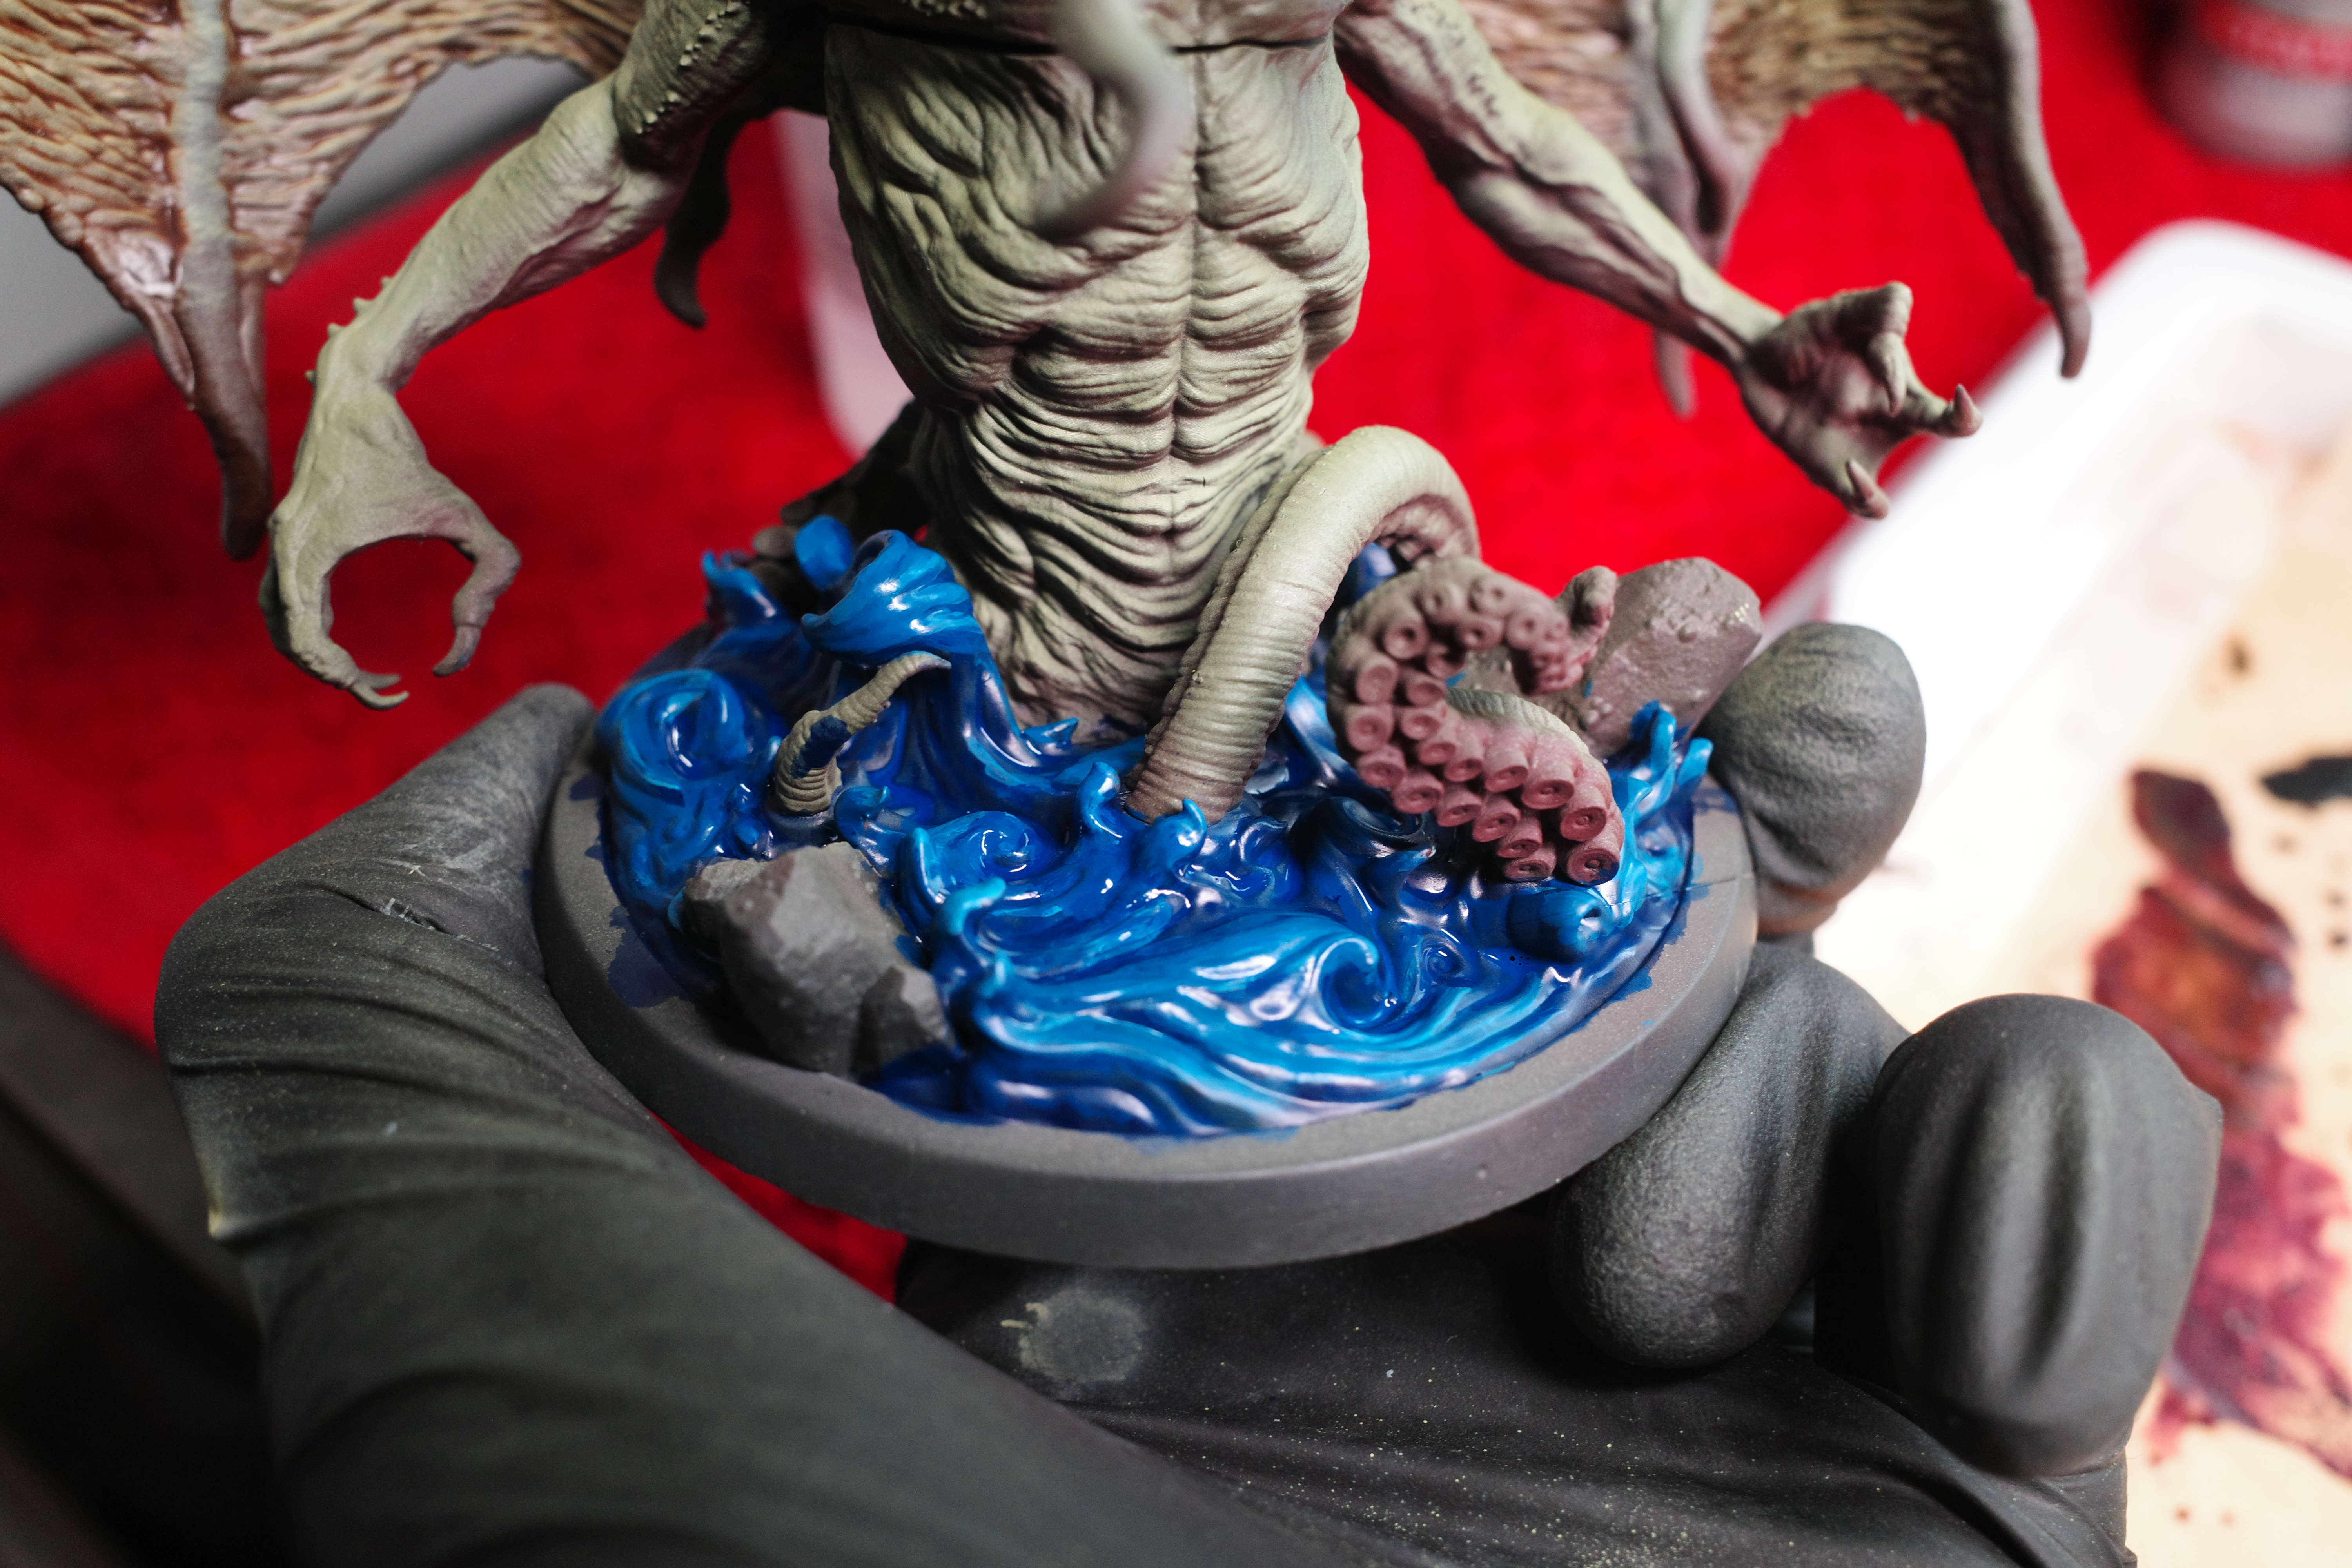
Blend of Turquoise and Wolf Grey on the wave peaks. I’m going to drybrush pure Wolf Grey later around the rocks and tentacles for the foam.
7. Basecoat rocks with Vallejo Cold Grey
(image above)
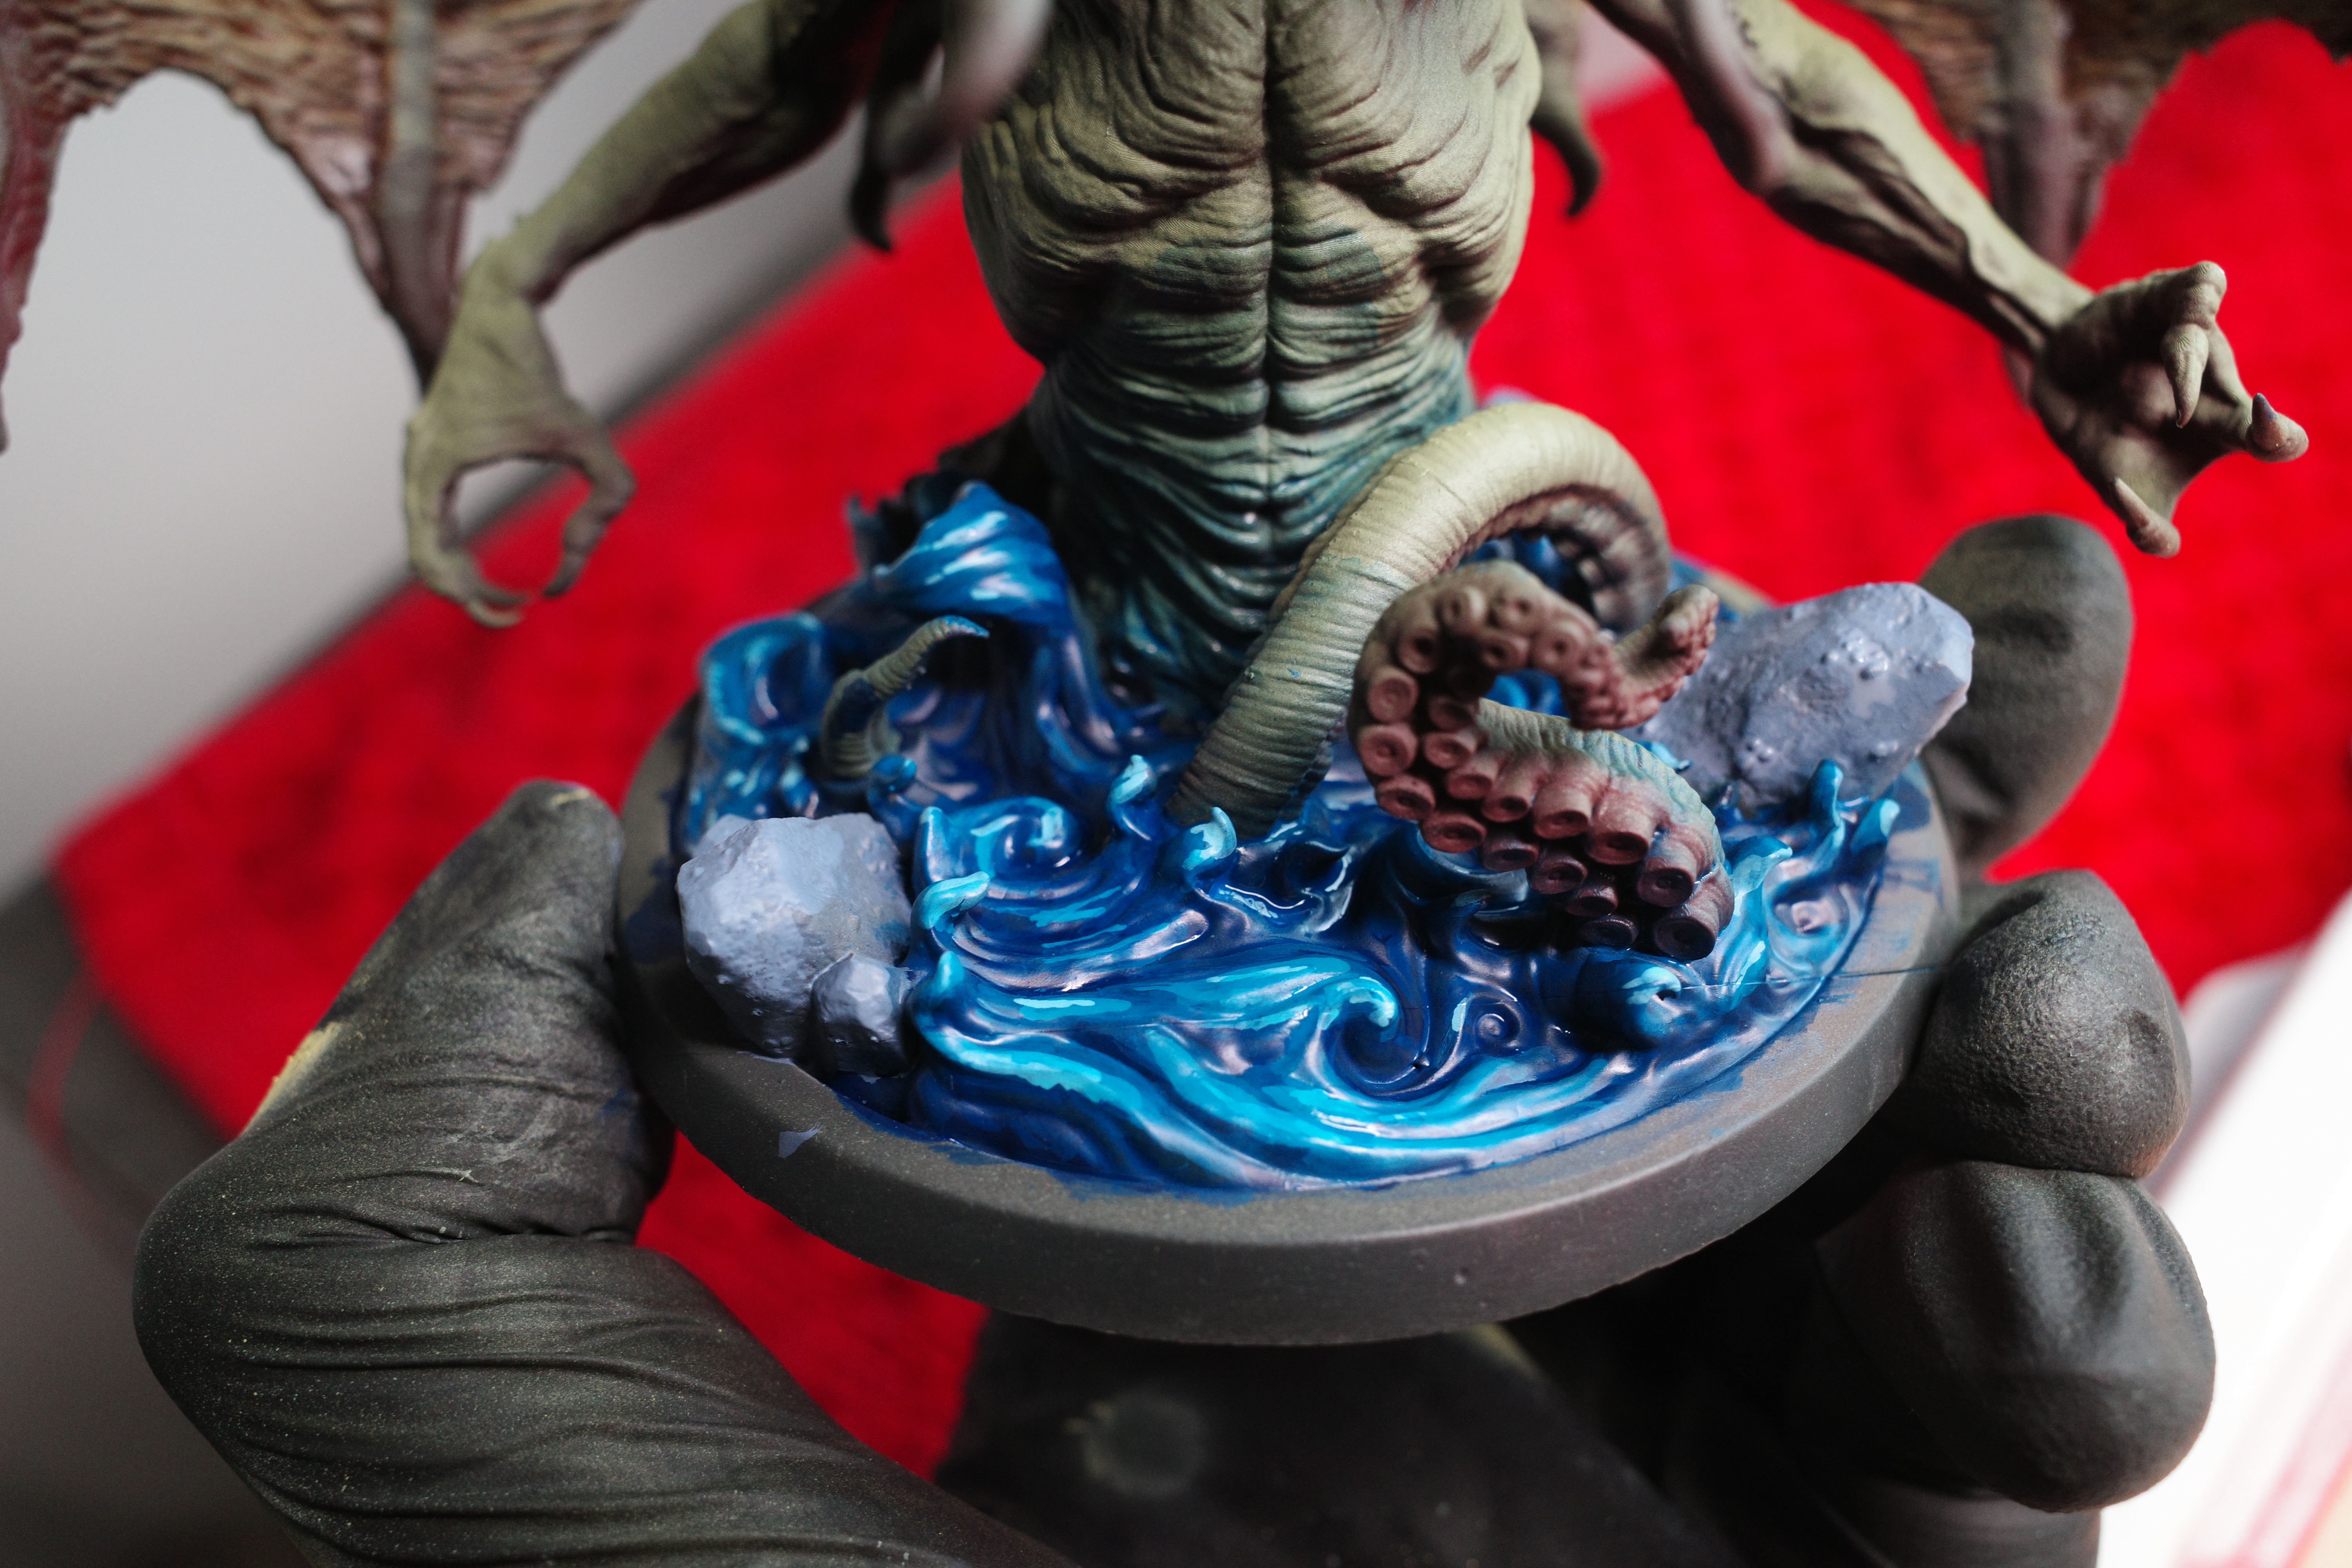
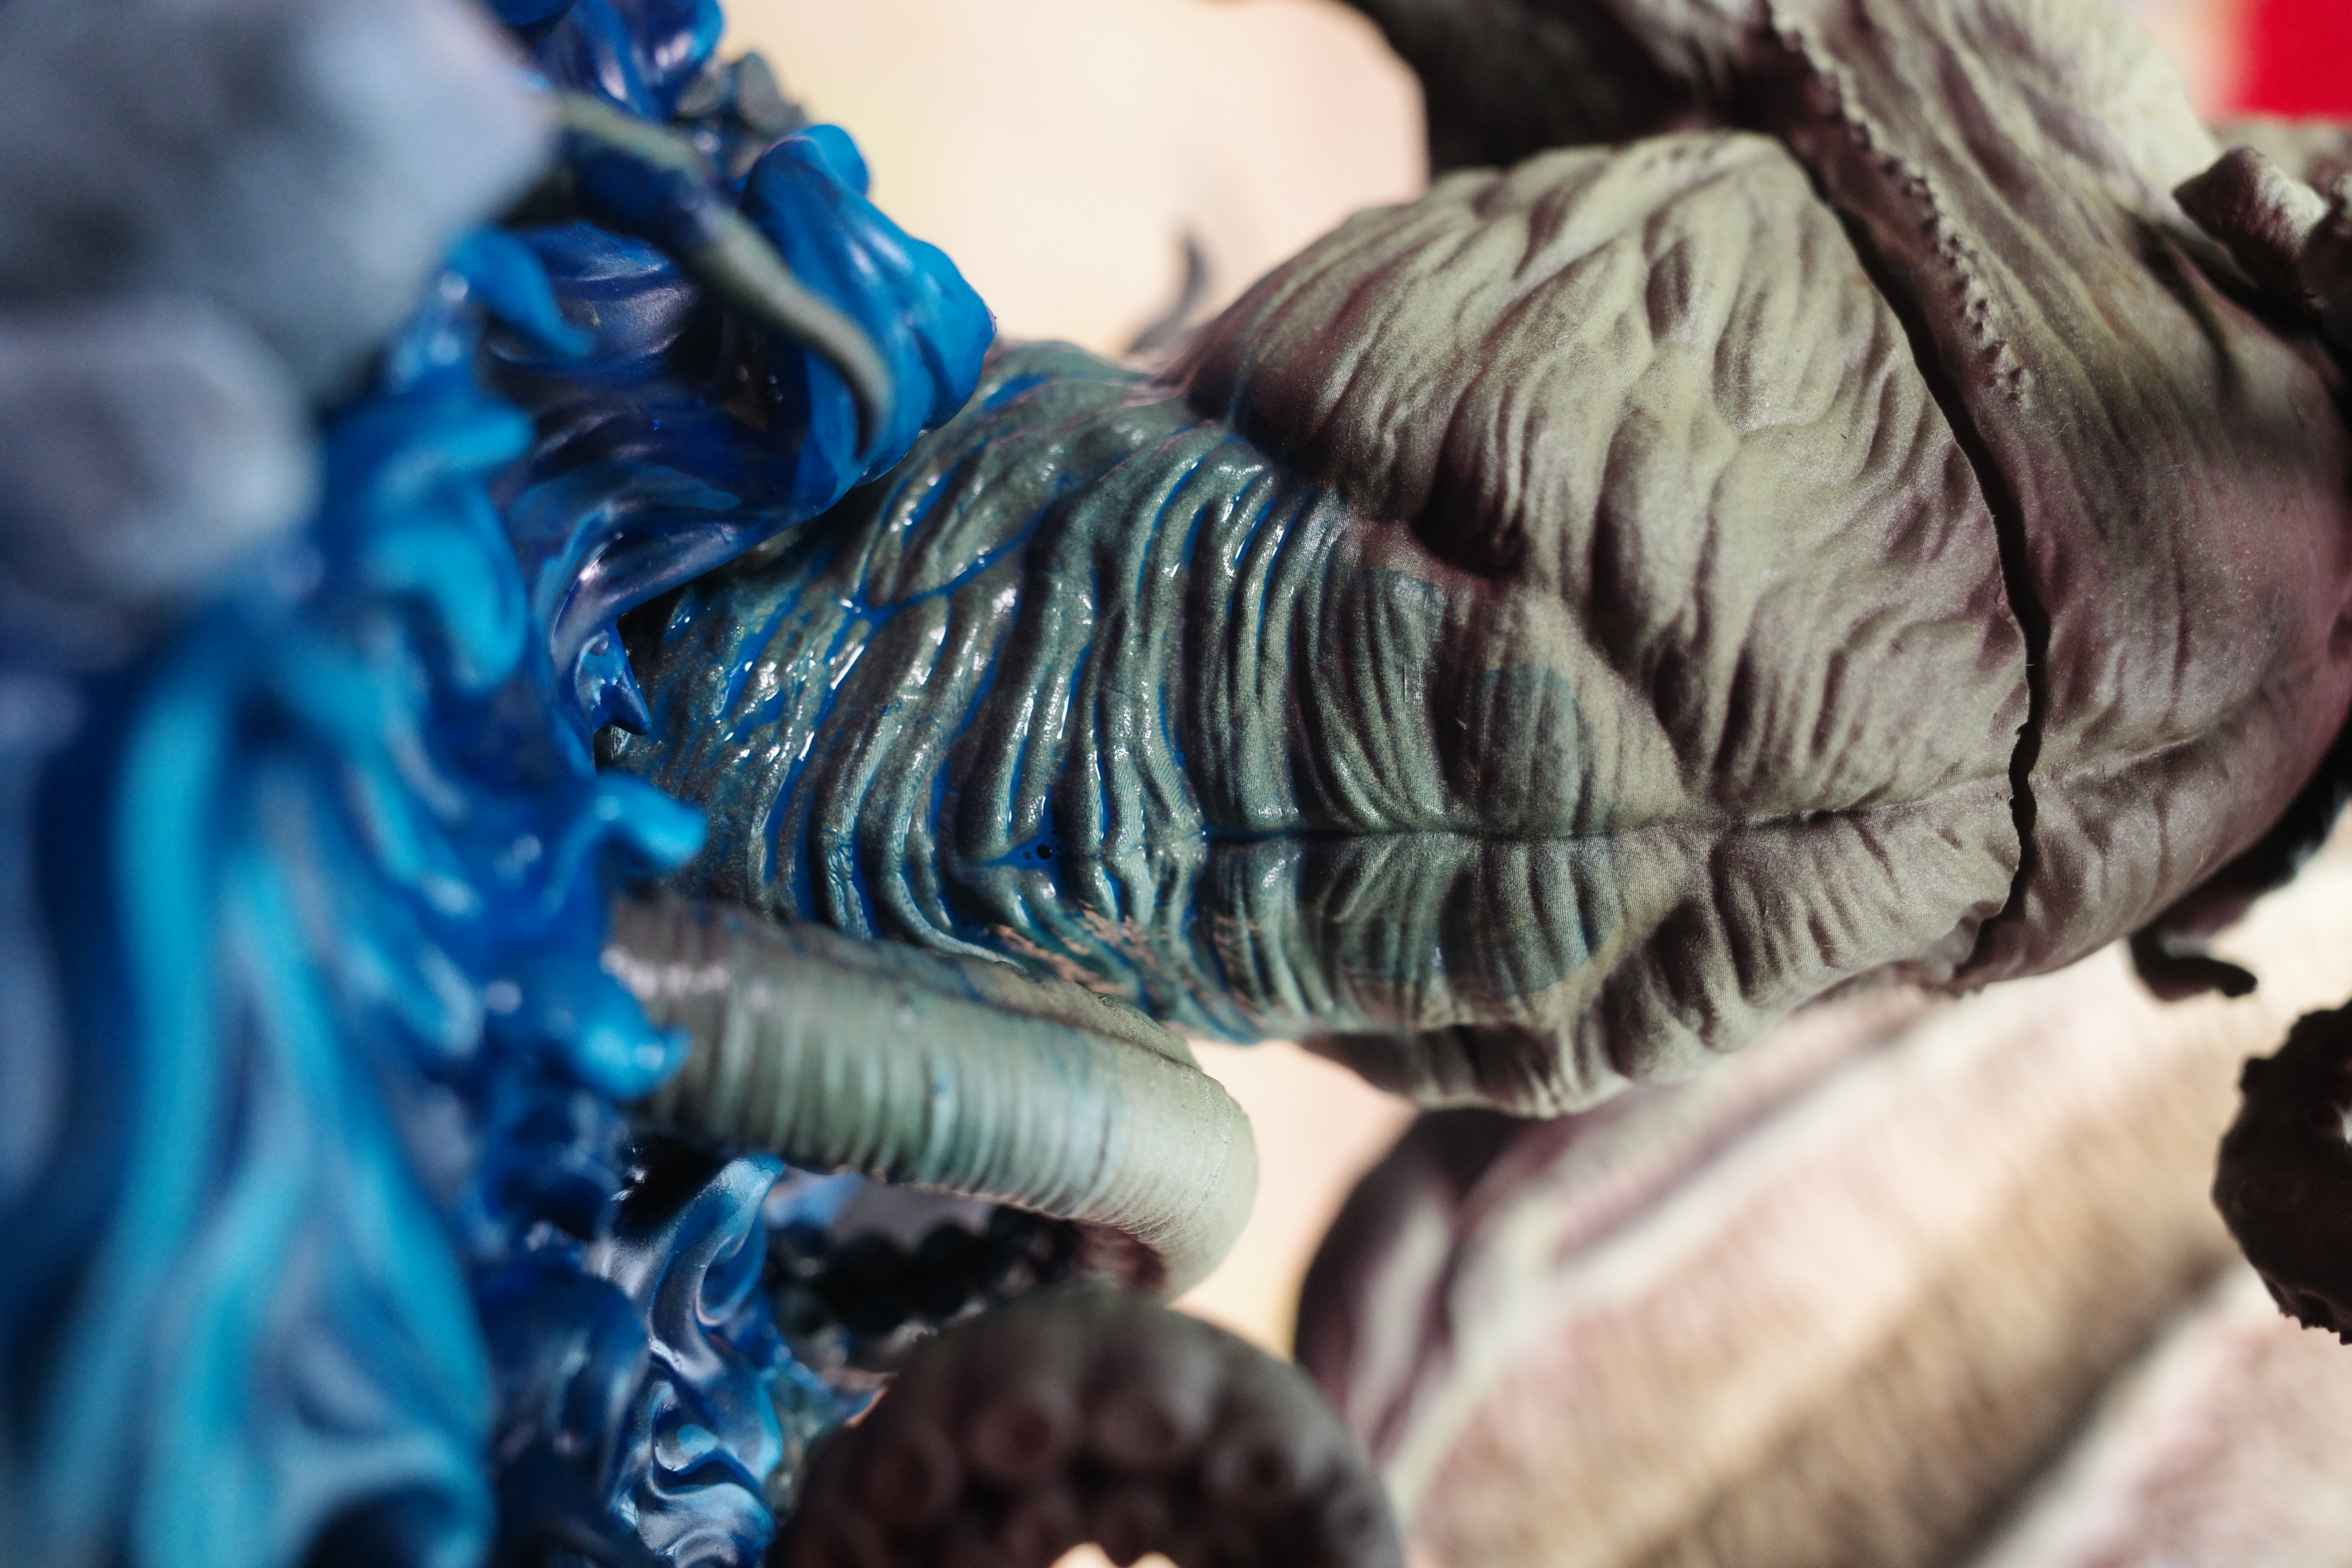
8. Glaze turquoise up bottom of the flesh emerging from water
There was an abrupt transition between Cthulhu and the water so I did some blending of the water colour (thinned) onto the bottom of the flesh.
Shading
1. Shade wing membrane with Citadel Reikland Fleshtone
I’m actually not sure if this would have been better shaded with the same tone as the rest of the flesh… I’d probably do that in hindsight.
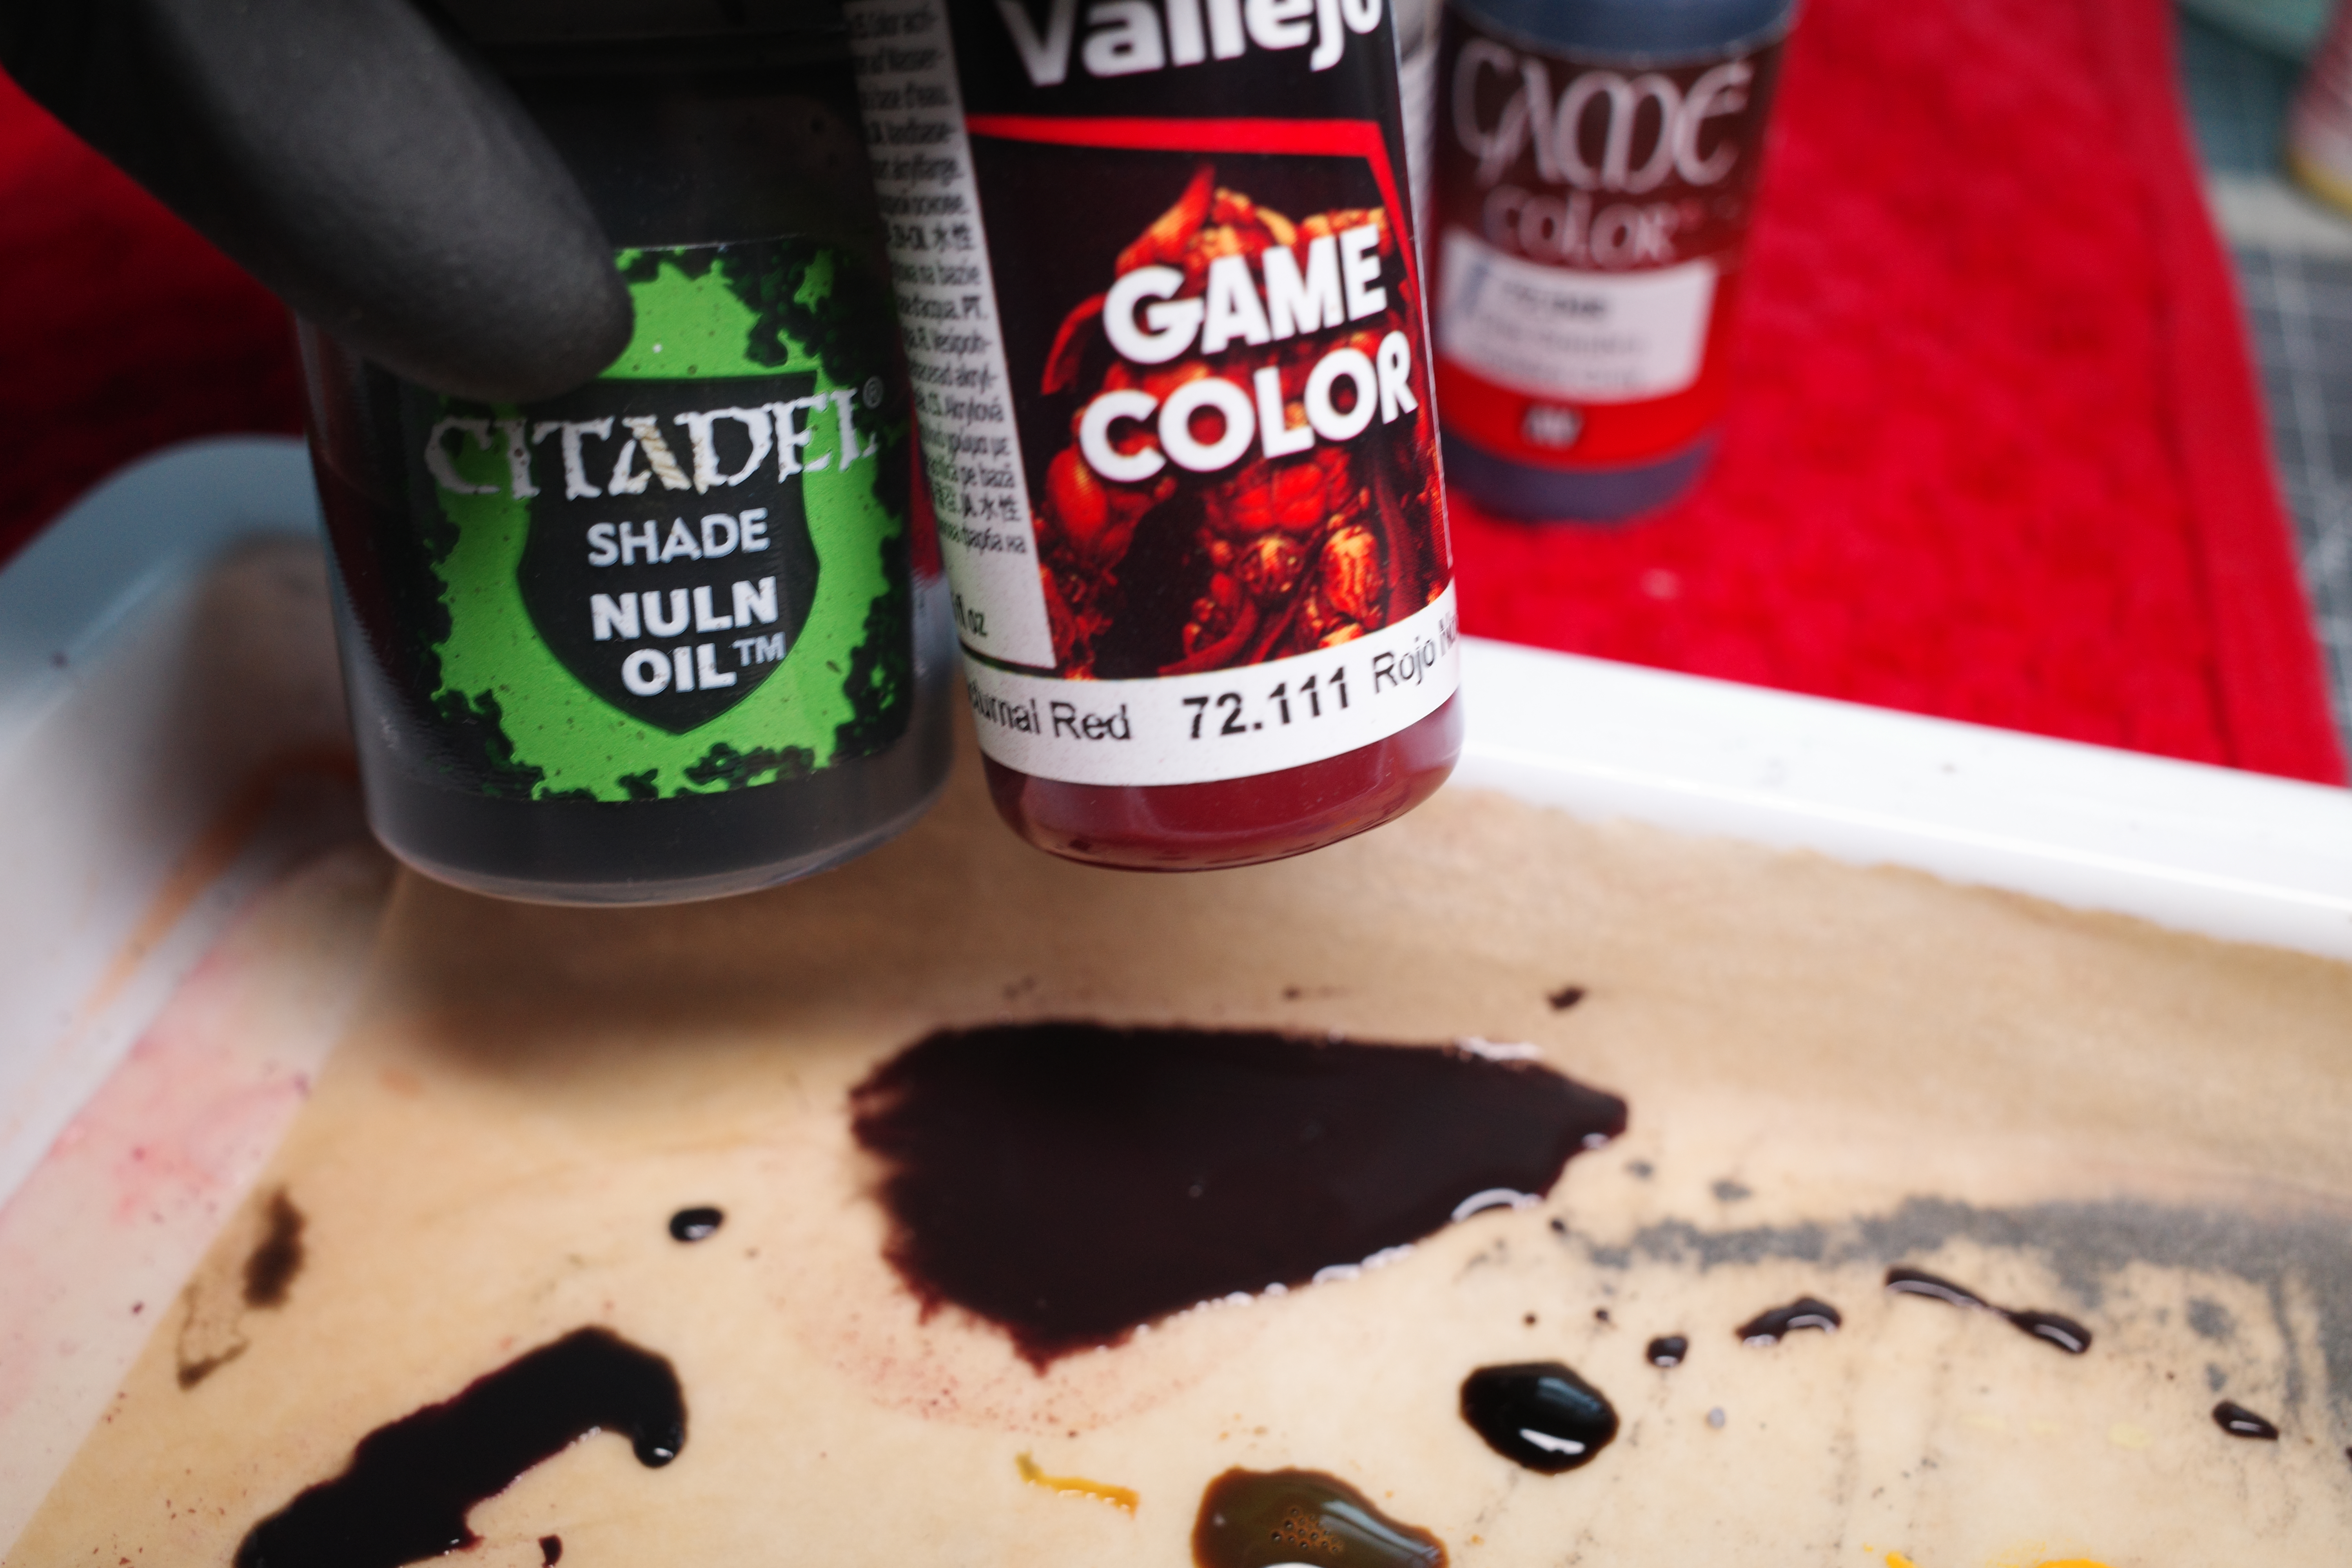
2. Shade flesh including tentacles with Nuln Oil + Nocturnal Red mix
I wanted to shade the crevasses with the same dark red tone we initially basecoated in. I took a base of Nuln Oil and added Nocturnal Red to it then thinned it a bit more to offset the added pigment.
3. Shade water with Nuln Oil + Night Blue mix
I blended this water shade with the flesh shade above on all the fleshy parts emerging from the water, for a nice transition.
Highlighting
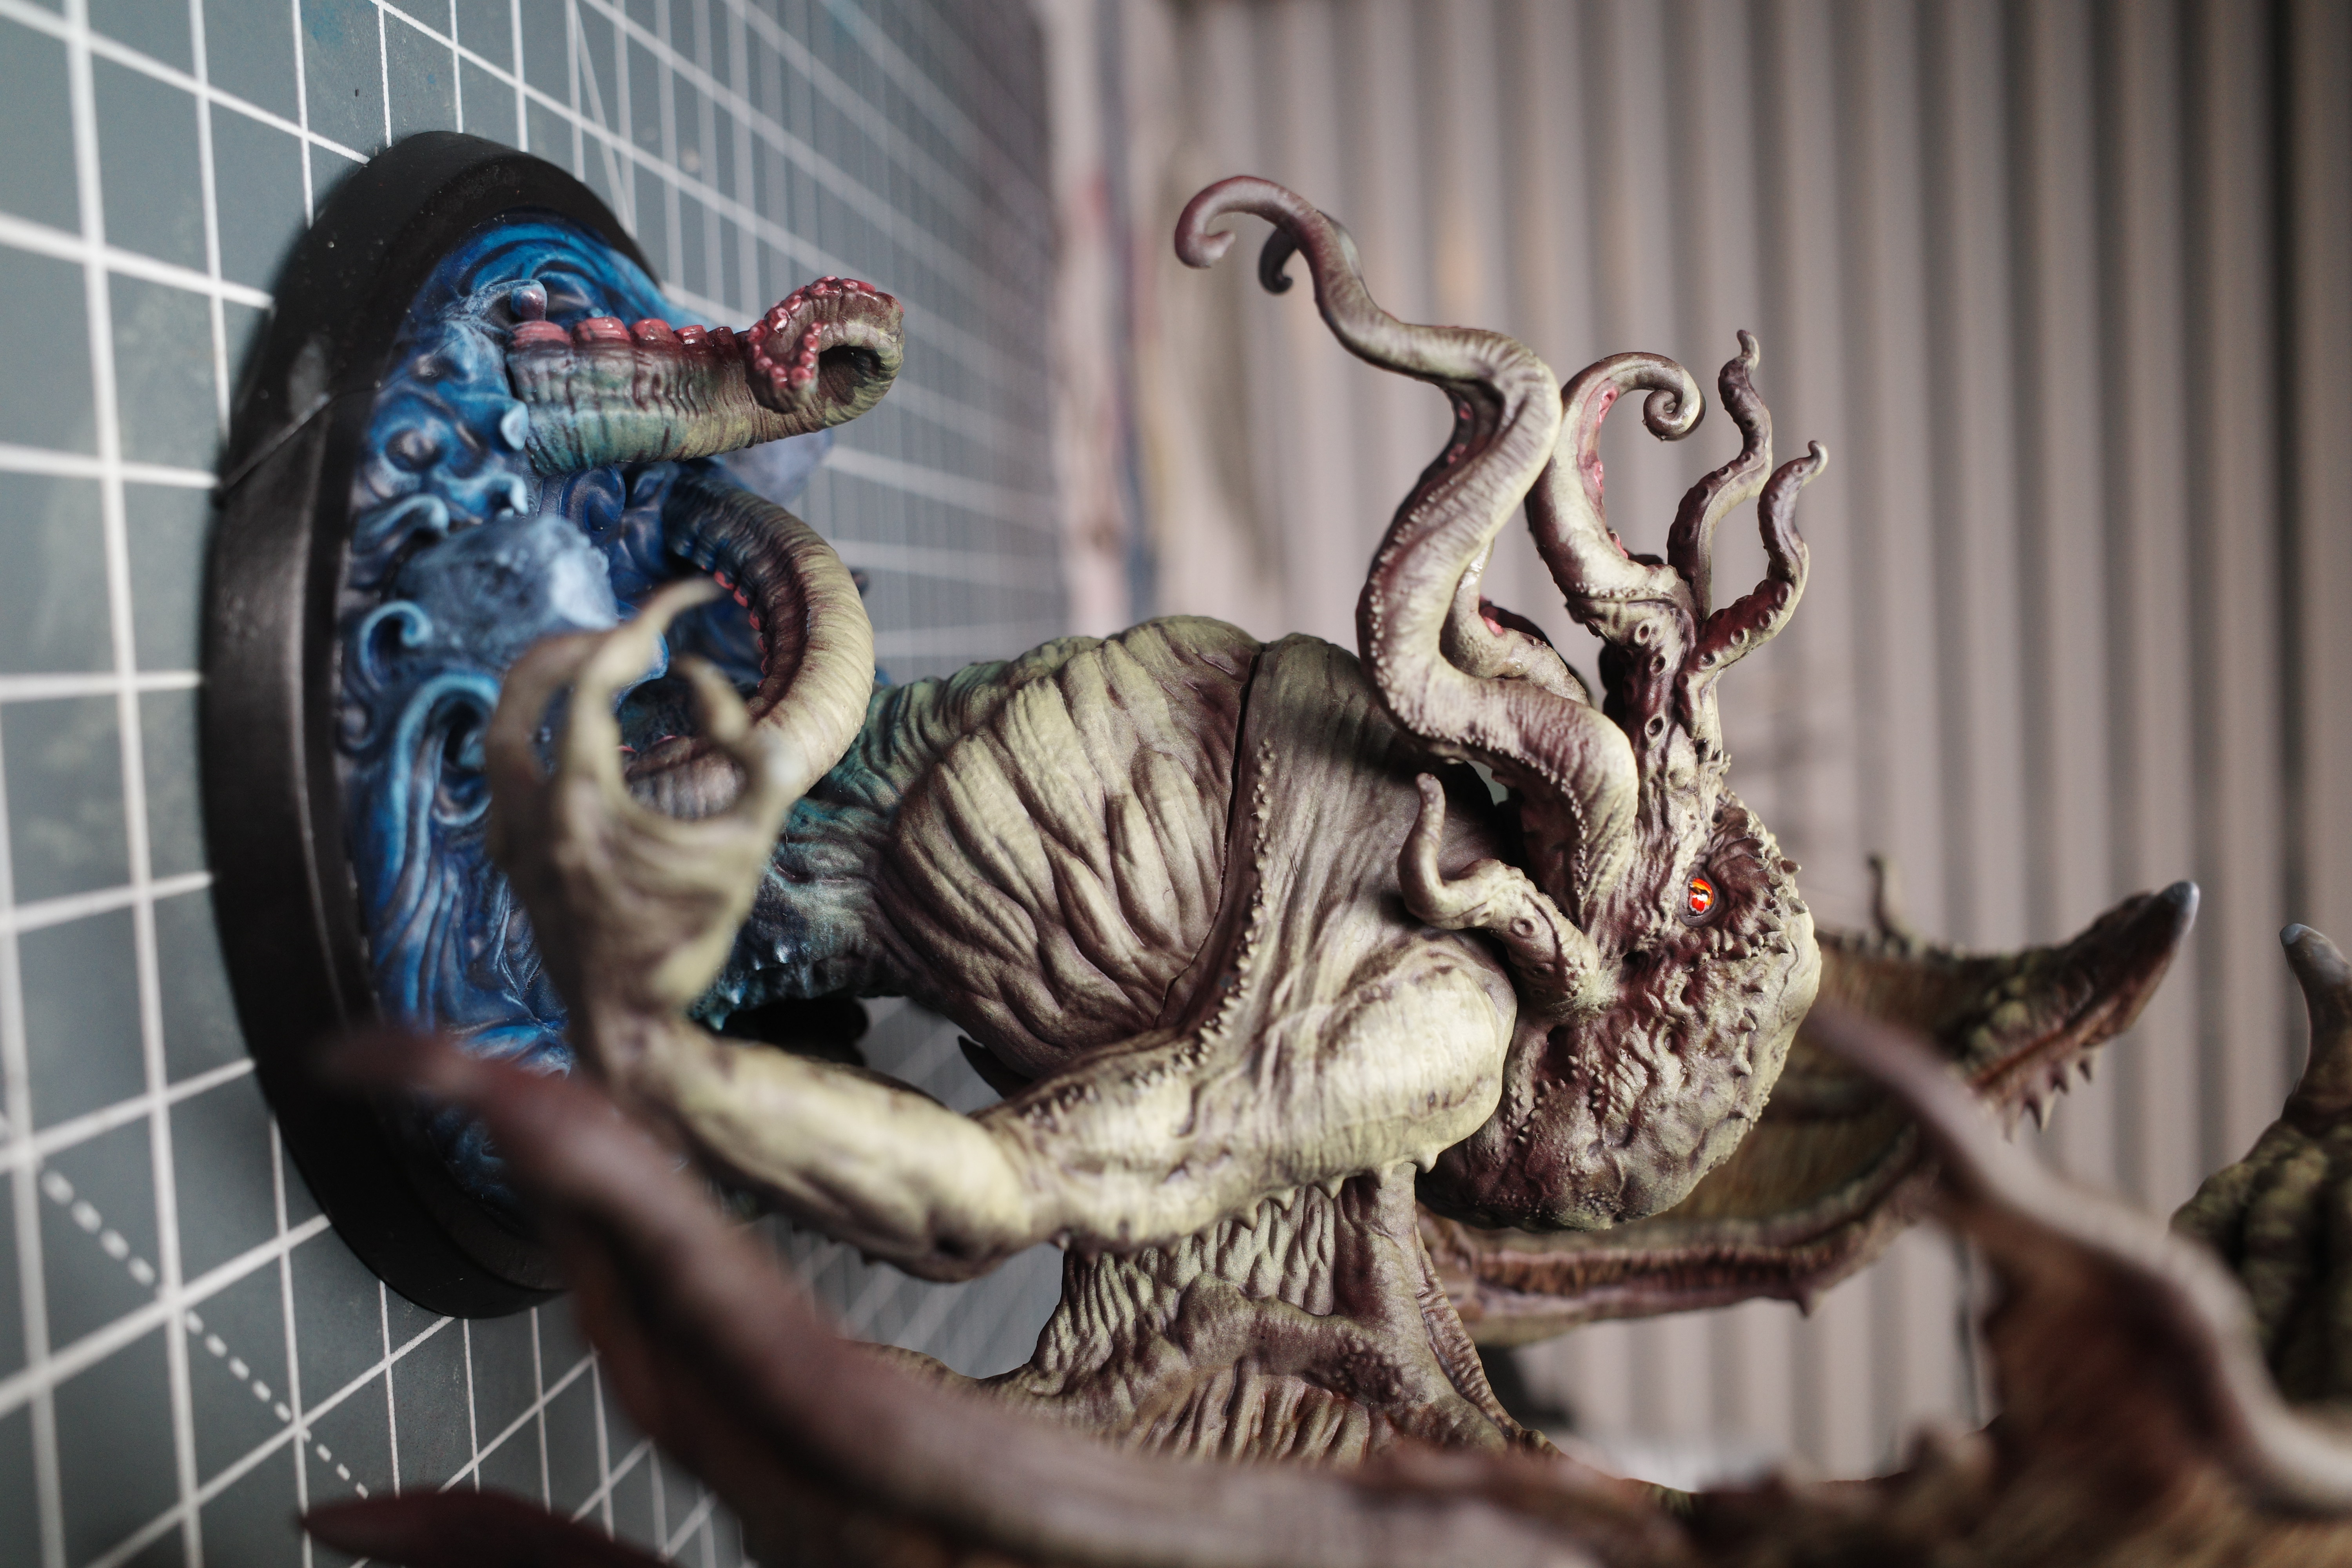
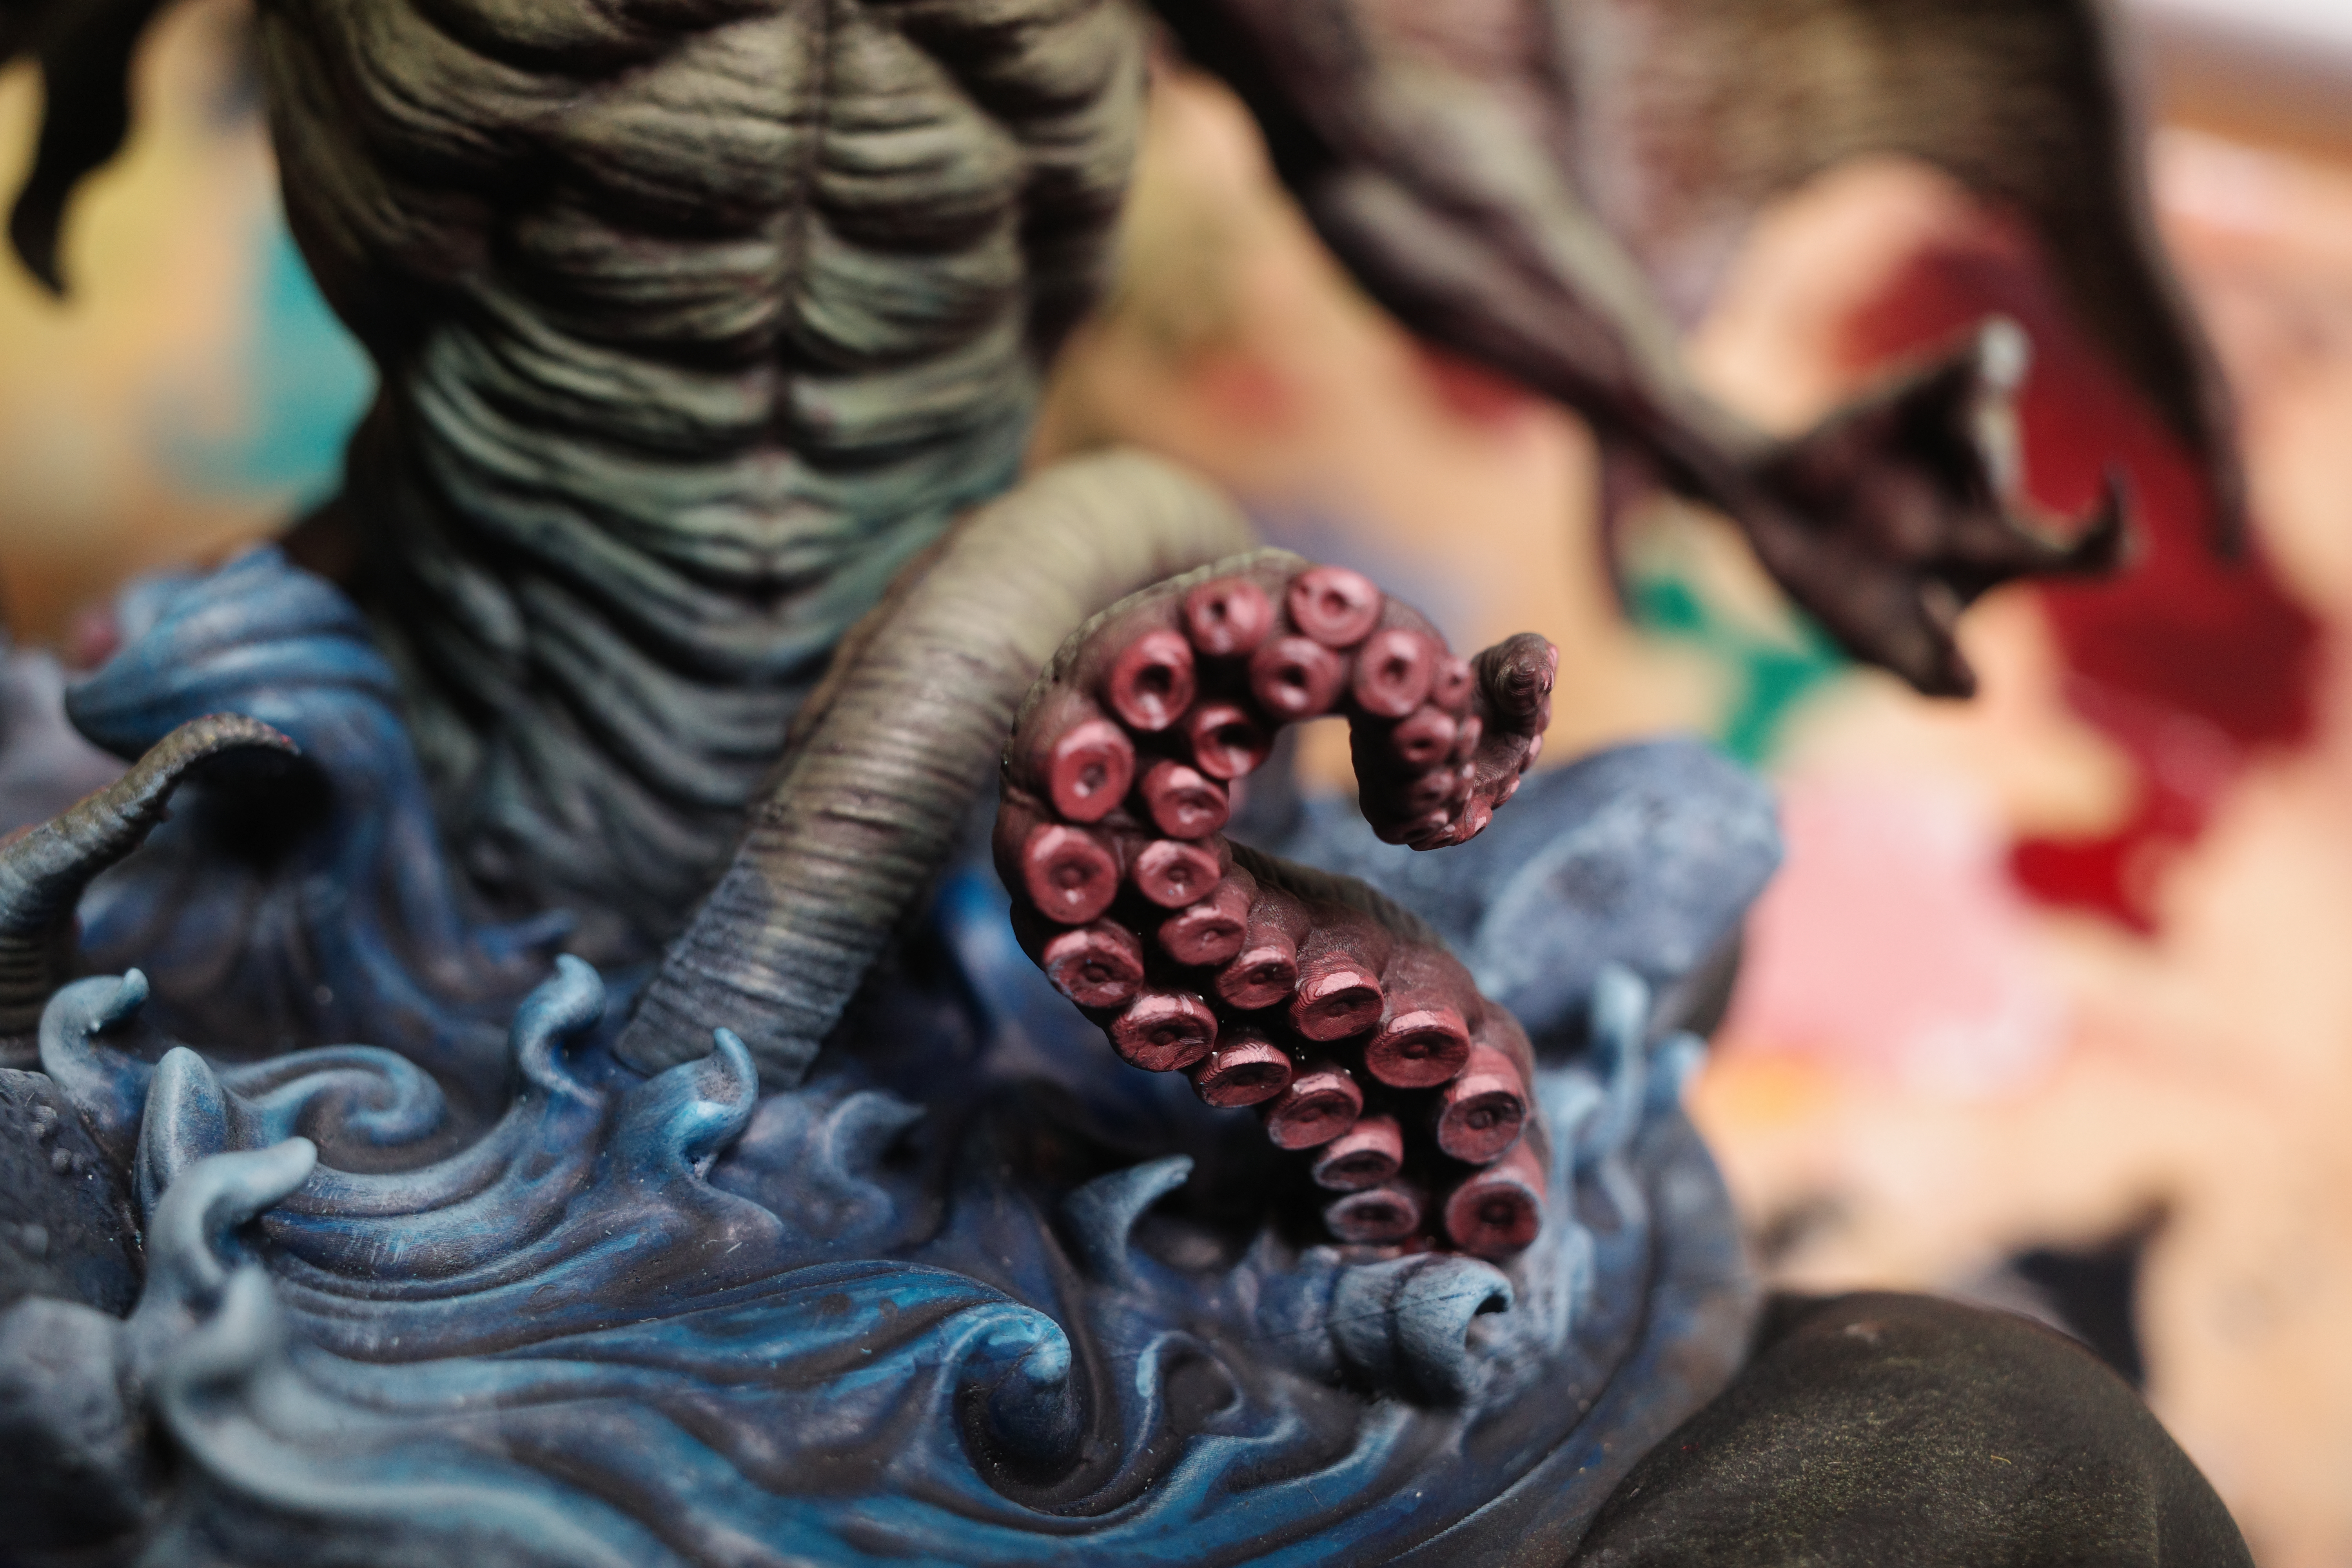
1. Paint the tentacle suckers Succubus Skin
To make the suckers pop I went over them with a nice deep fleshy tone.
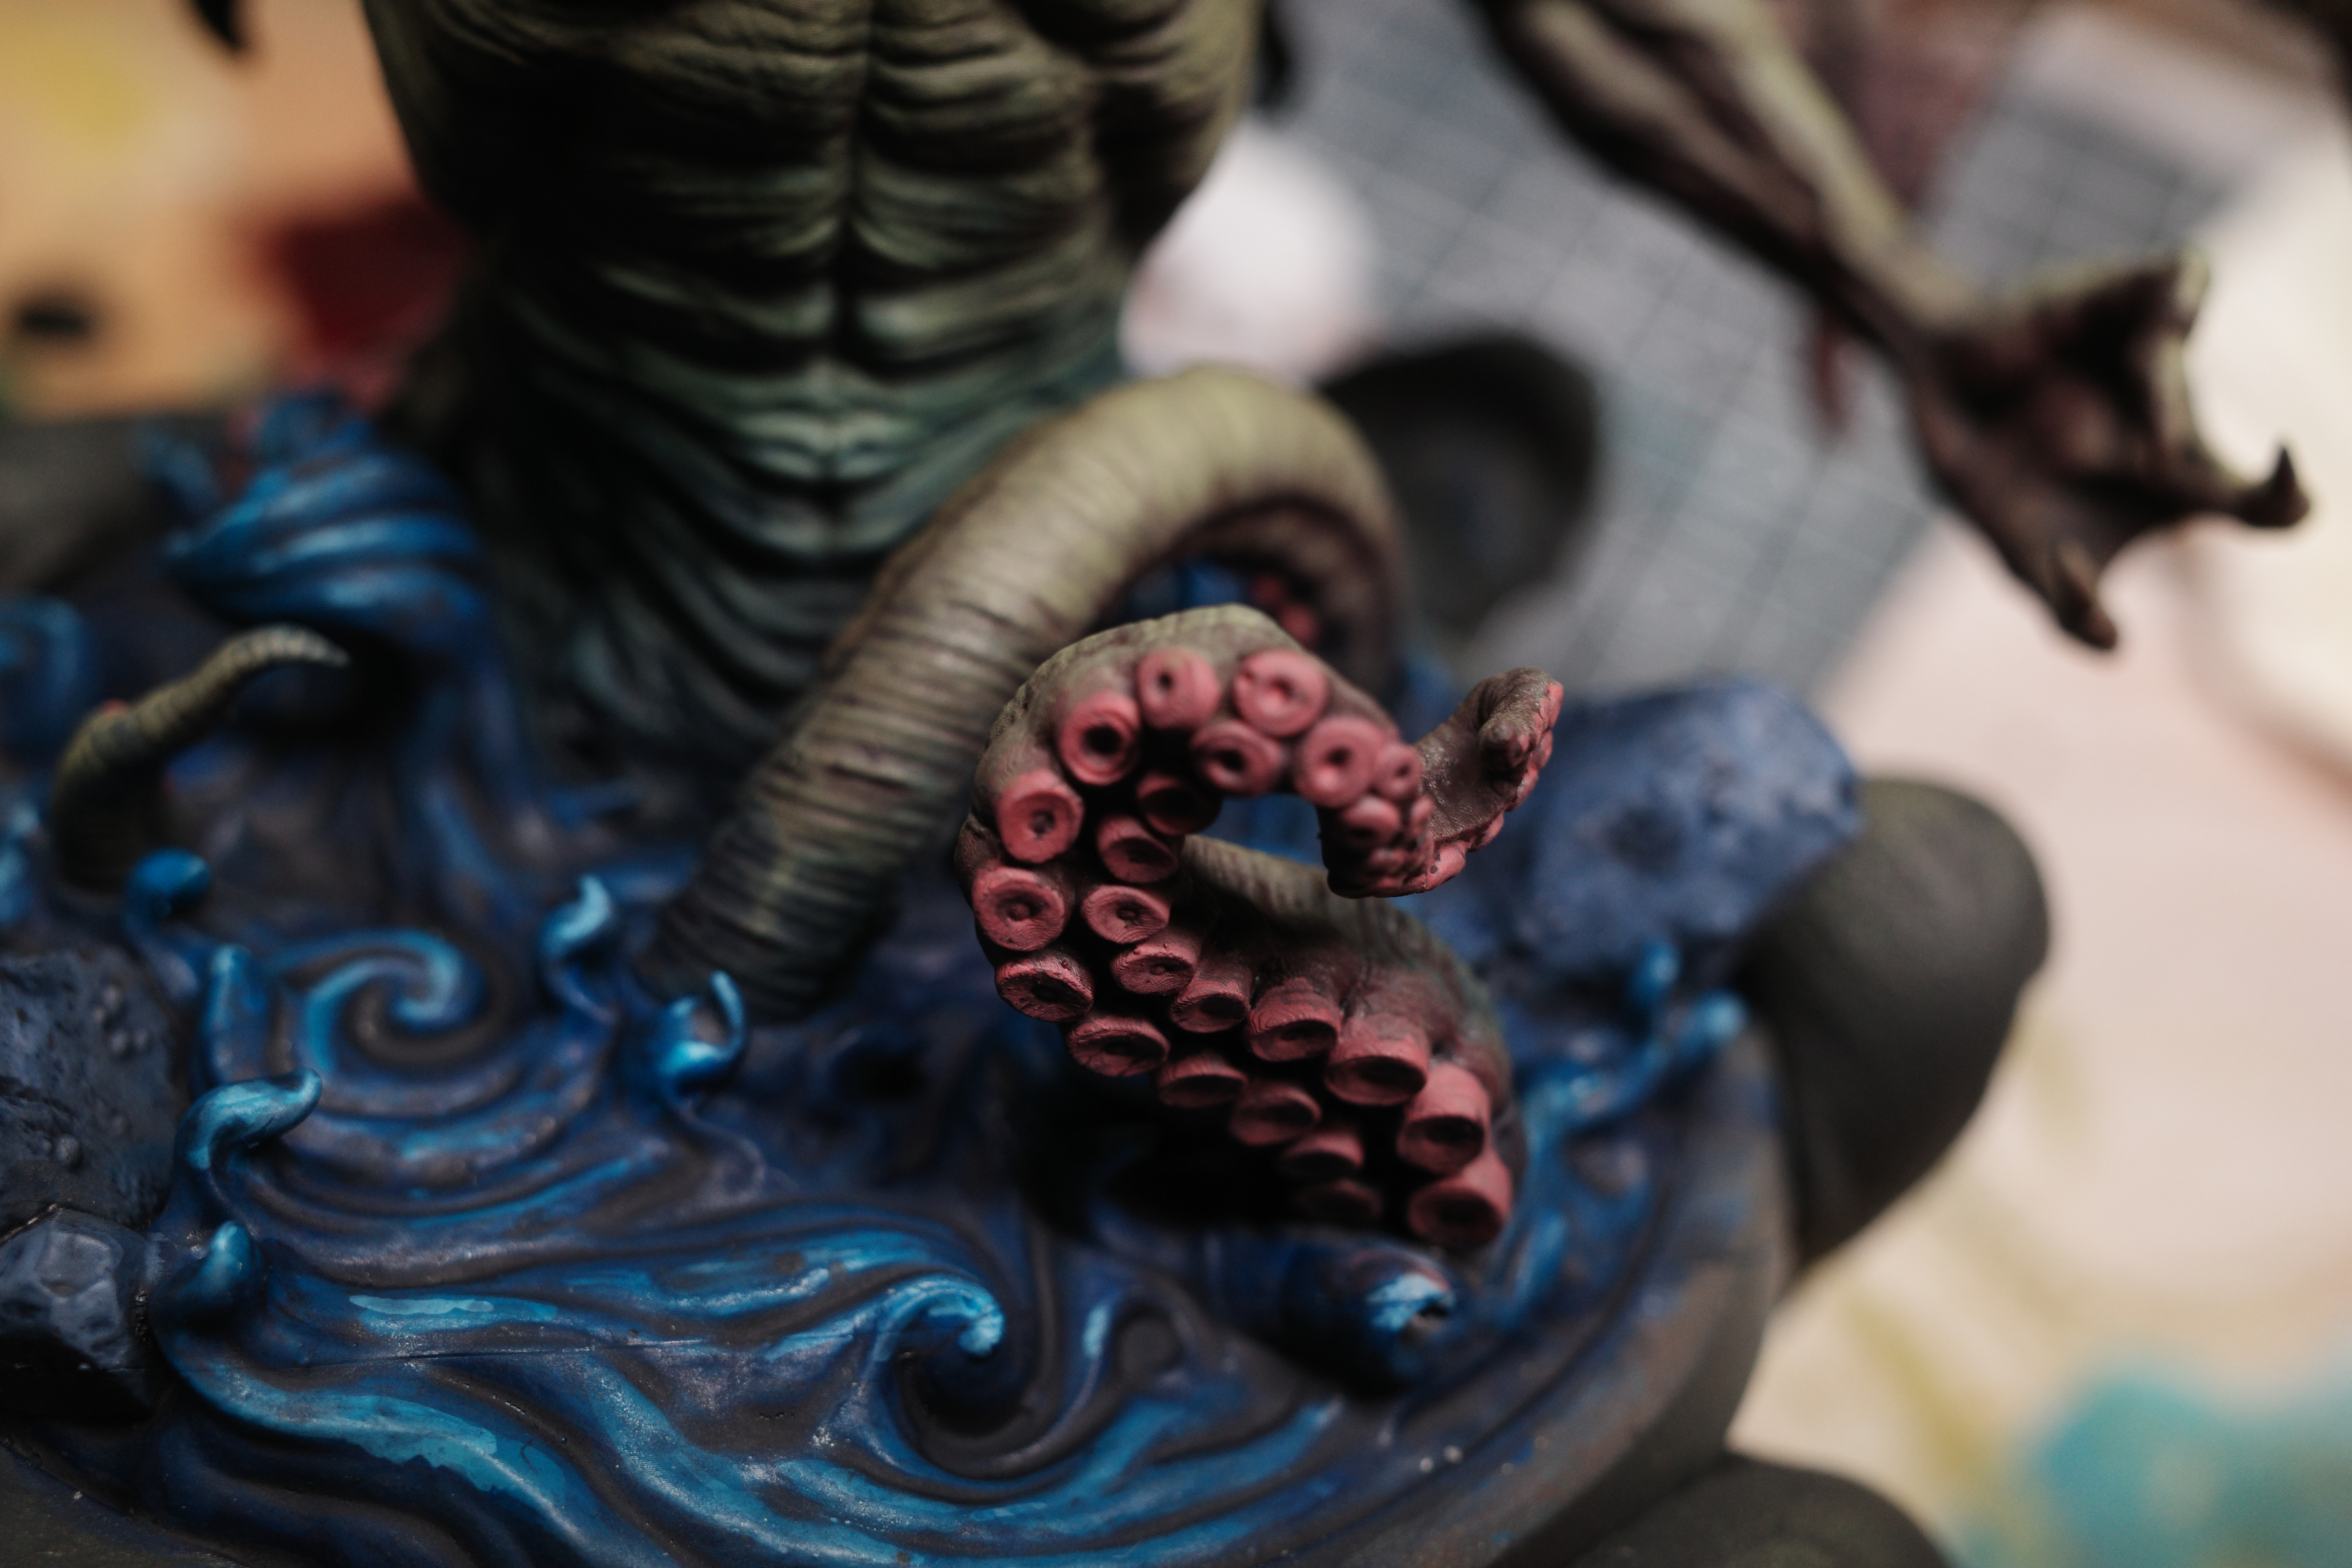
Once dry, I re-shaded with the flesh shade mix used above.
Then I did a final dot highlight by adding some Wolf Grey. A single dot should give a glossy appearance suggesting slime.
2. Glaze Cayman Green and Dead Flesh mix on raised parts of flesh including tentacles
I thinned Cayman Green with water and add some Dead Flesh to it. Then gently brushed it over the raised parts of the flesh that should be highlighted. I tried to keep brush strokes aligned with the muscle fibres to accentuate them.
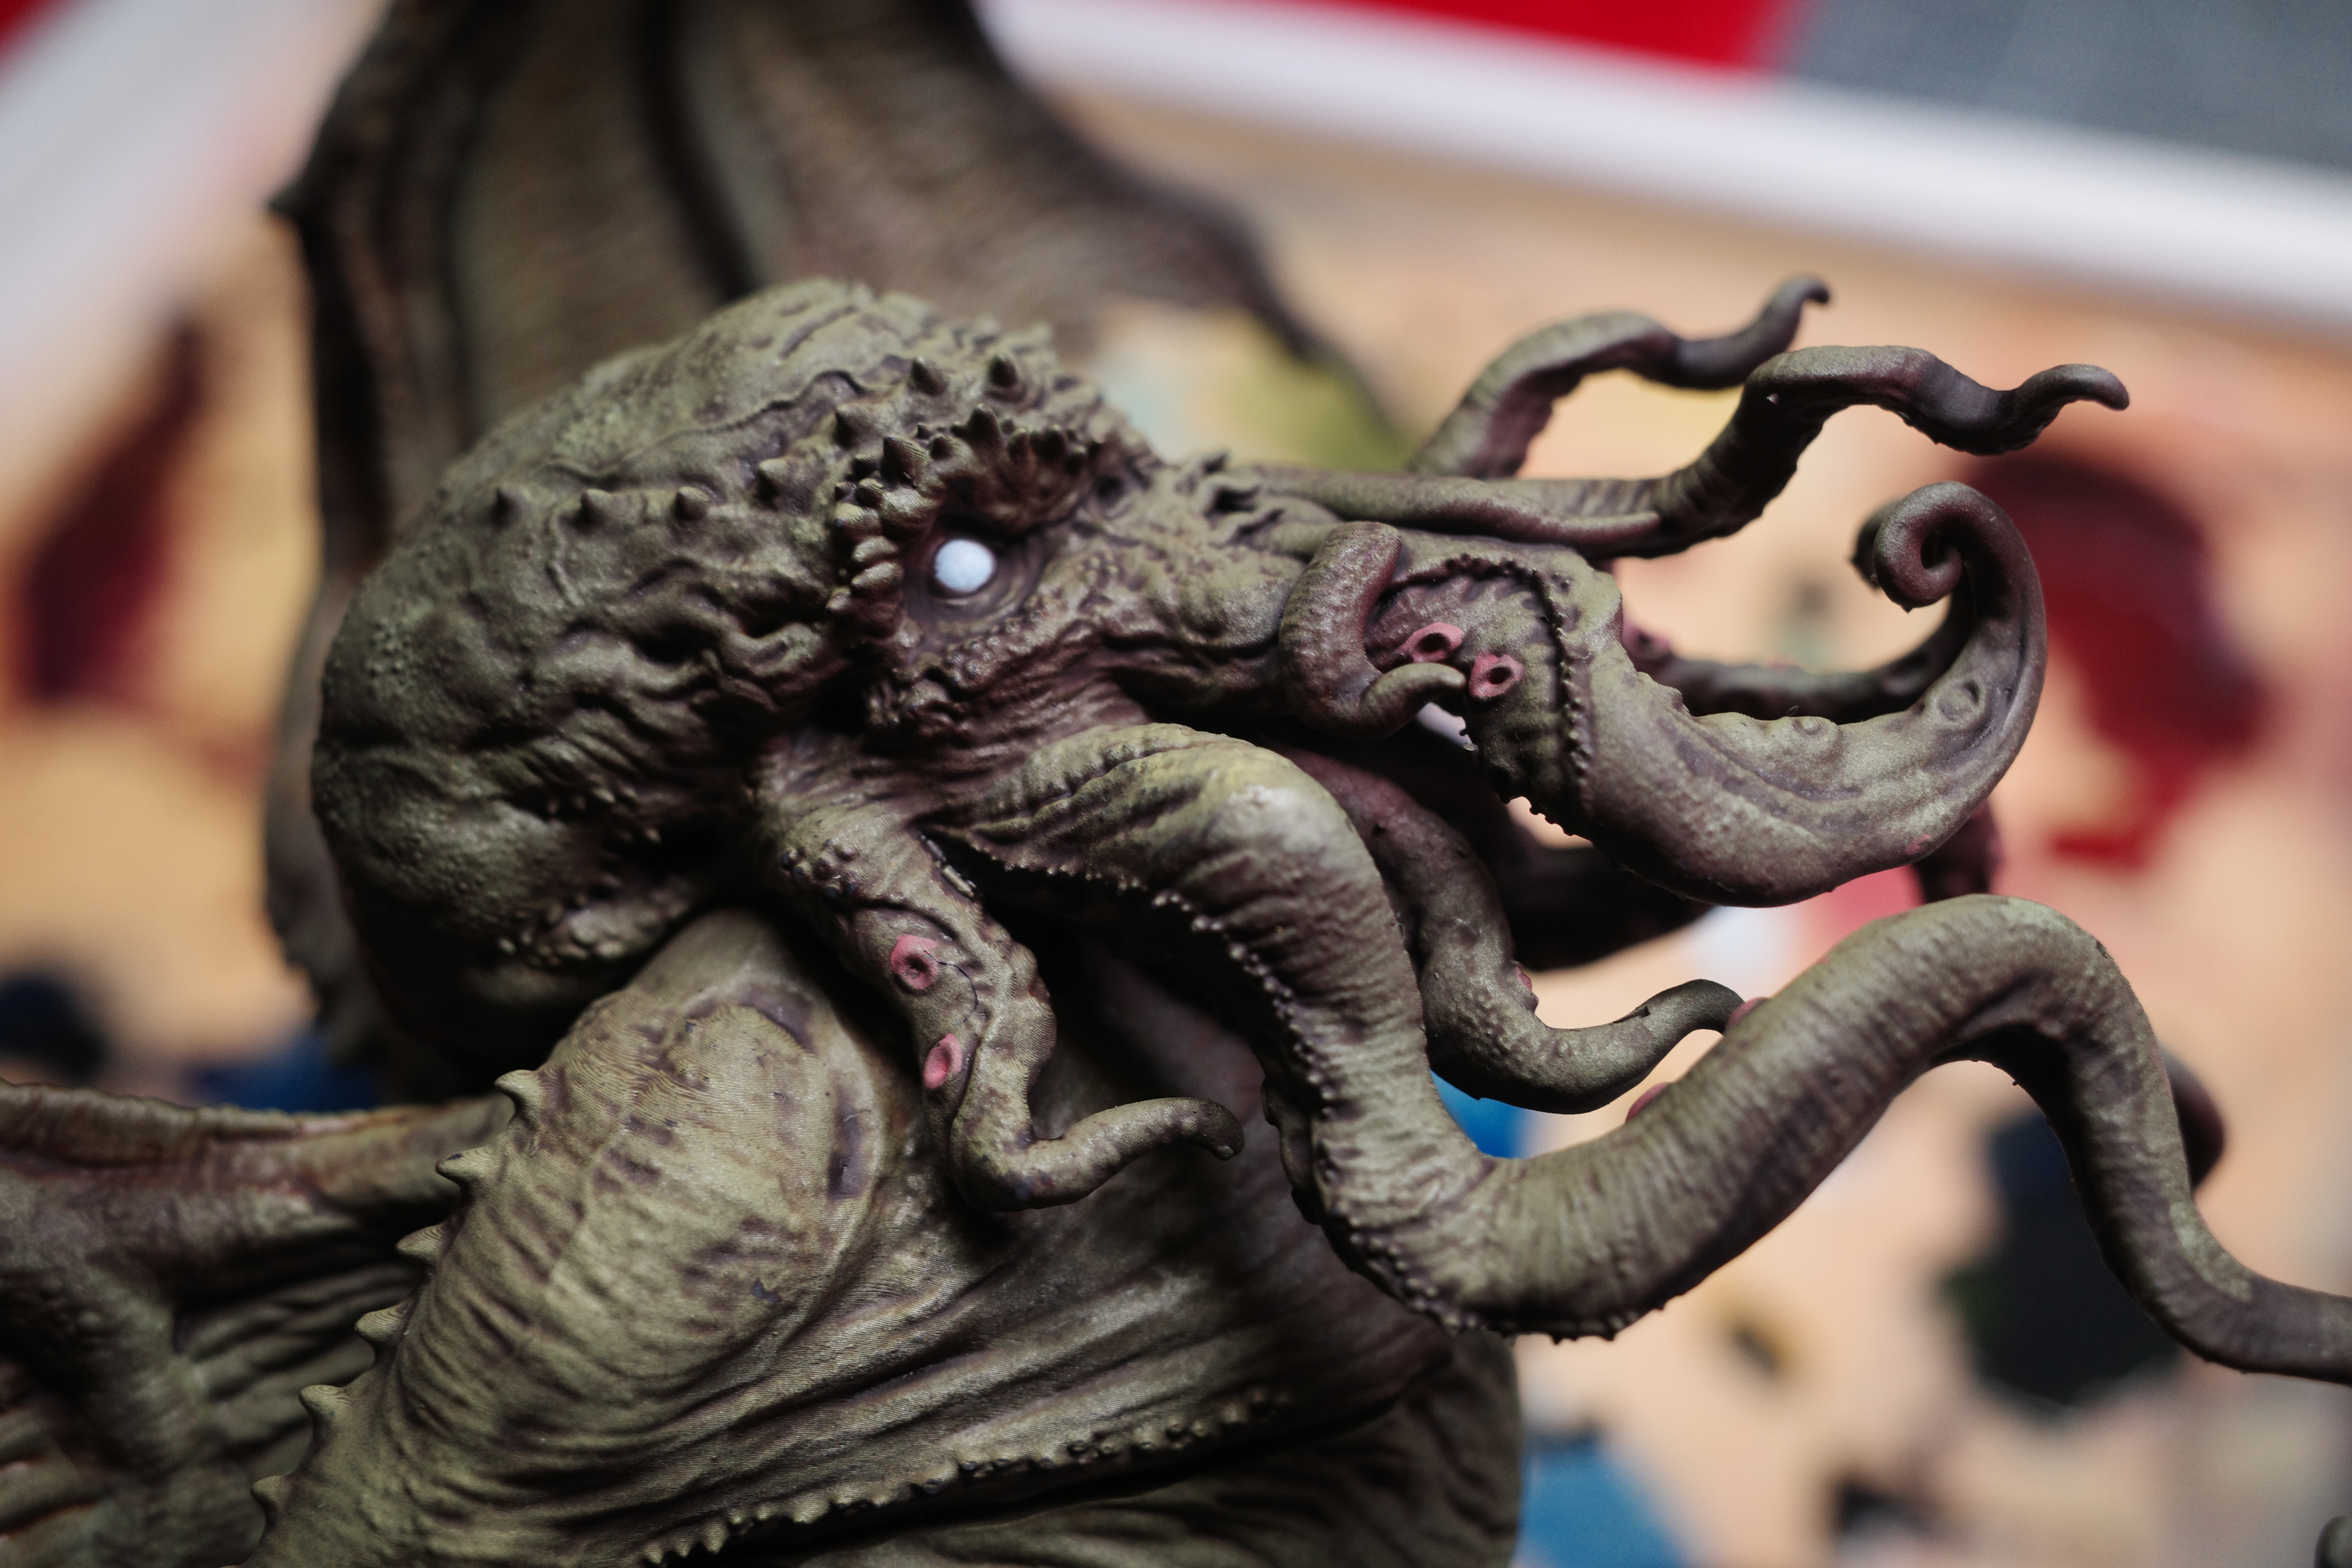

I keep going until the mix was mostly pure dead flesh on the most raised parts, like the forehead and cheek bones and tentacles. I went slowly using many layers to make sure the blend was nice and smooth.
I mostly focused on the head, chest, arms, and tentacles. I didn’t highlight the wings, either the front or back, mostly because I was under time pressure.
3. Drybrush water foam with Wolf Grey
With a stiff brush I loaded Wolf Grey then rubbed most of it off on a paper towel. Then wiped back and forth on the water around where the rocks and flesh is emerging, getting some on the rocks and flesh to help ground them in the water.
Finishing
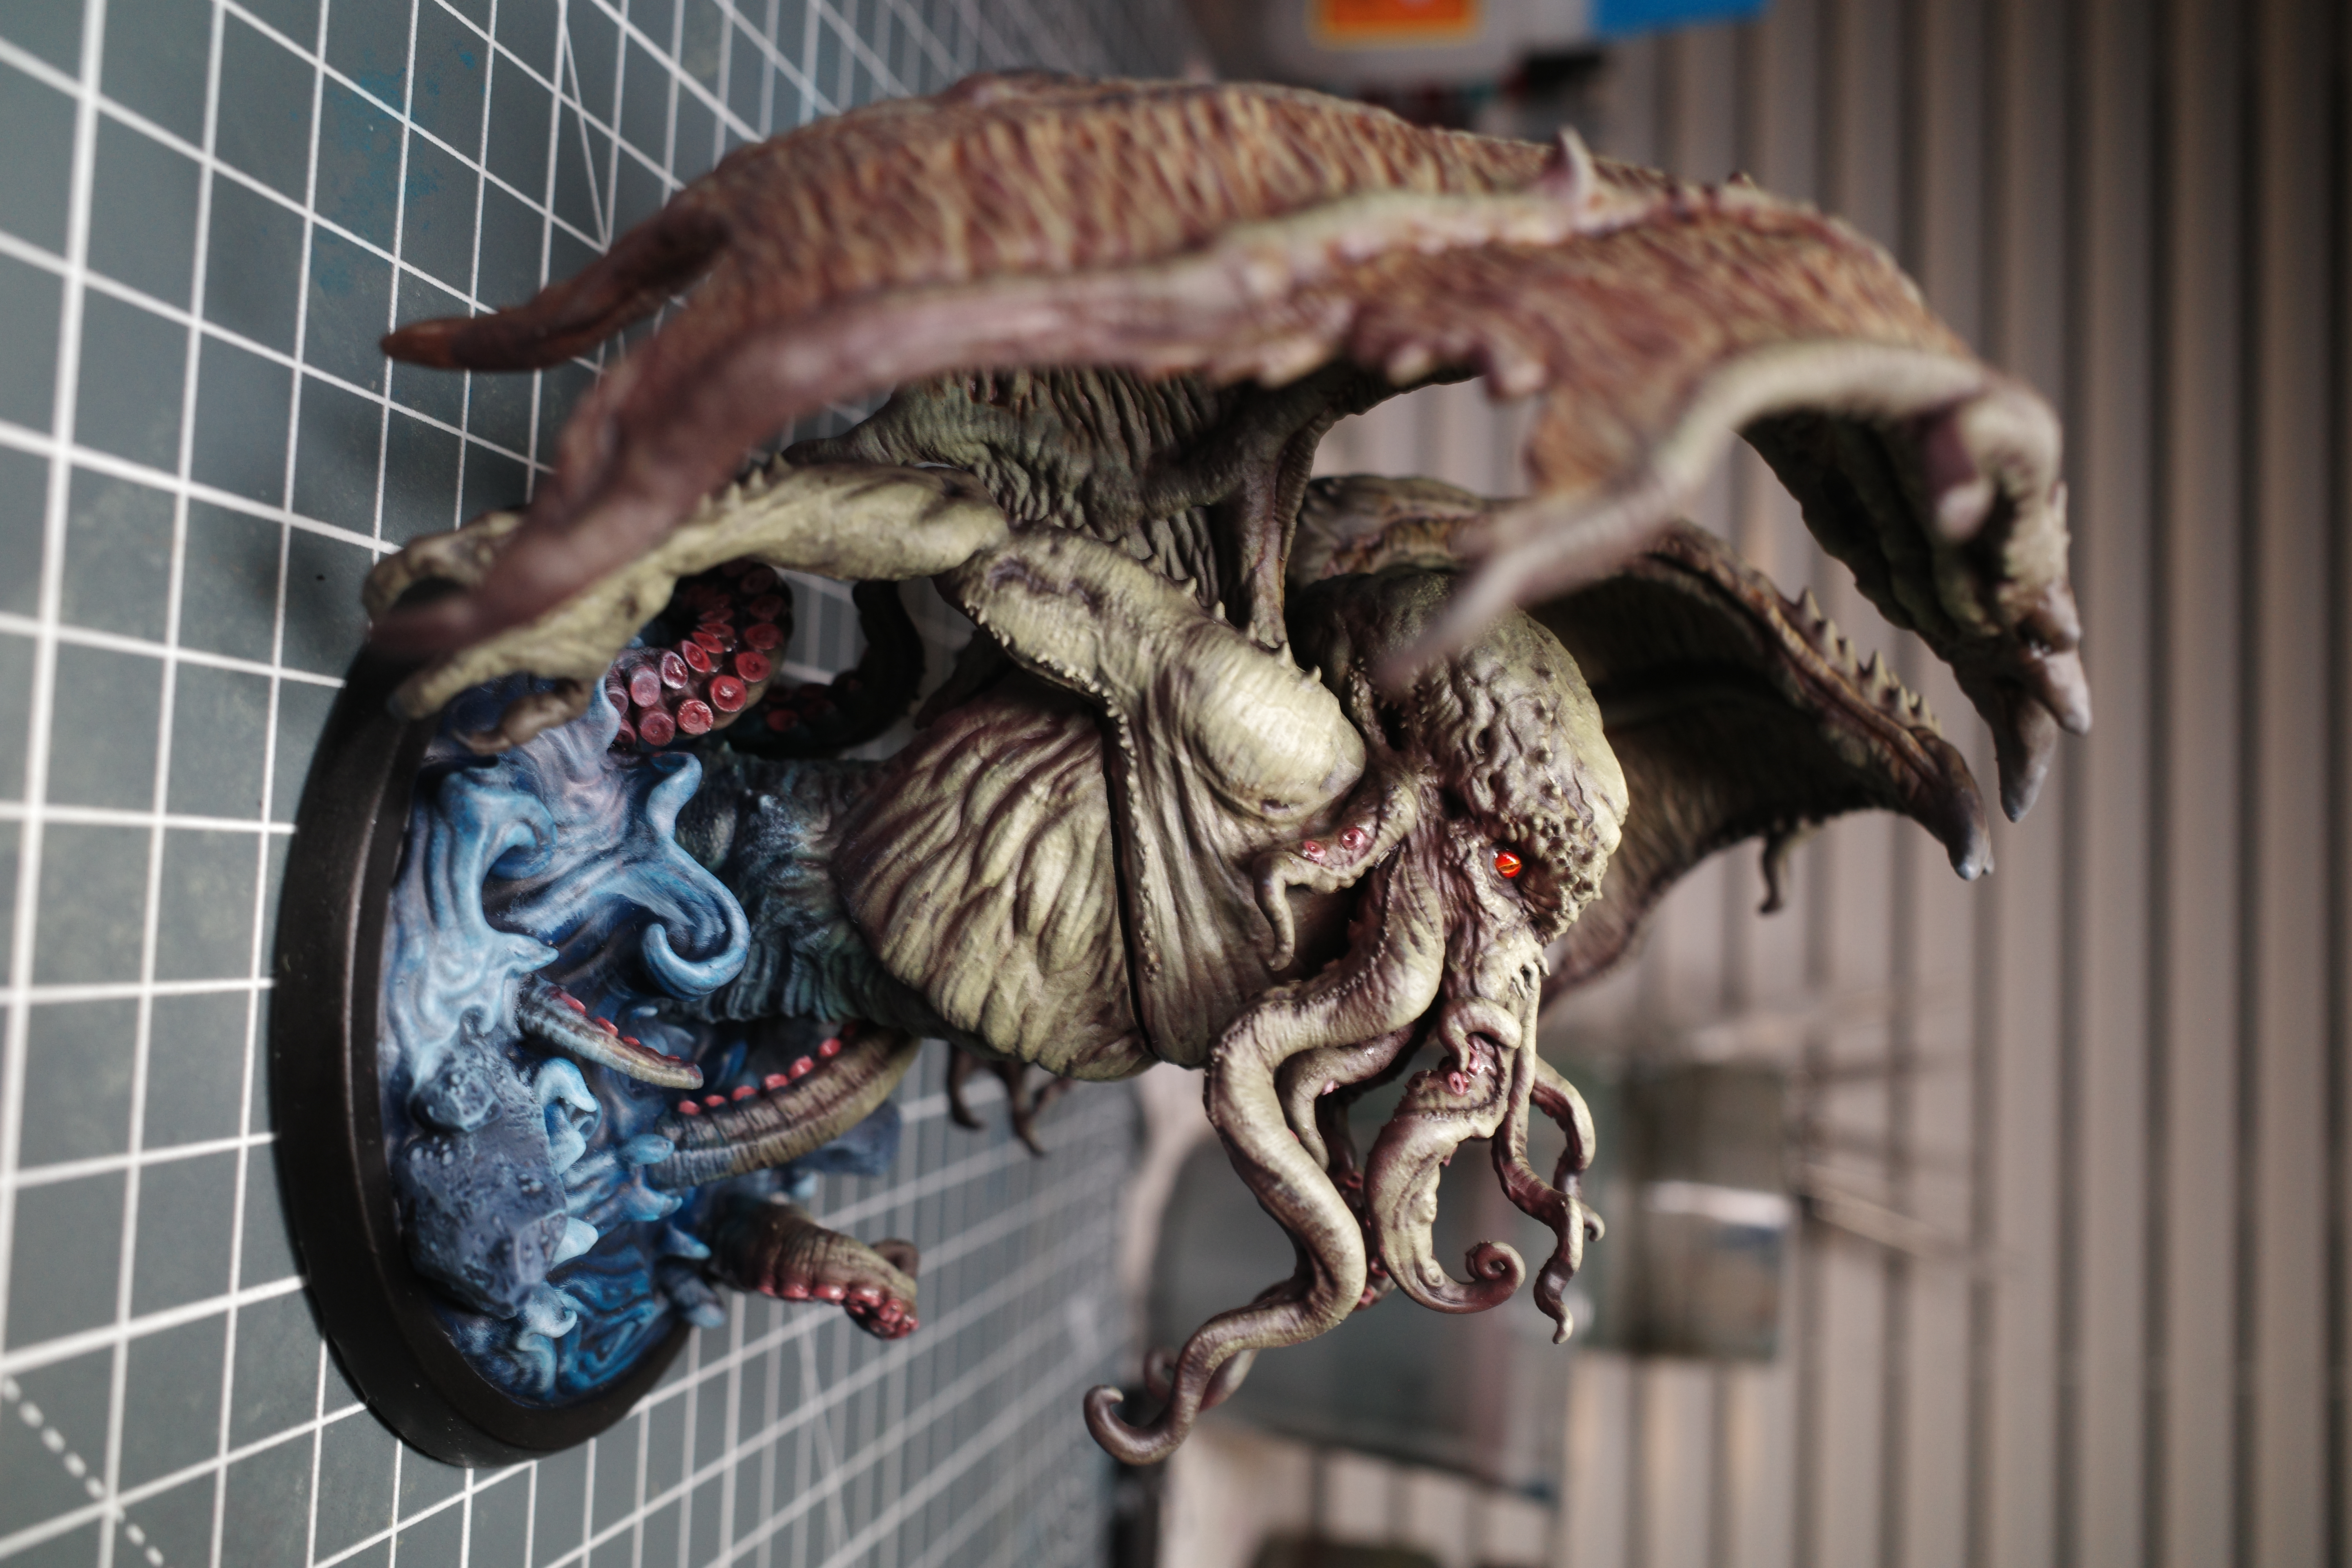
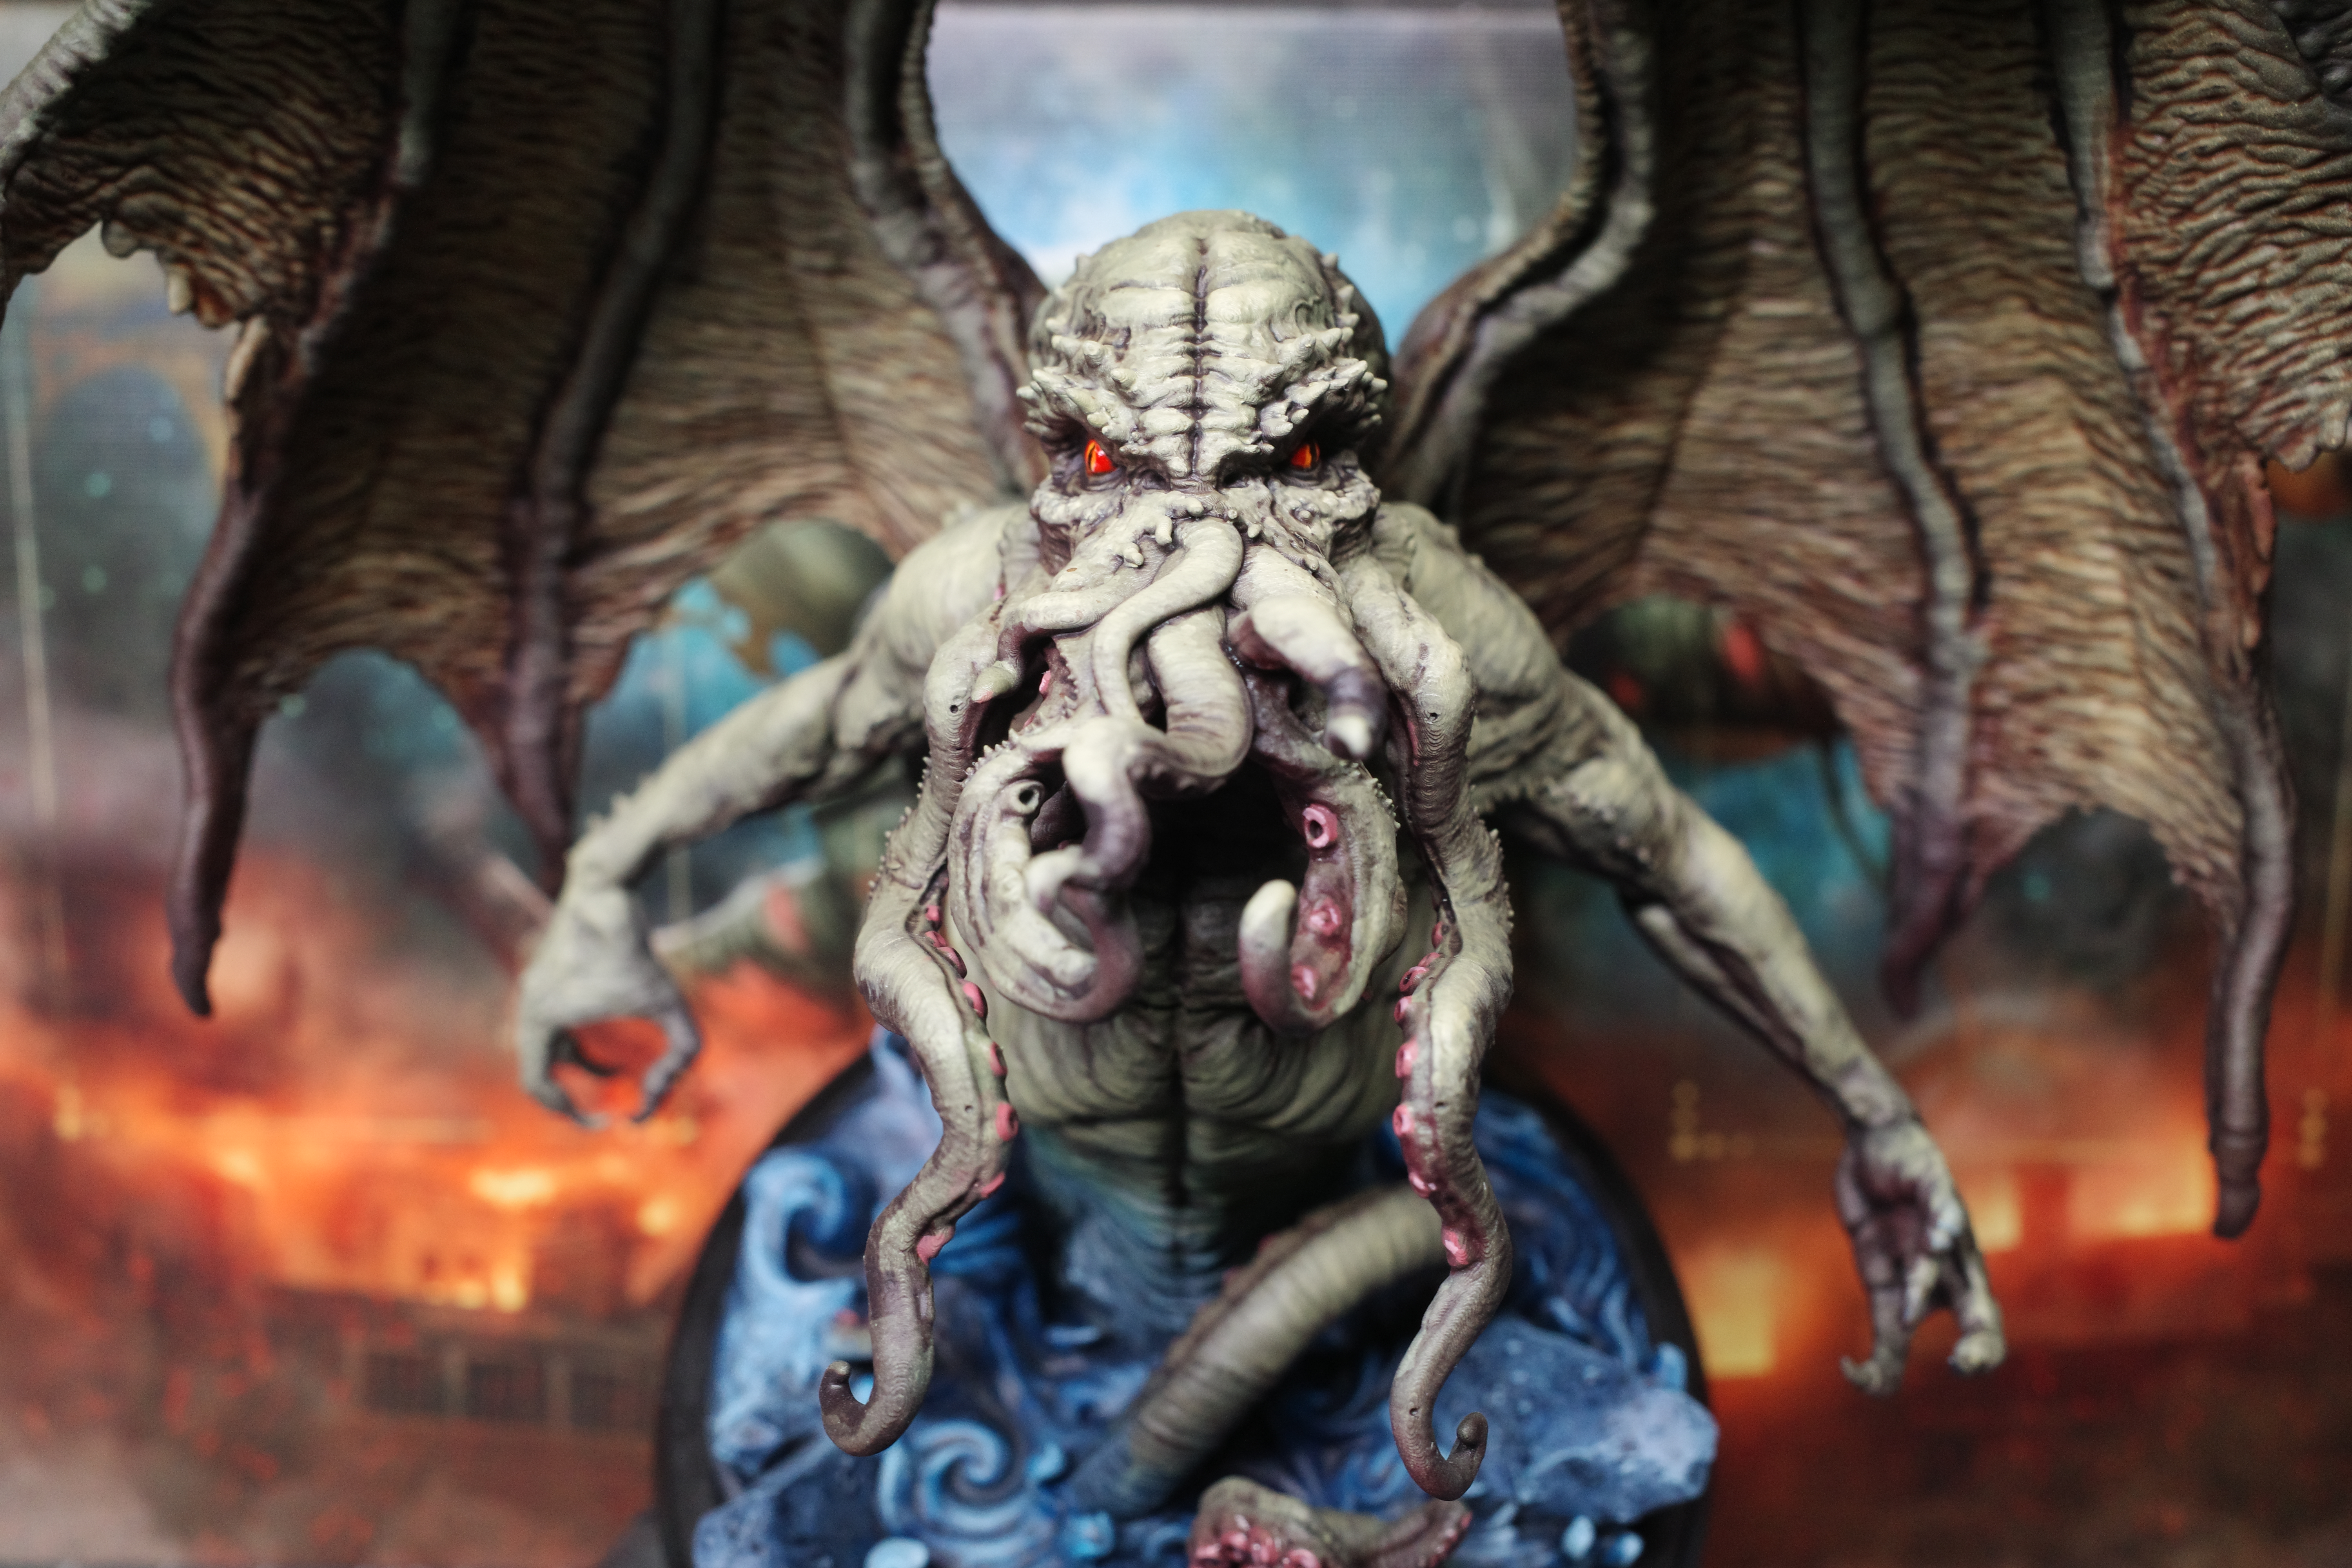
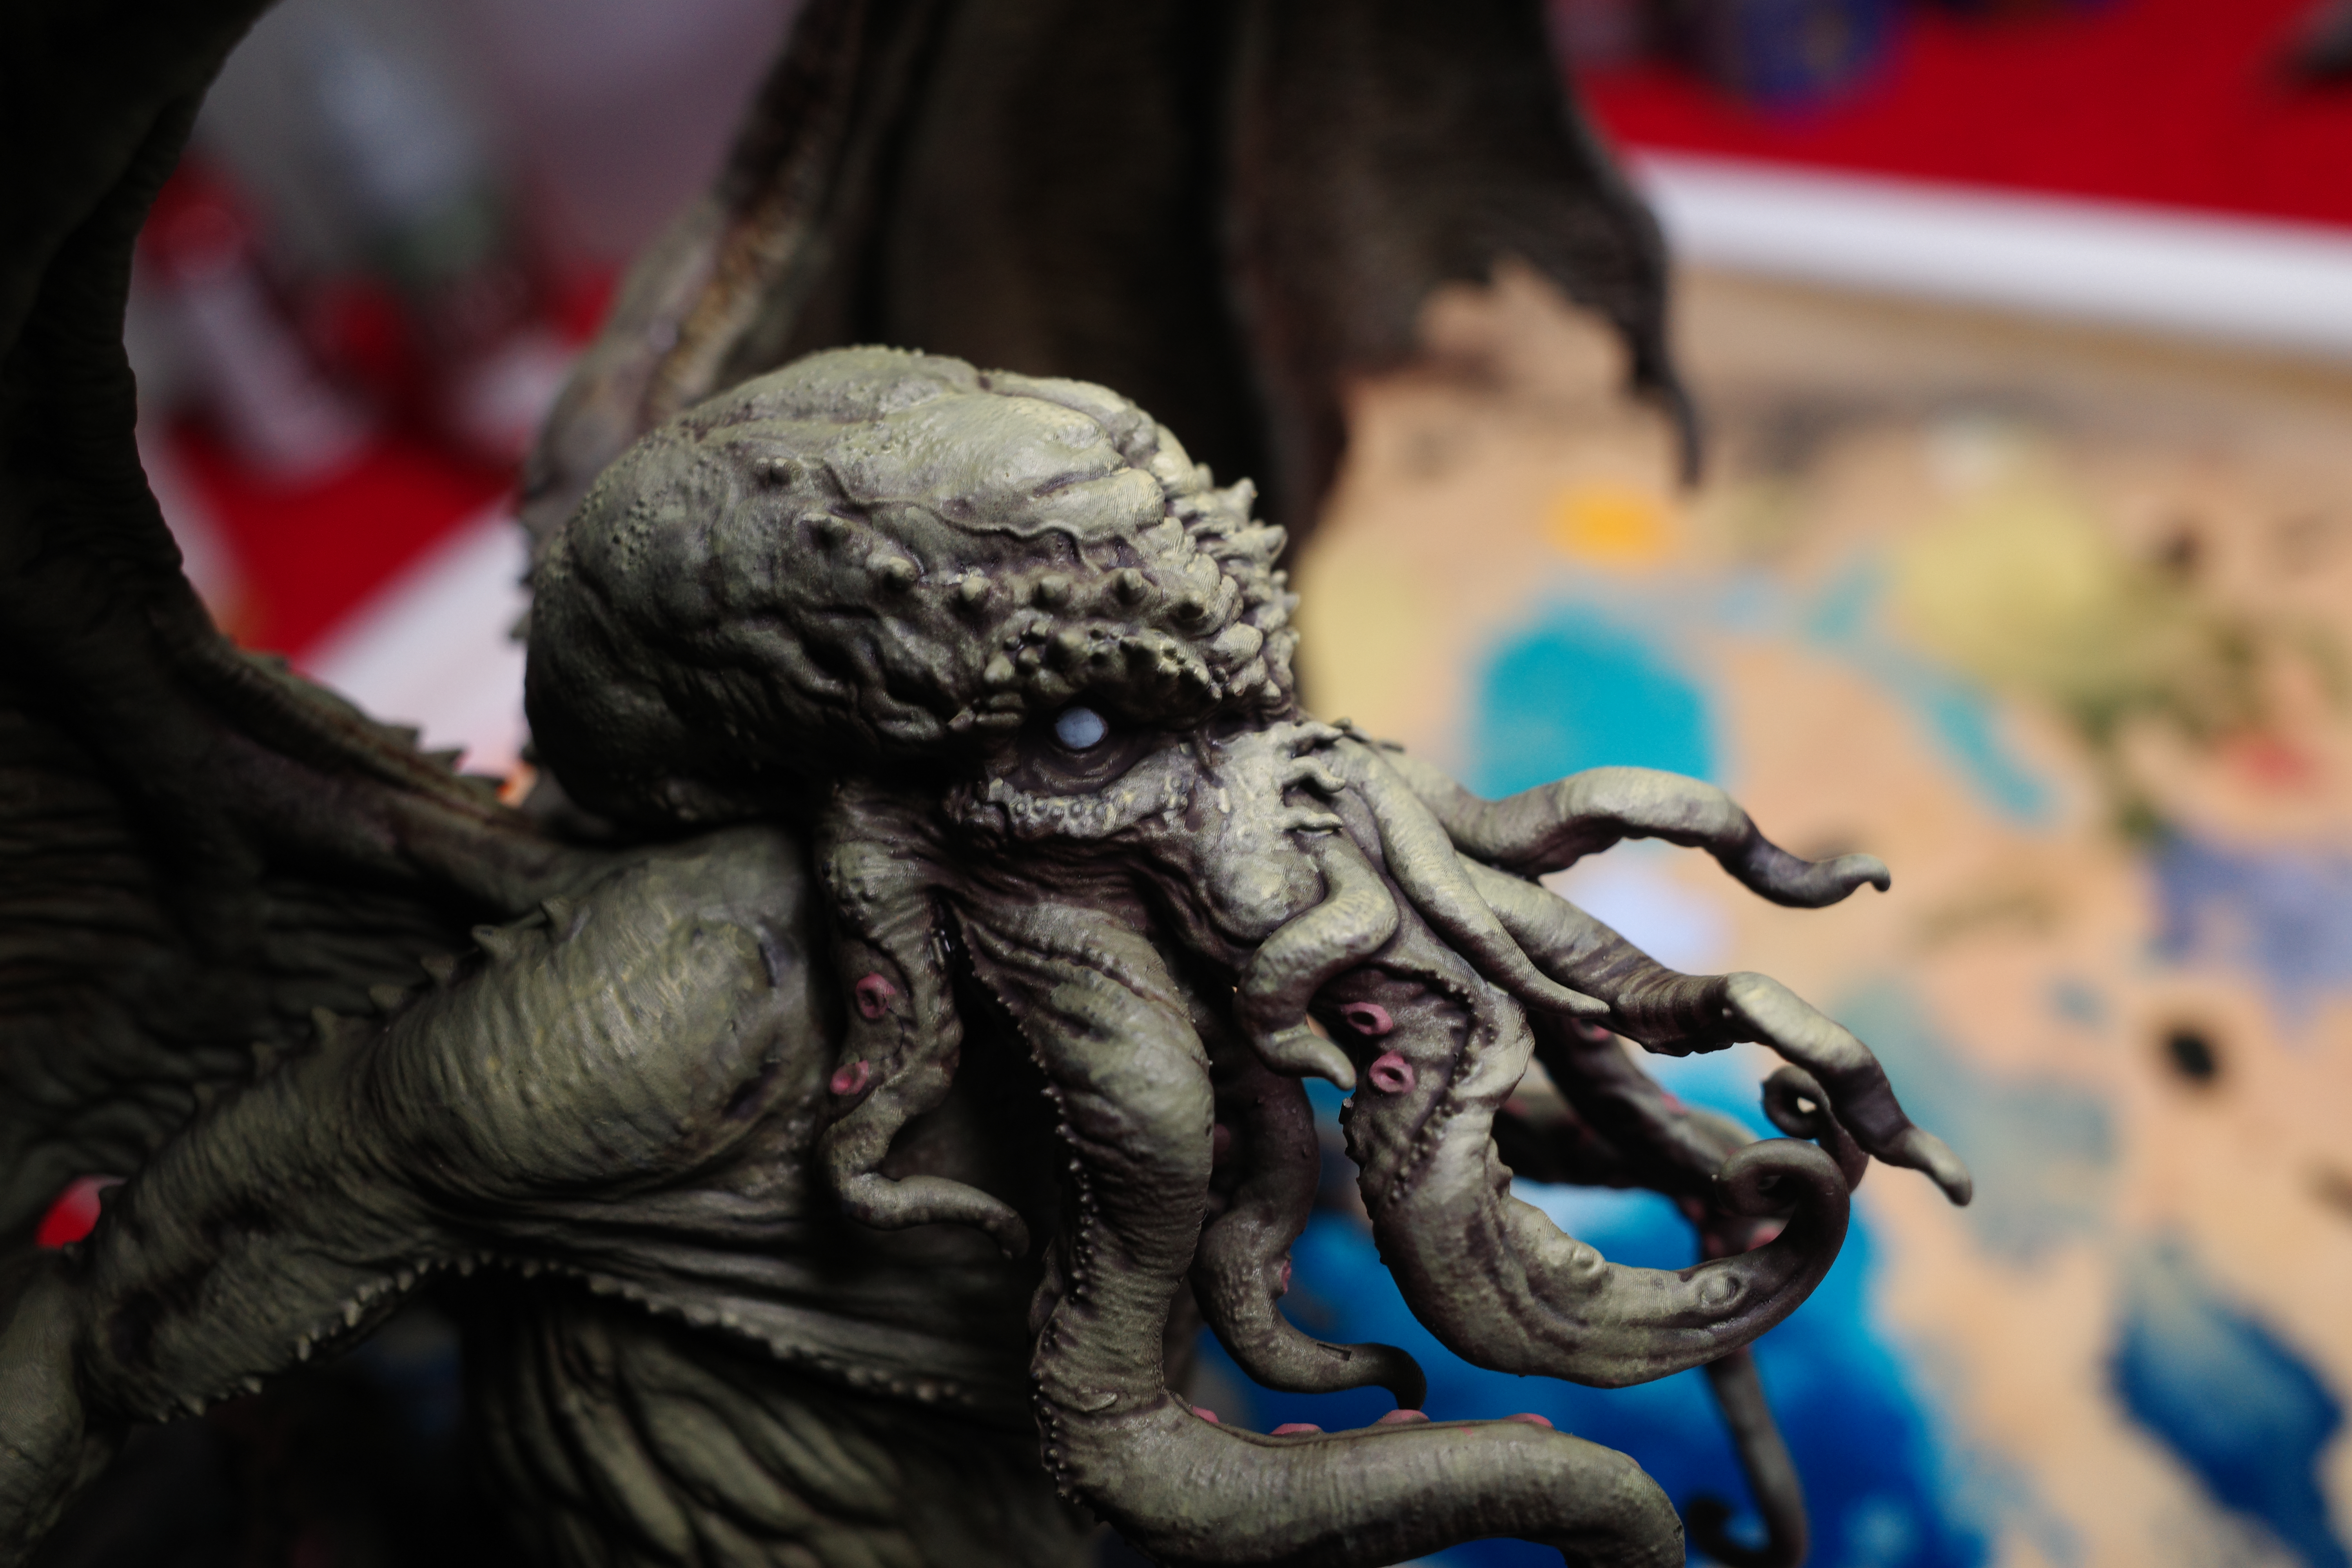
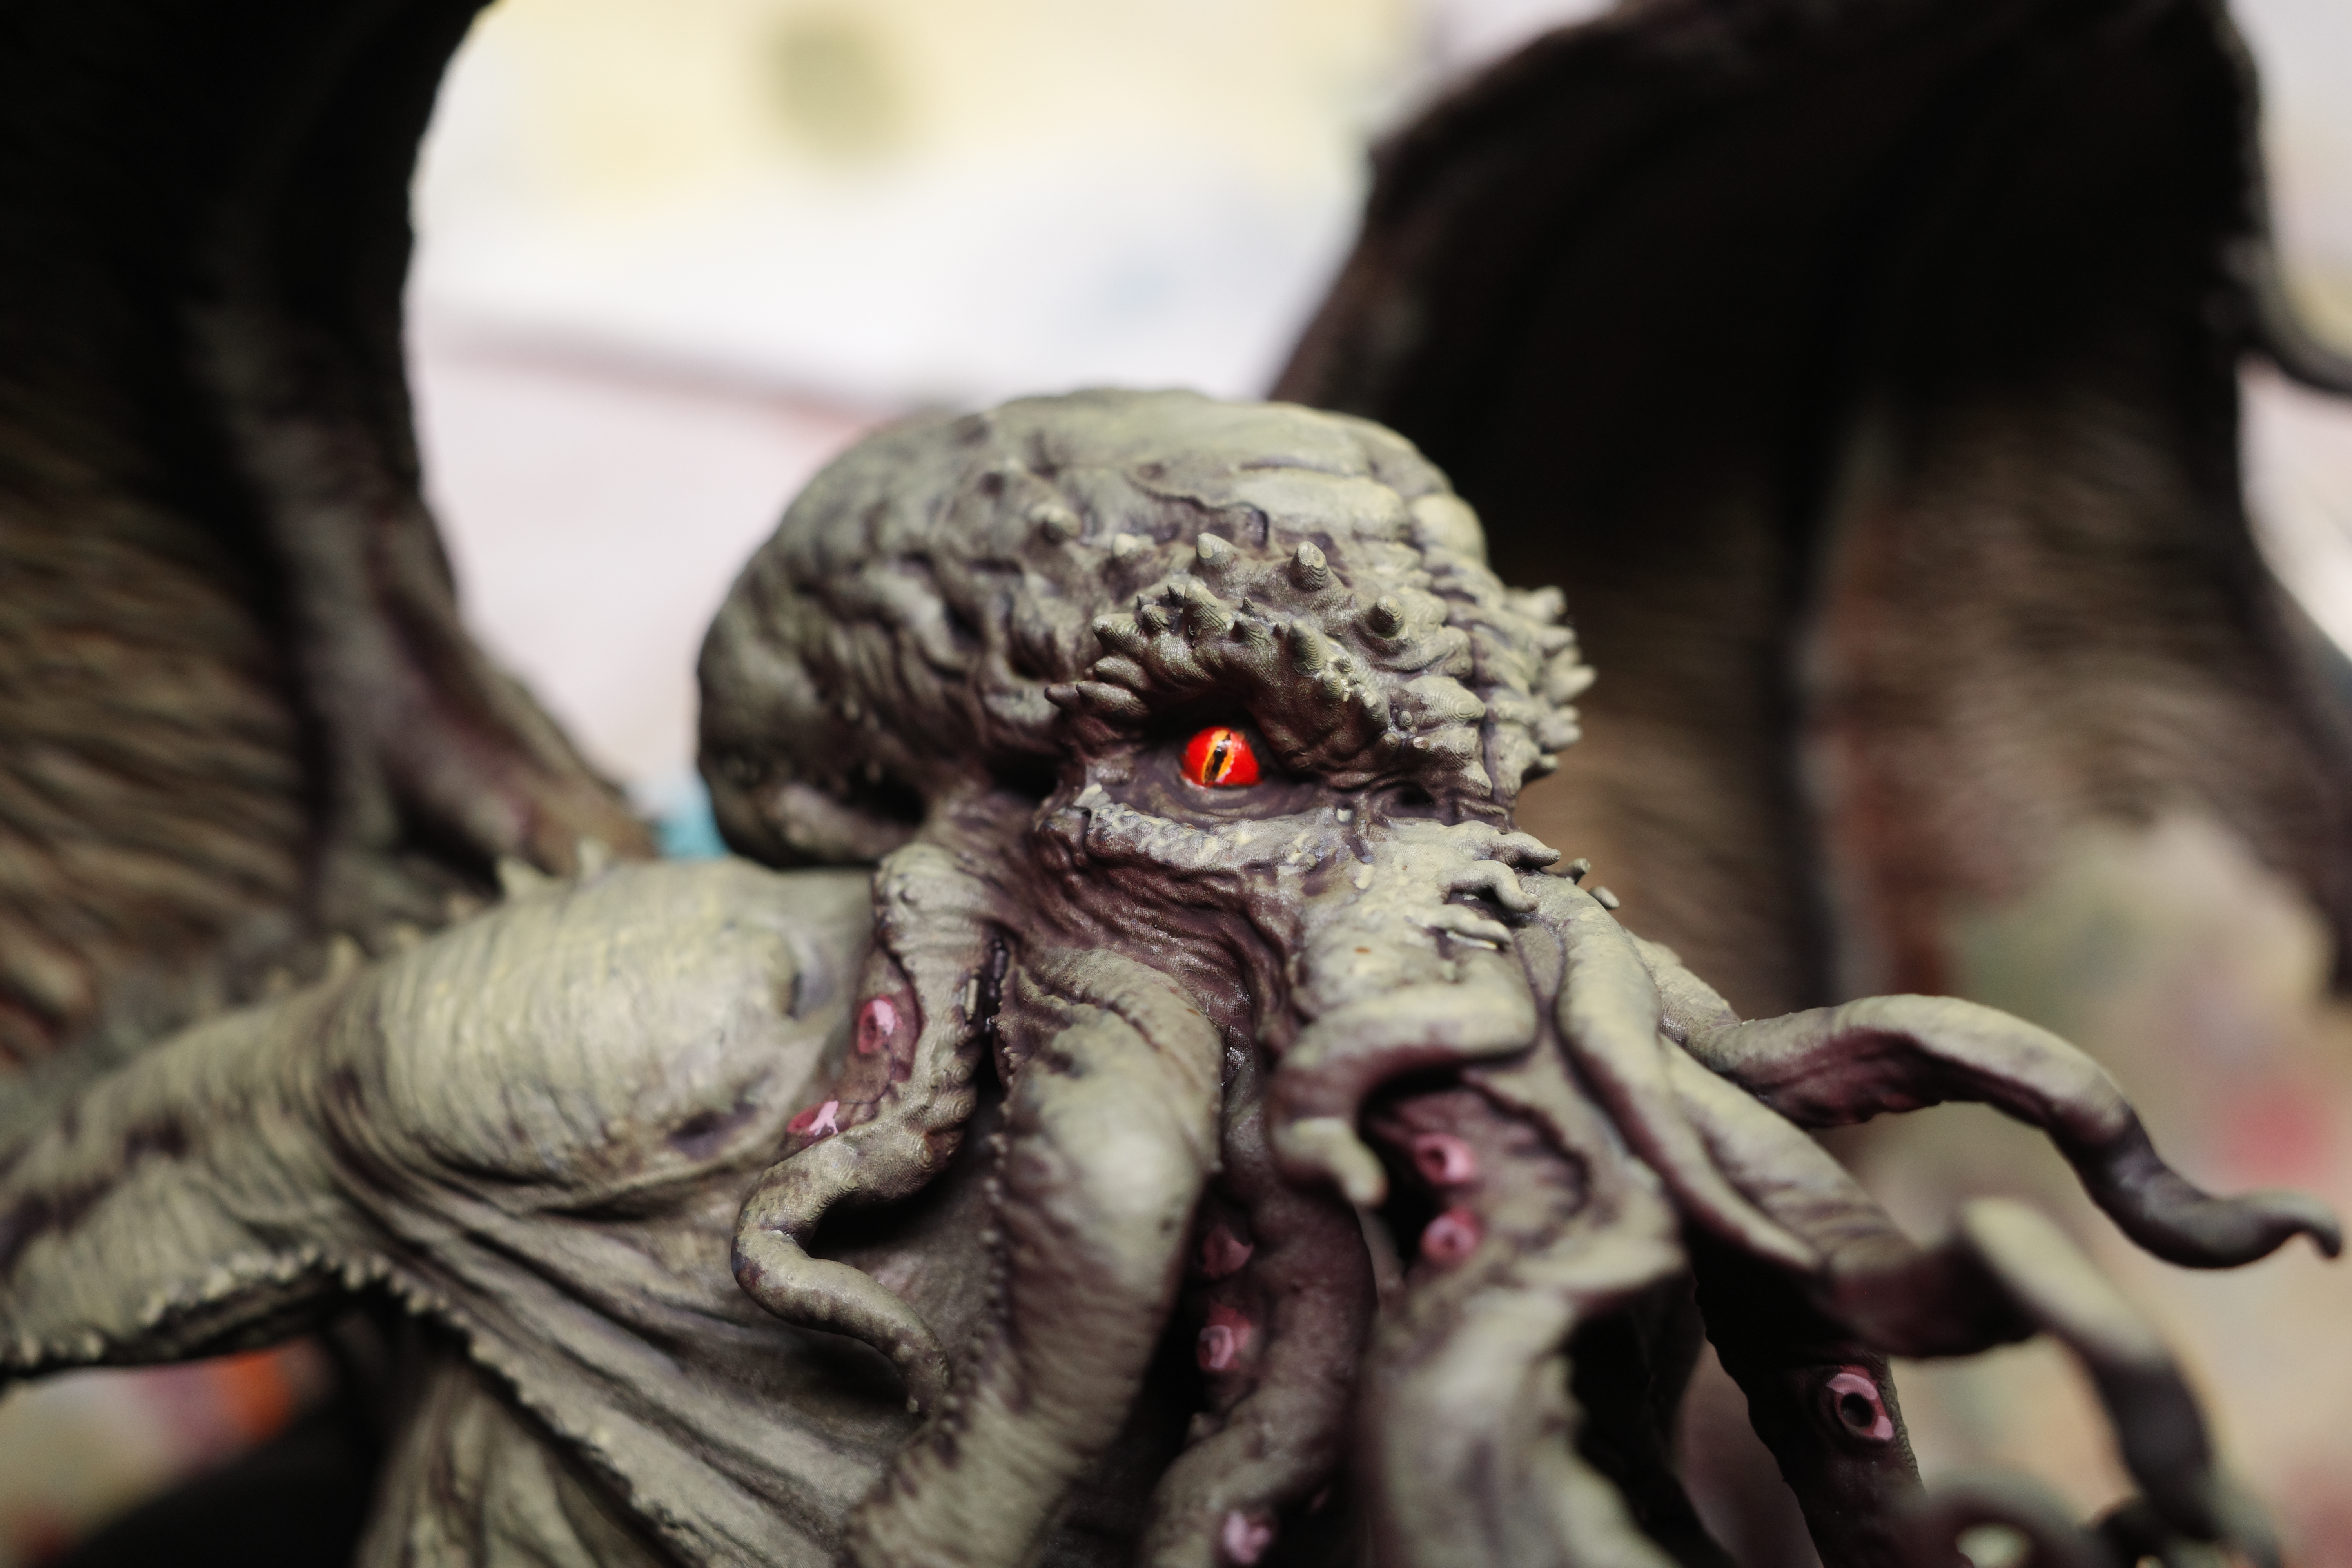
1. Eyes
I gave Cthulhu red eyes to match the AHLCG artwork, but for some more detail gave him a vertically elongated orange iris and black pupil.
- I painted the whole eye in Dead White to allow the red to go on easier.
- Then painted over white with Bloody Red.
- Then, again with white, I added a vertical slit for the iris, then painted over it with Orange Fire.
- Finally, with Black, I made an even thinner vertical slit for the pupil.
2. Outline the base in Black
3. Varnish in 80 : 20 mix of Matt to Satin (or just 100% Matt)
I airbrush this on in a couple of layers. Mixing in some satin varnish is a tip I got from Vince Venturella, which makes the varnish more durable while not adding any noticeable satin gloss.
4. Brush gloss varnish on suckers and eyes
Makes the suckers look like they’re covered in slime, and makes the eyes pop.
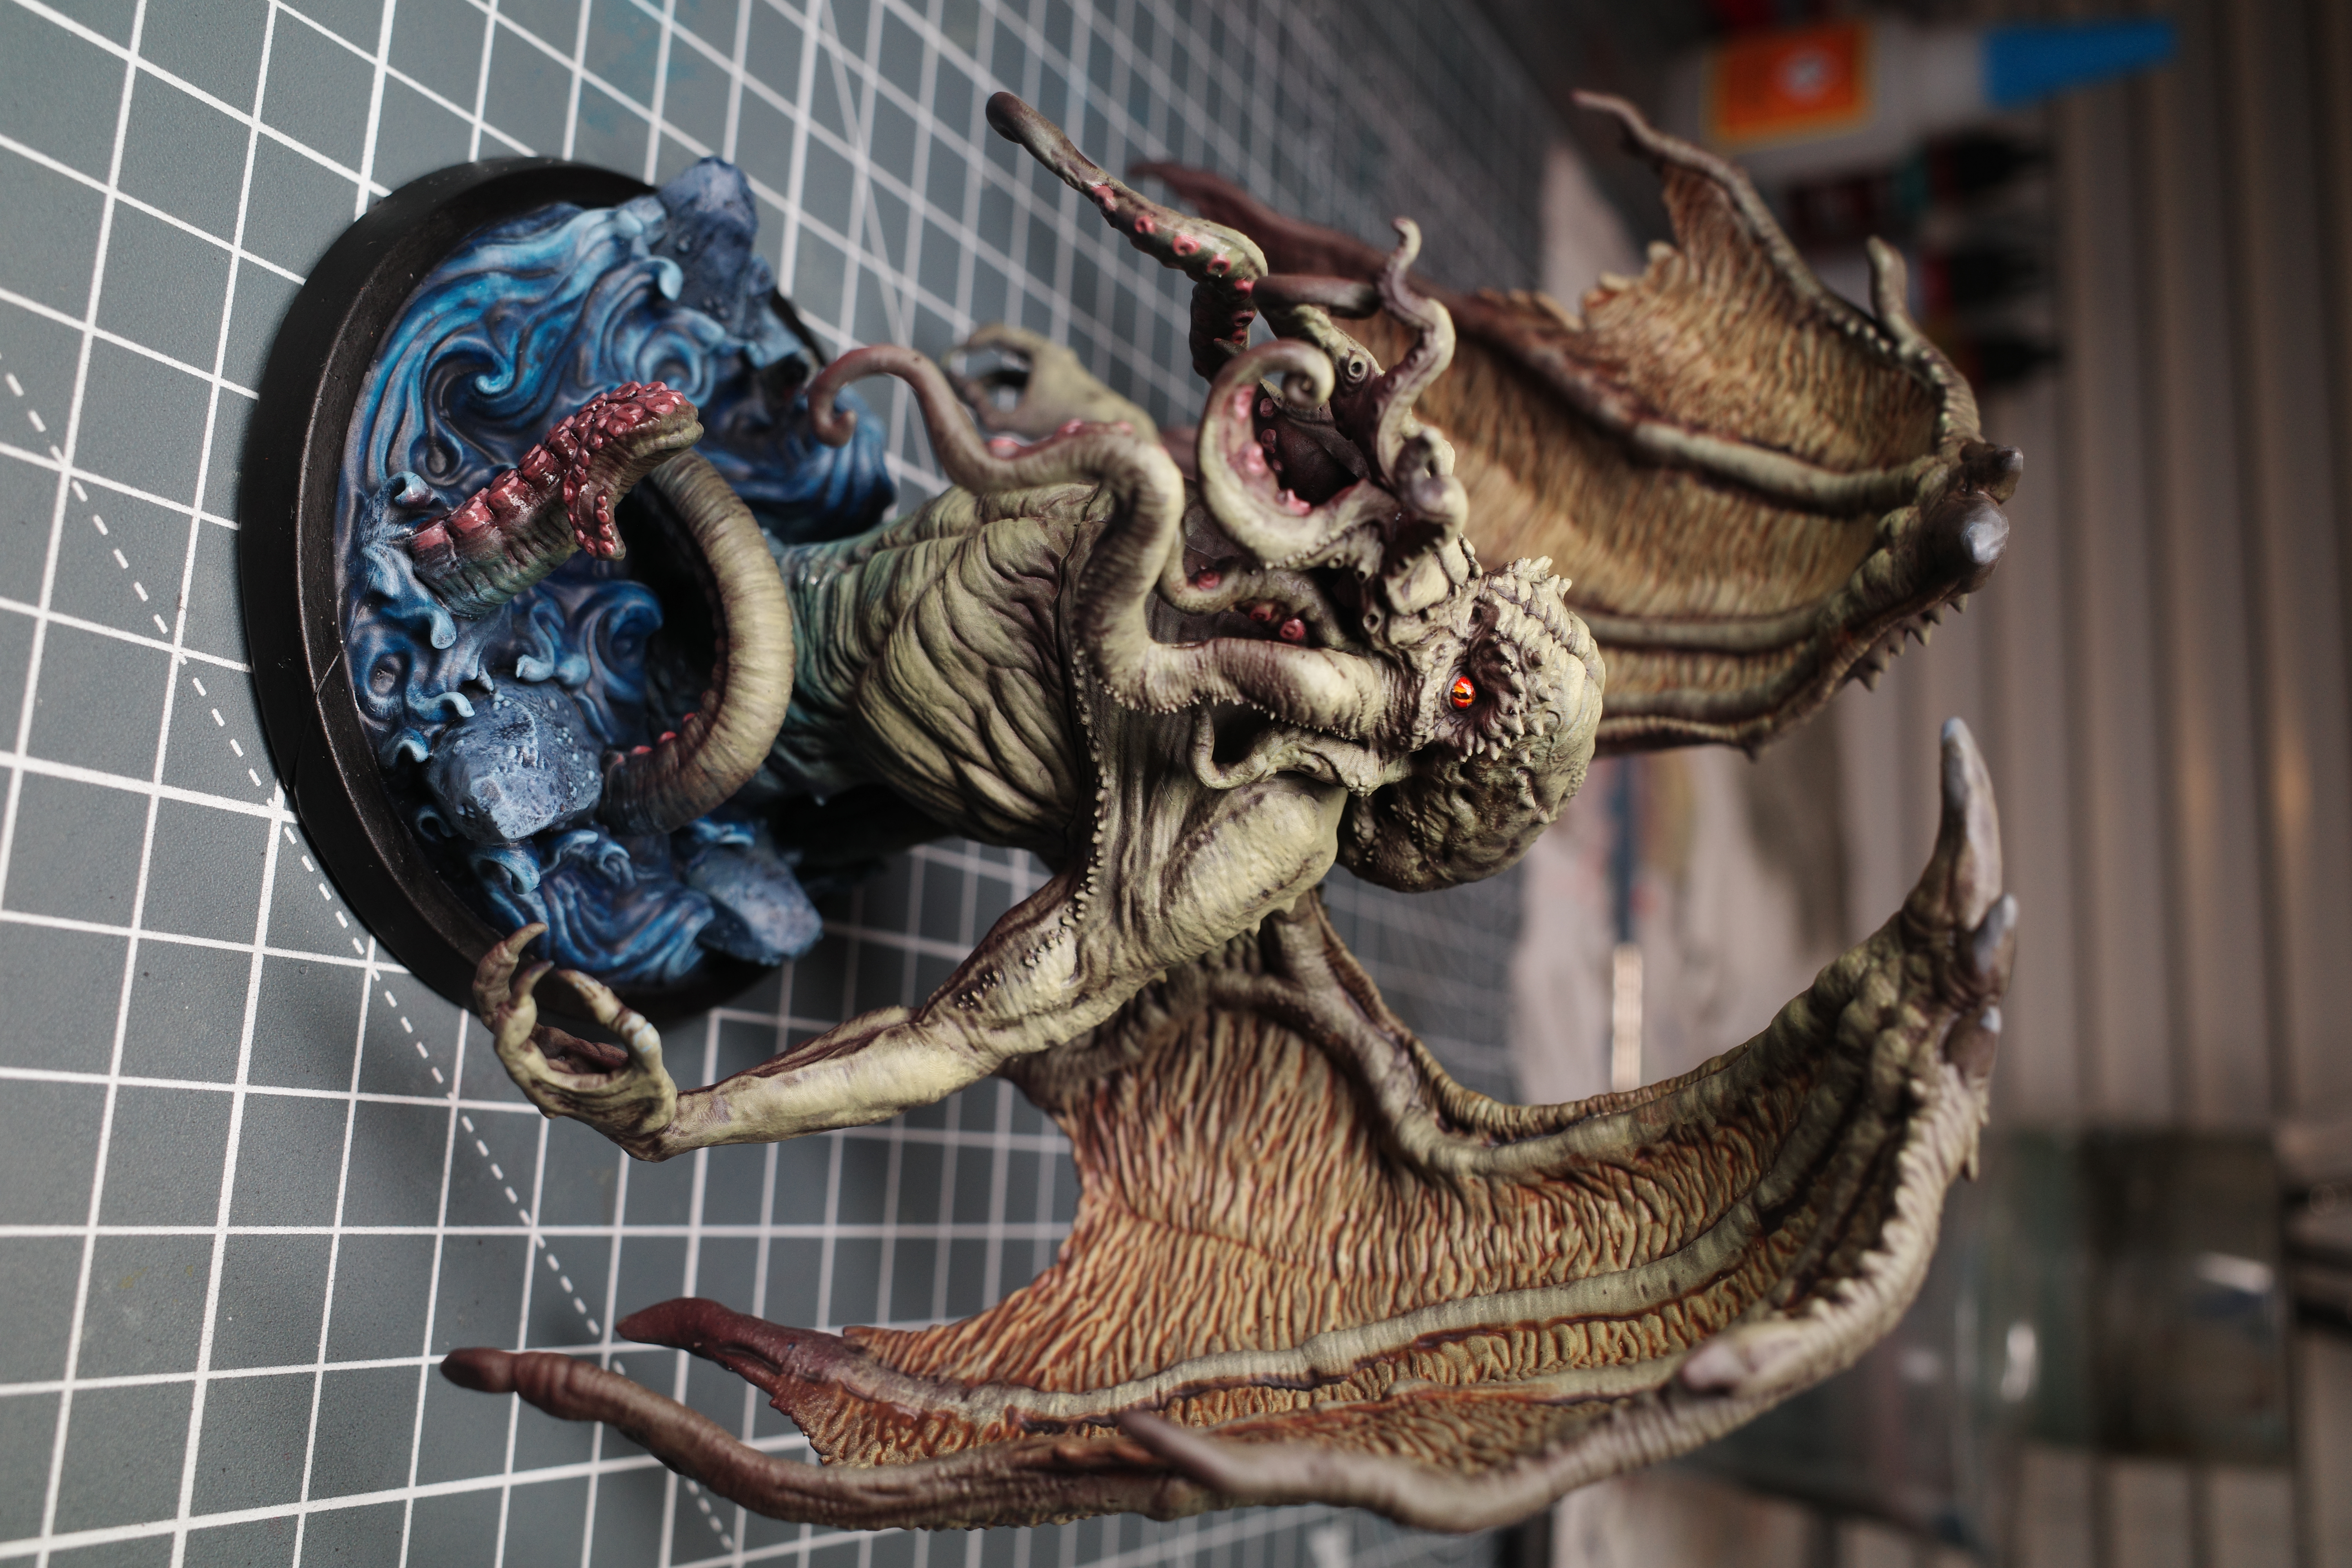
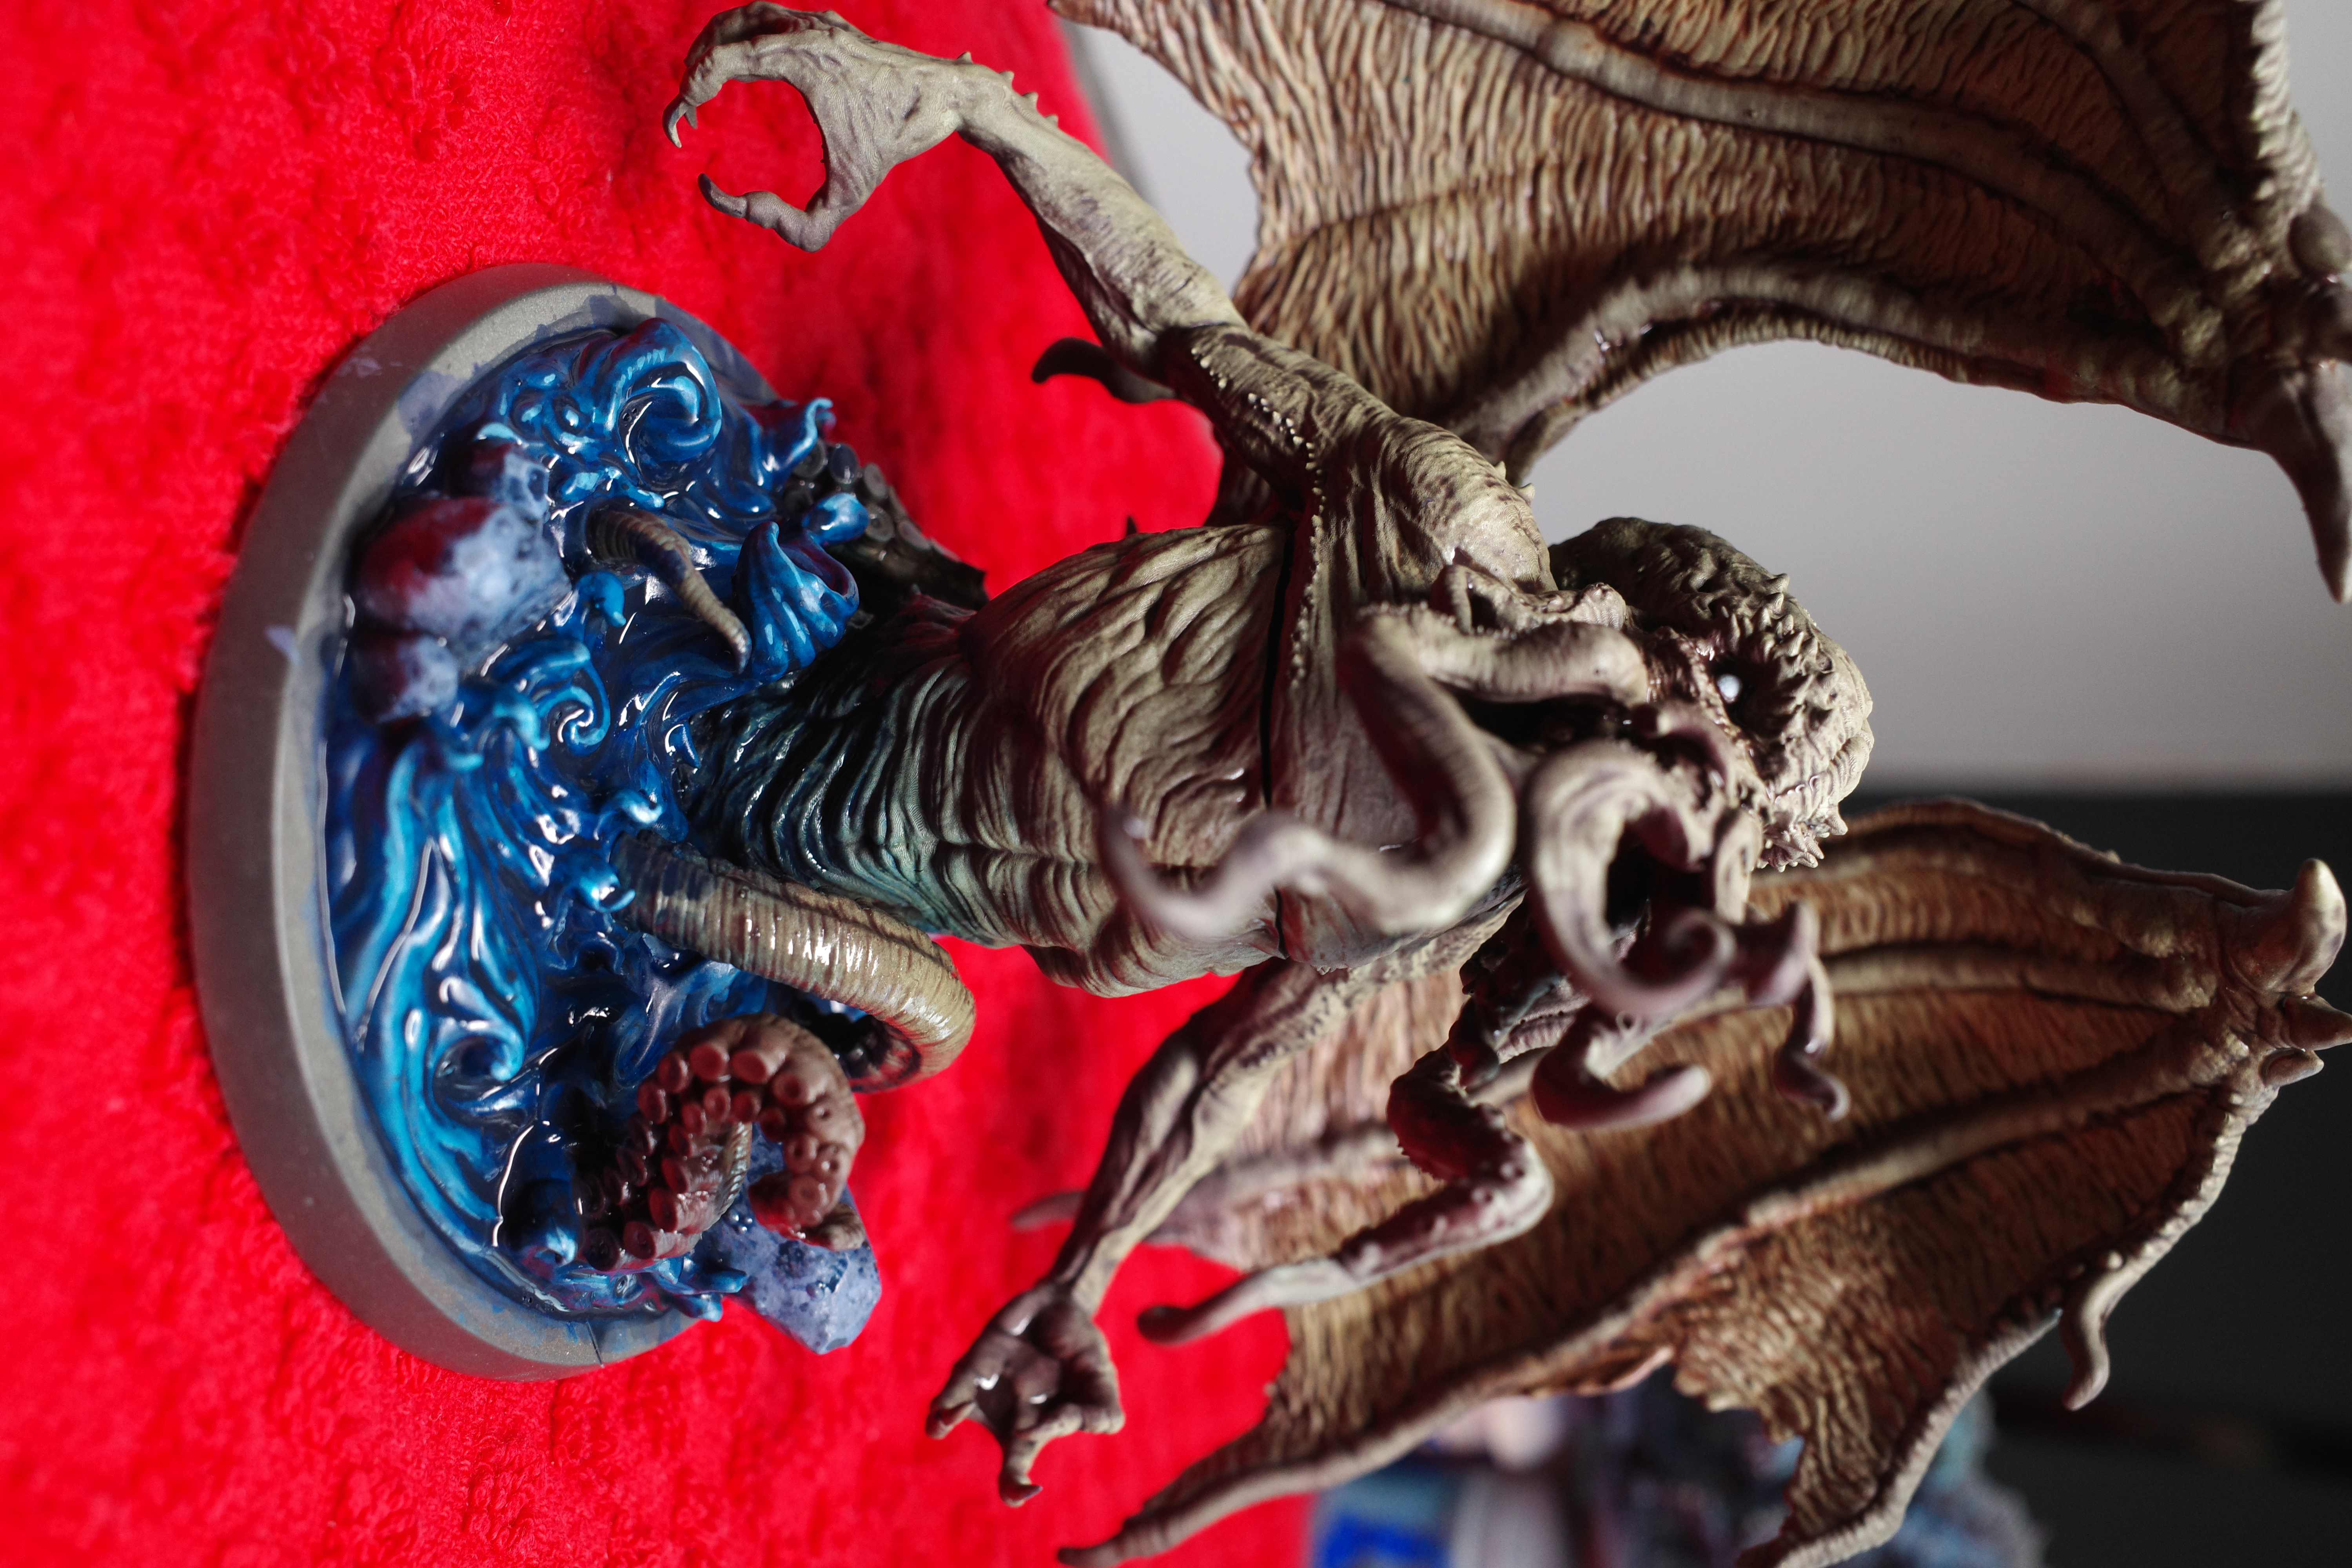
Cthulhu has emerged from your dreams into reality!
I’m happy with the result, for a day’s work. The green flesh with red shadows works really well, and I’m pleased with the water blend and the blends on the flesh emerging from the water. The eyes also turned out great.
The wings are the weak point, since I didn’t expend any effort on them at all. I’m not totally sure what could be done to improve them though.